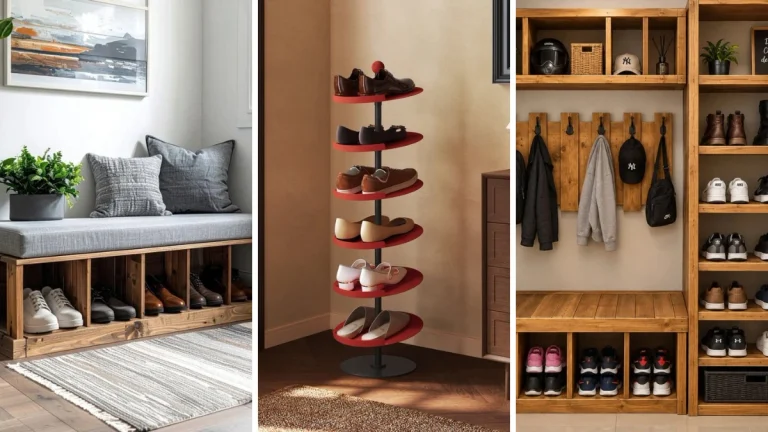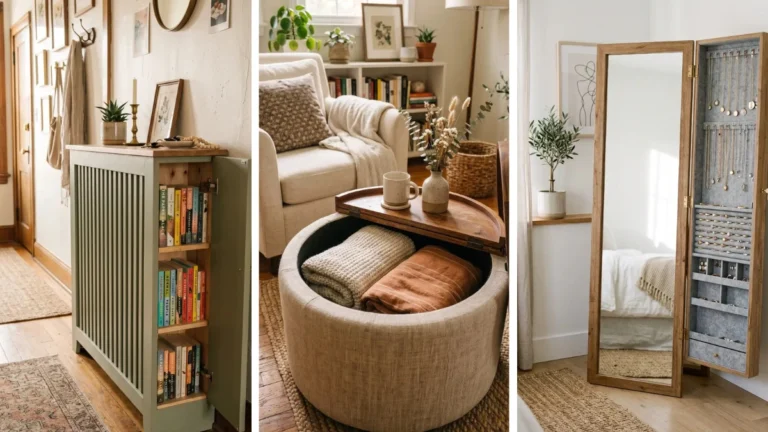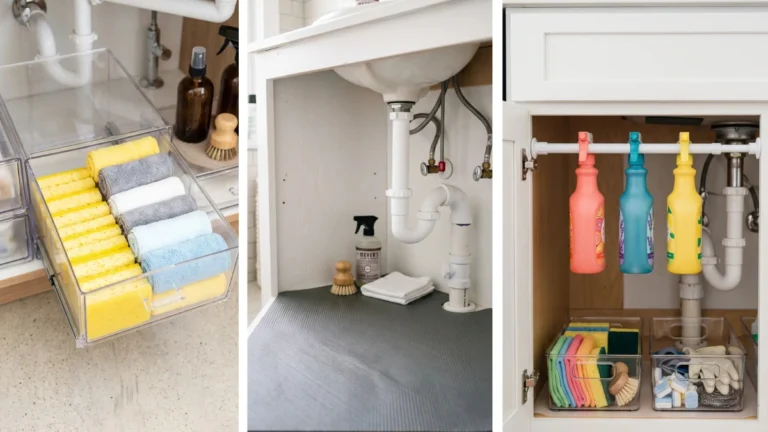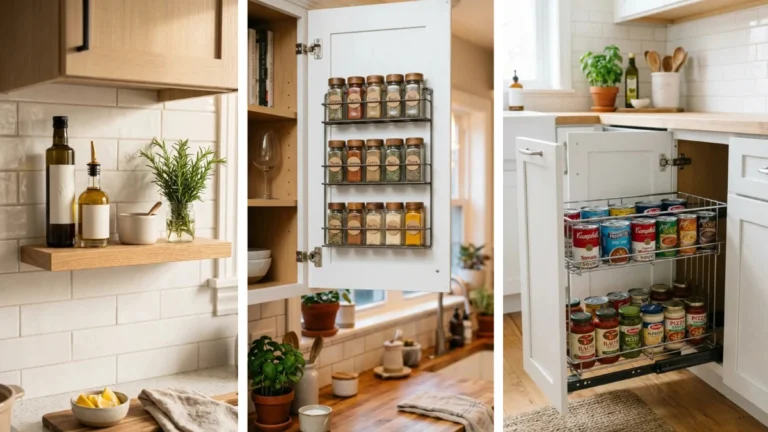
Running out of floor space is the fastest way to make a small home feel claustrophobic. You buy another dresser or storage bin, place it on the floor, and suddenly you have no room left to walk. I did this in my first studio, tripping over plastic totes until I realized the upper two-thirds of my walls were completely empty.
Learning how to use vertical space in a small apartment turns blank walls into organized storage without eating up floor area. We will measure your vertical clearance, mount high floating shelves, install door racks, and build a wall pegboard for your daily gear.
This whole project takes about 2 hours of basic measuring and drilling. Grab your tape measure, find your wall studs, and let us get your stuff off the floor for good.
2. Mount high floating shelves above your standard line of sight
3. Install over-the-door organizer racks on closet doors
4. Hang a heavy-duty wall pegboard for daily gear
5. Attach ceiling hooks for hanging planters or light fixtures
6. Stack modular storage cubes vertically along bare walls
Measure your wall height and open vertical clearance
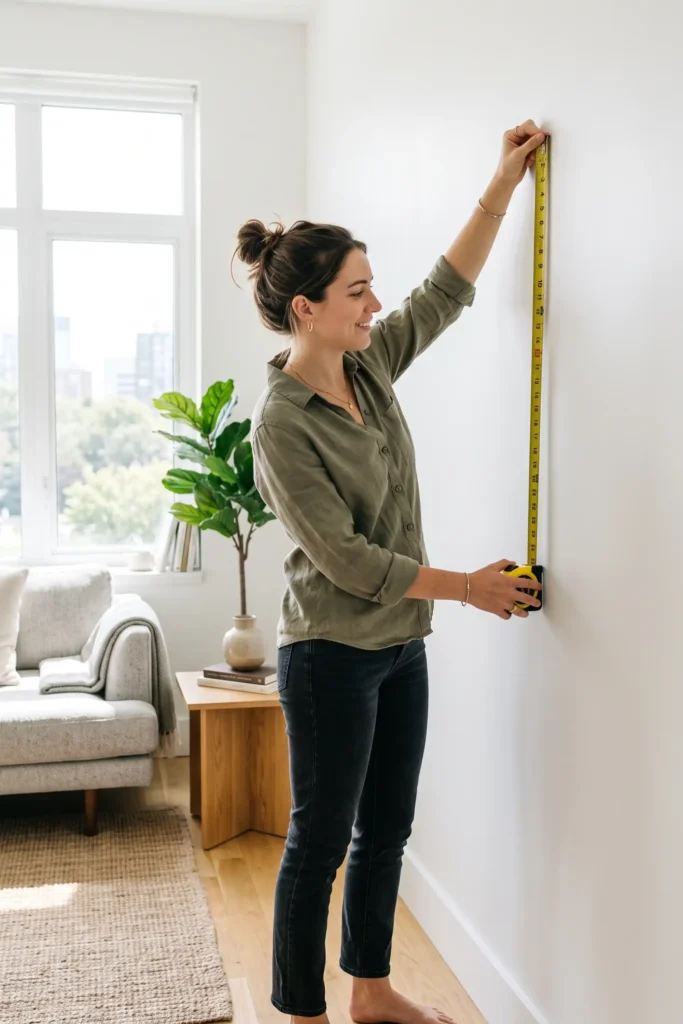
Extend your tape measure from floor to ceiling, writing down the exact height on paper. Standard ceilings run 8 feet or 9 feet high, leaving roughly 24 inches of empty wall space above your head that normally goes unused. Locate electrical outlets and light switches, marking a 6-inch boundary around them so future wall brackets do not block power access.
Mount high floating shelves above your standard line of sight
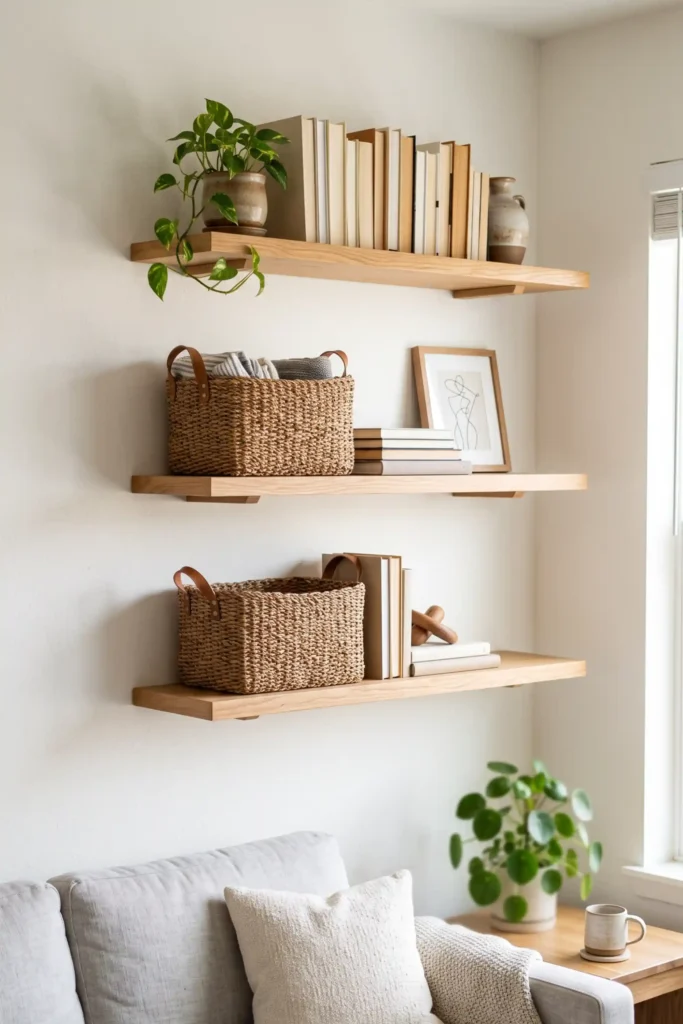
Position brackets at least 72 inches off the floor so people can walk underneath without bumping their heads. Drill 1.5-inch screws directly into wall studs, or insert drywall toggle bolts if studs are out of reach. Secure 10-inch deep wooden boards onto the brackets, testing stability with a firm downward pull.
💡 Pro Tip: Storing High Items
Reserve shelves mounted above 6 feet for seasonal items or extra linens stored in labeled fabric bins. Keeping daily items at eye level prevents needing a step stool every morning.
Install over-the-door organizer racks on closet doors
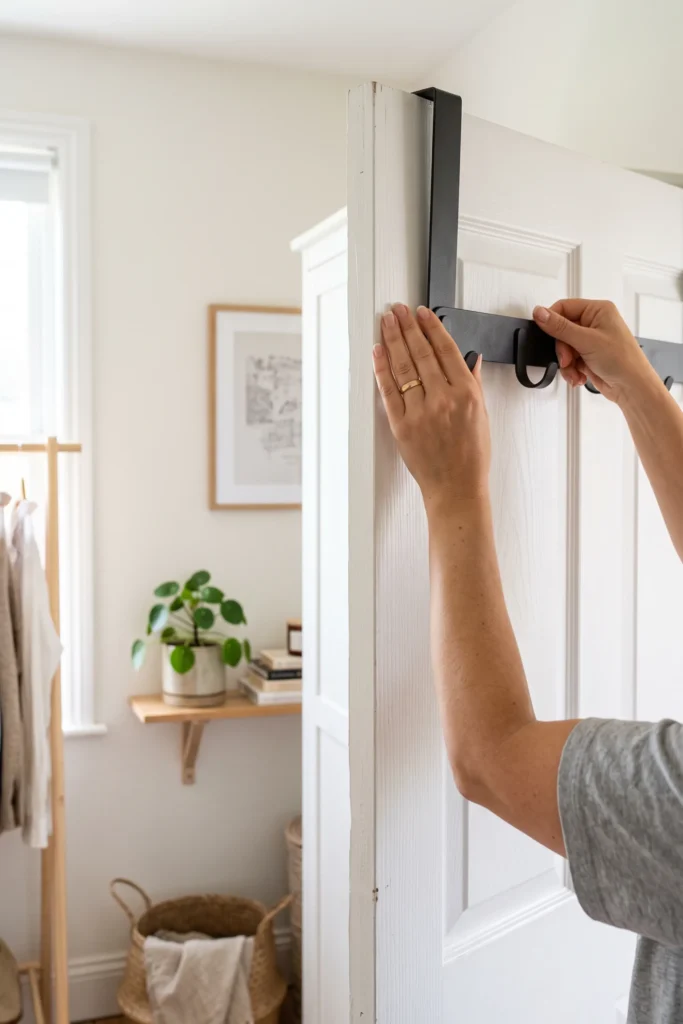
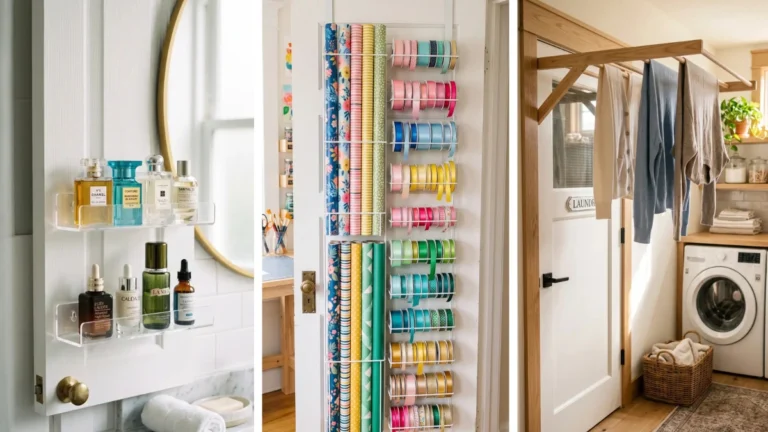
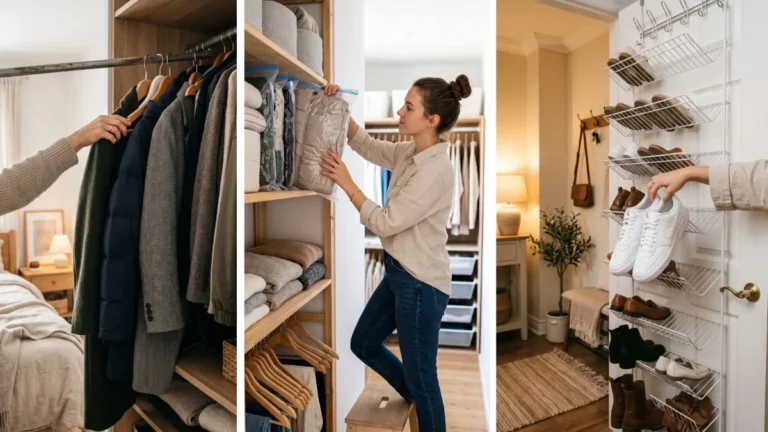
Hang metal support hooks over the top edge of your closet or bathroom door. Screw the main vertical rack into the hooks, ensuring the frame sits flush against the door surface. Place felt pads behind metal contact points so the organizer does not rattle or scratch paint when opening the door.
Hang a heavy-duty wall pegboard for daily gear
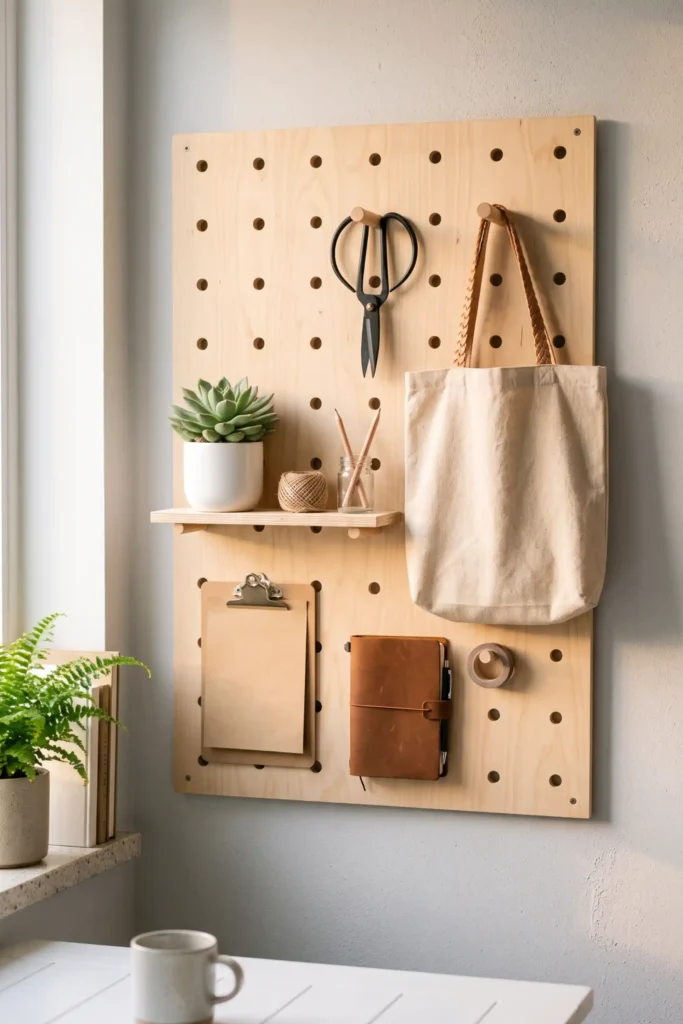
A 24×36 inch metal or wooden pegboard turns empty wall space into an adjustable rack for tools, bags, and kitchen gear. Screw 0.5-inch wooden spacer strips along the back edges of the board before mounting. These spacers create the necessary gap behind the holes so peg hooks slide in without scratching your wall. Fasten the board through the spacers and into wall studs using 2-inch screws.
Attach ceiling hooks for hanging planters or light fixtures
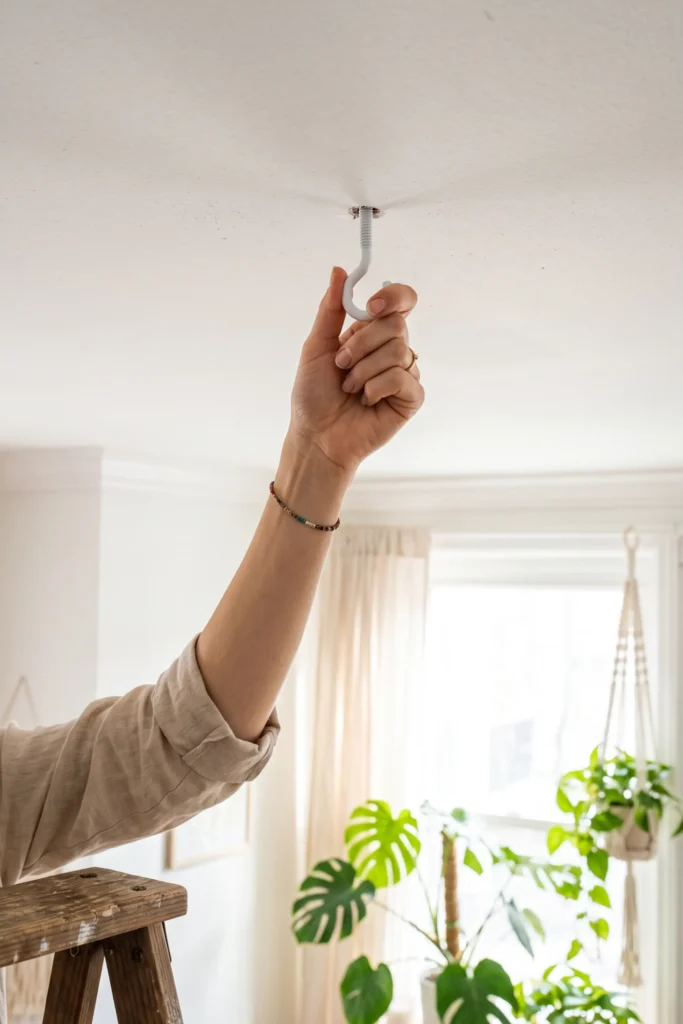
Ceiling corners easily hold hanging plants or plug-in pendant lights, freeing up valuable side table surfaces below. Drill a 1/4-inch pilot hole straight into a solid ceiling joist. Twist a heavy-duty steel swag hook clockwise into the hole until the base sits tight against the drywall.<!– wp:html –>
⚠️ Heads Up: Ceiling Weight Limits
Never hang items over 5 pounds using toggle bolts in plain ceiling drywall. Heavy wet soil in hanging planters will rip through hollow drywall overnight unless anchored directly into a wooden joist.
Stack modular storage cubes vertically along bare walls
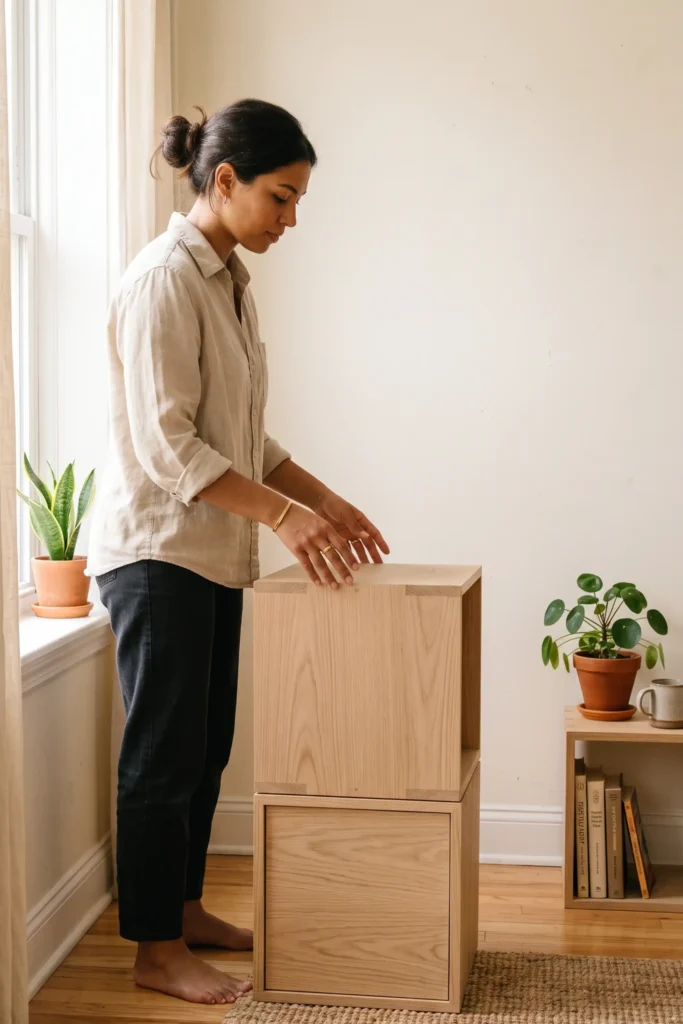
Building upward with 12-inch square wooden cubes creates a custom storage tower in narrow wall alcoves. Stack 3 or 4 cubes vertically, aligning the front edges completely flush. Join the stacked cubes together using flat metal bracket plates and 1/2-inch wood screws at the back corners. Fasten the top cube to a wall stud with an L-shaped anti-tip strap so the tower stays stable.
2. Mount floating shelves at least 72 inches high into wall studs.
3. Install over-the-door racks using felt backing pads.
4. Hang a 24×36 inch pegboard with 0.5-inch back spacers.
5. Drill 1/4-inch pilot holes for ceiling swag hooks.
6. Stack 12-inch storage cubes with L-brackets.
Wrapping Up Your Storage Transformation
You now have the exact layout plan to get clutter off your floor and onto your walls. Moving items upward leaves your floor clear, making small rooms look bigger and walk paths wider. Knowing how to use vertical space in a small apartment gives you triple the storage capacity without taking up extra floor area.
Grab your tape measure and stud finder to mark your first high shelf location this weekend. Save this guide to your Pinterest apartment organization board so you can reference these steps while setting up your walls!
Conclusion
You now have the exact layout plan to get clutter off your floor and onto your walls. Moving items upward leaves your floor clear, making small rooms look bigger and walking paths wider. Knowing how to use vertical space in a small apartment gives you triple the storage capacity without taking up extra floor area.
Grab your tape measure and stud finder to mark your first high shelf location this weekend. Save this guide to your Pinterest apartment organization board so you can reference these steps while setting up your walls!