Opening the cabinet under your kitchen or bathroom sink often feels like opening a trap door into chaos. Half-empty spray bottles, damp sponges, expired cleaning rags, and loose trash bags pile up around curved plumbing pipes and garbage disposals. In a small apartment, losing this prime real estate to dark, tangled clutter makes staying organized everywhere else much harder.
Using practical under sink storage hacks for small apartments transforms this awkward, damp cavern into a clean, double-decker storage system where every bottle, sponge, and brush sits within arm’s reach. You do not need to hire a handyman or drill permanent holes into rental cabinets. The entire overhaul takes about 45 minutes, costs very little, and protects your apartment from water damage while doubling your usable space. Pull a towel onto the floor, grab a flashlight, and start by clearing out the cabinet completely.
• Expandable two-tier under-sink rack
• Clear acrylic stackable pull-out drawers
• Small adhesive plastic caddy bins
• Tension rod (18–28 inch adjustable)
• Scissors or utility knife
• Microfiber cleaning cloths
• Surface disinfectant spray
• Flashlight or headlamp
2. Inspect pipes and lay down a waterproof shelf liner
3. Measure height, width, and plumbing pipe clearance
4. Install expandable two-tier shelving around the drainage pipe
5. Add stackable clear drawers for daily cleaning supplies
6. Mount adhesive bins inside the cabinet doors
7. Hang a tension rod to suspend spray bottles
1. Clear out every item and clean the cabinet floor
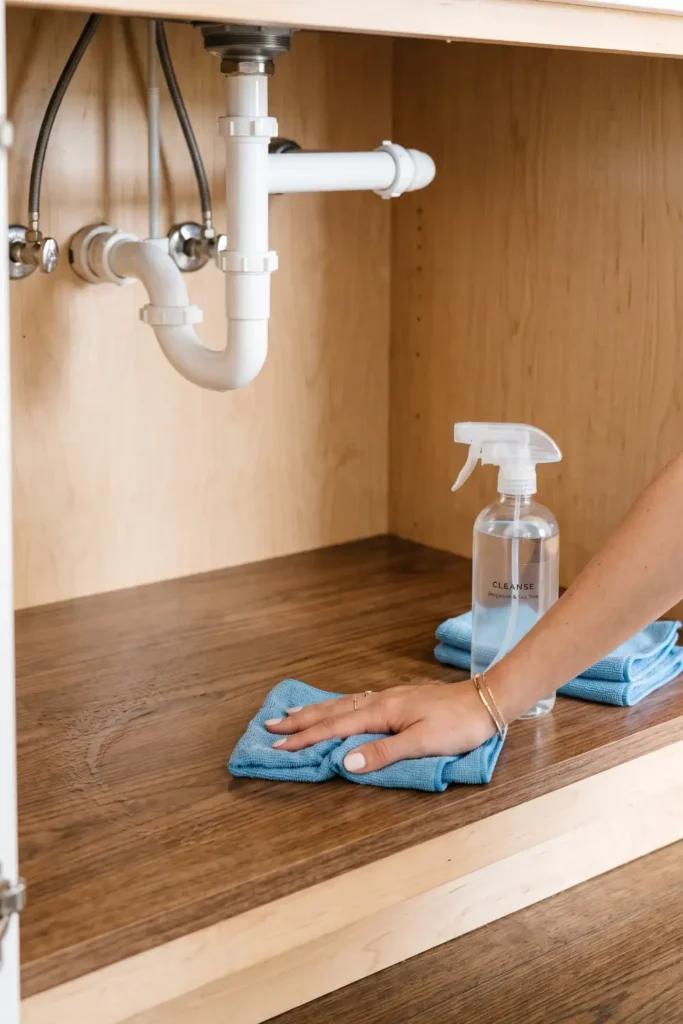
Pull every single container, spray bottle, and loose sponge out of the cabinet onto an old towel placed on your floor. Sorting through items while the cabinet remains half-full guarantees you miss hidden duplicate products tucked behind the main drain pipe.
Wipe the bare cabinet base with a damp microfiber cloth and disinfectant spray to clear away dried soap drips, dust, and grime. Pay extra attention to the back corners where dirt settles. Allow the wood floor to air-dry for 10 minutes before moving to the next task.
2. Inspect pipes and lay down a waterproof shelf liner
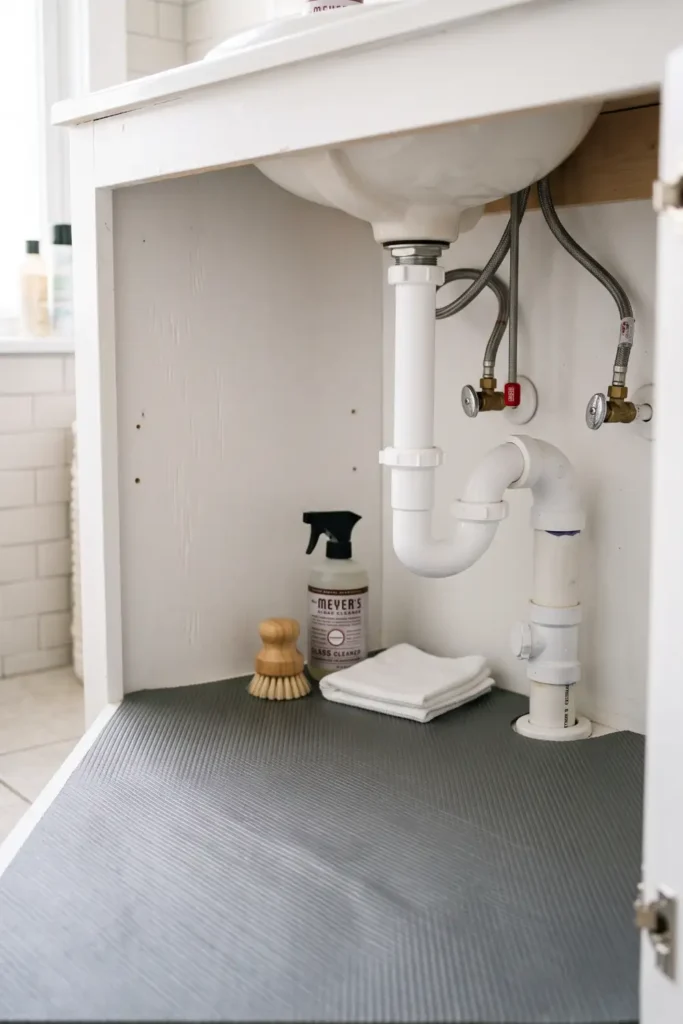
Examine every pipe joint, valve, and trap for dampness before placing your storage back inside.
- Press a dry paper towel against each pipe connection to reveal slow drips.
- Unroll heavy-duty plastic or rubber waterproof shelf liner across the cabinet floor.
- Cut the liner with scissors, leaving a 1-inch excess lip resting up against the side walls.
A raised edge traps unexpected chemical spills or minor plumbing drips, preventing liquid from soaking into raw apartment particle board.
Heads Up
If your paper towel shows moisture near a pipe joint, pause and notify your apartment landlord before installing organizers. Never cover active water leaks with plastic liners.
3. Measure height, width, and plumbing pipe clearance
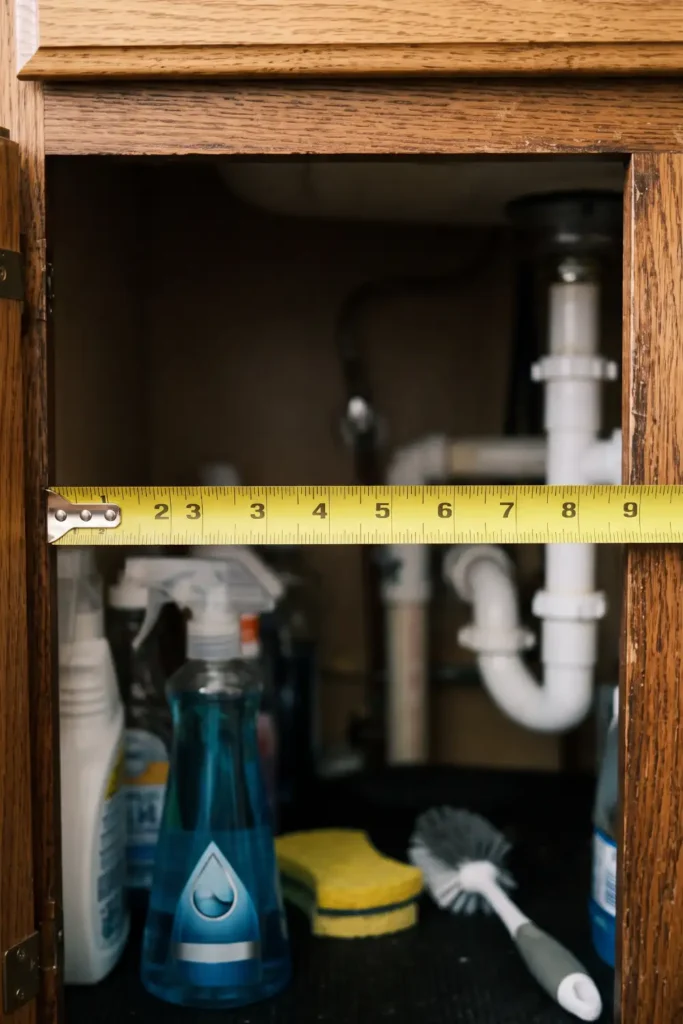
Extend your measuring tape across three specific internal dimensions before buying or arranging any plastic drawers.
- Measure from the cabinet floor up to the lowest point of the sink drain pipe.
- Measure total internal width from the left wall across to the right wall.
- Measure depth from the back wall to the inside face of the closed cabinet door.
Forgetting to account for door hinges or garbage disposal overhangs is the main reason organizers stick or prevent cabinet doors from latching fully shut.
Pro Tip
Subtract 2 inches from your total cabinet depth measurement to leave adequate clearance for door-mounted bins and over-the-door hooks.
4. Install expandable two-tier shelving around the drainage pipe
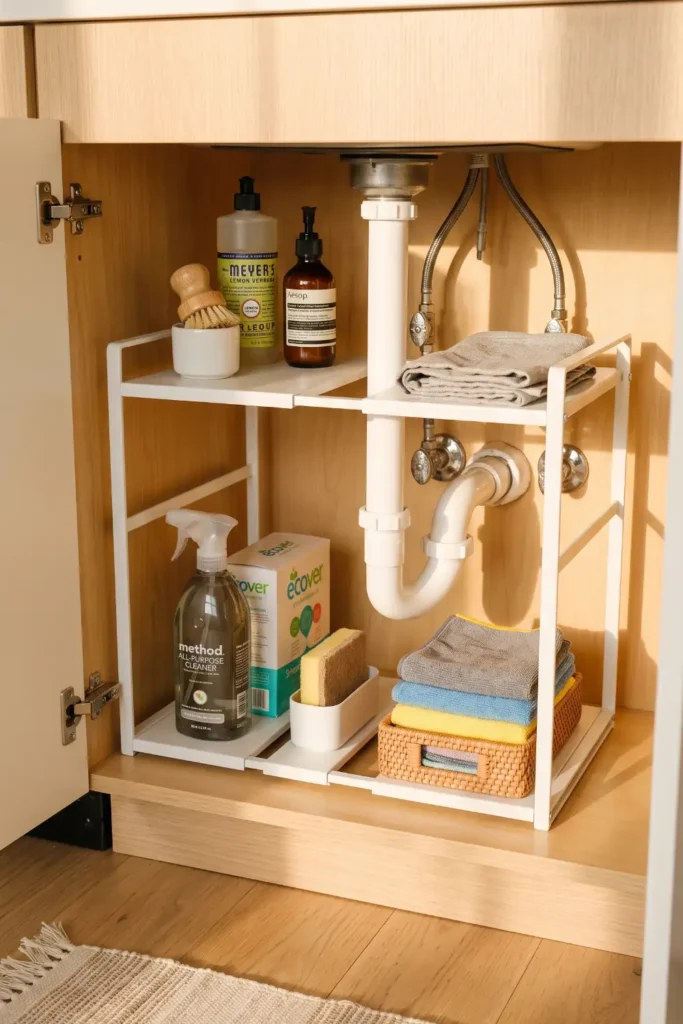
Most fixed wooden shelves fail under sinks because the central P-trap pipe blocks the middle. Expandable metal or plastic shelving units solve this with removable snap-in floor panels. Slide the main frame under the sink, expand the side rails to match your cabinet width, and snap individual panels around the vertical pipe.
Position the top tier at least 3 inches below the sink basin so you have room to slide items across. This creates a flat upper deck for lightweight extra supplies while keeping the floor open for heavier bottles.
5. Add stackable clear drawers for daily cleaning supplies
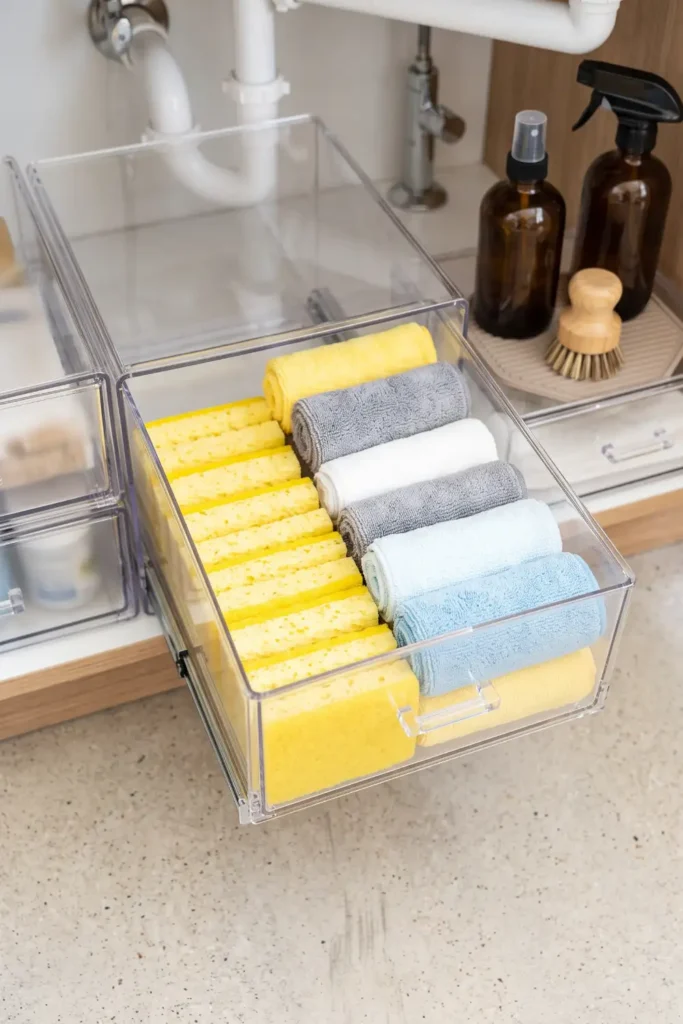
Two tall acrylic drawer units placed on the cabinet floor keep small loose items from disappearing into dark corners. Group your items by frequency of use before filling the trays:
- Place heavy scrub pads and extra sponges in the bottom drawer.
- Store microfiber cloths and daily disinfectant wipes in the upper drawer.
Choosing clear plastic drawers lets you check inventory at a glance so you stop buying duplicate bathroom cleaner.
6. Mount adhesive bins inside the cabinet doors
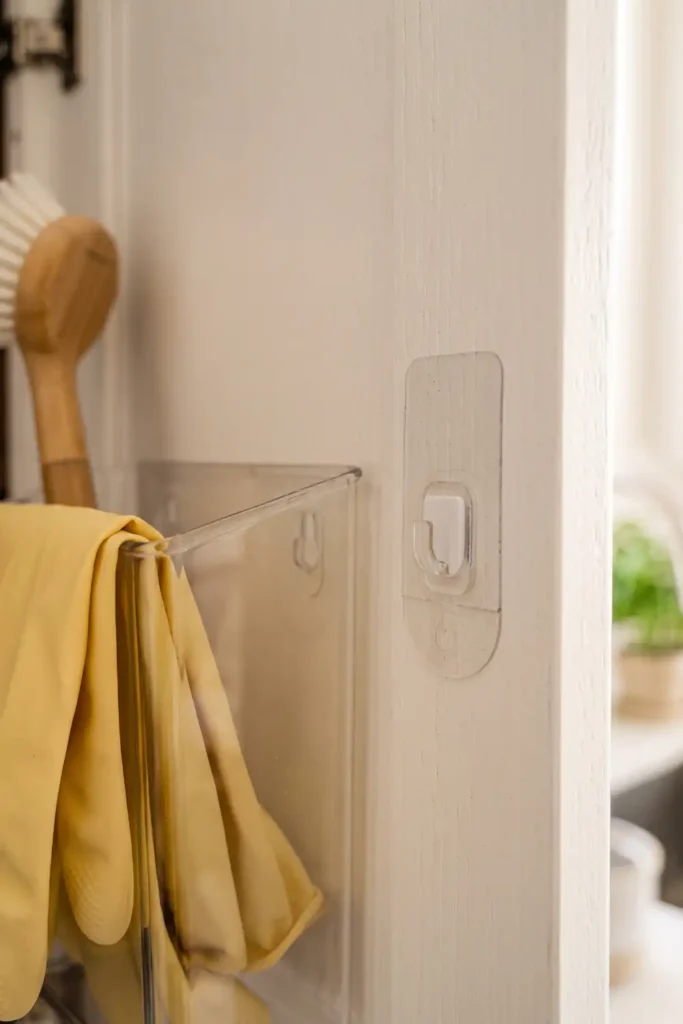
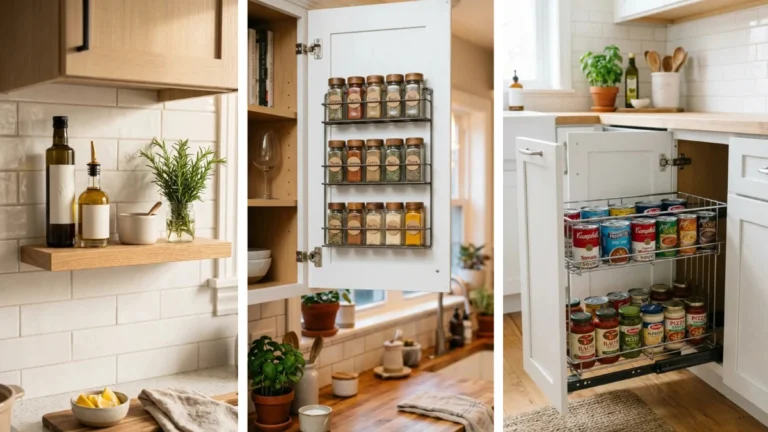
When vertical cabinet space is fully occupied, the inner face of the door offers prime real estate for slender items. Wipe the inside door surface with rubbing alcohol to remove dust before applying heavy-duty adhesive strips.
Press the plastic caddy firmly against the wood for 30 seconds. Wait 1 hour for the adhesive bond to cure before loading it with damp dish sponges, rubber gloves, or dishwasher pods.
Pro Tip
Keep total weight inside door-mounted caddies under 3 pounds to prevent cabinet hinges from sagging over time.
7. Hang a tension rod to suspend spray bottles
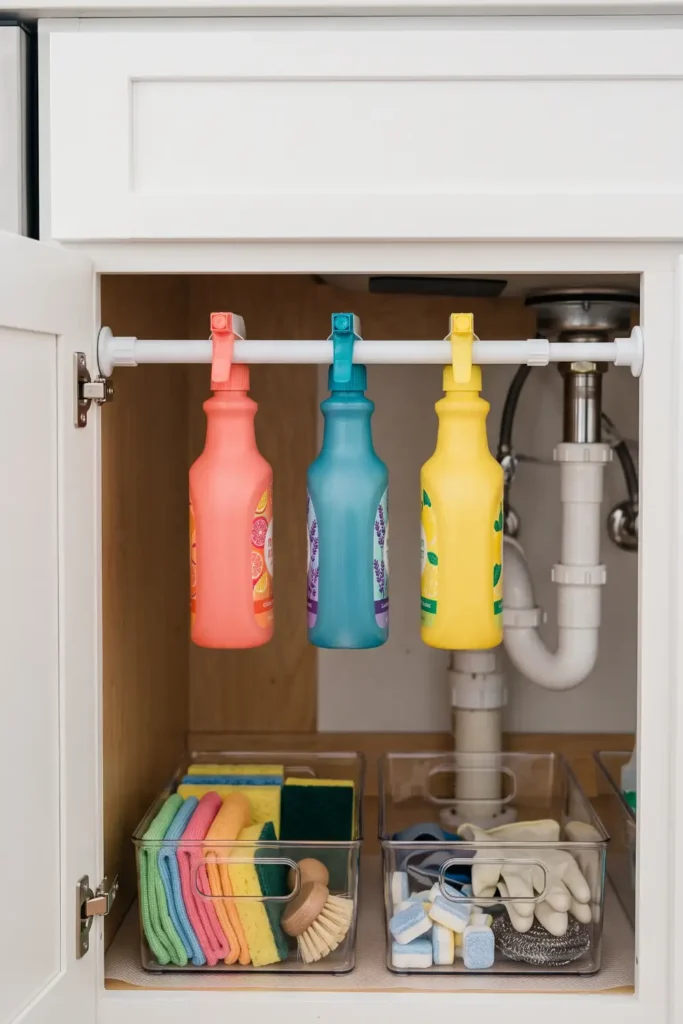
Empty vertical air space at the top of the cabinet stays unused in most setups. Installing an adjustable tension rod creates a suspended rack for cleaning sprays without taking up floor area.
Twist the rod until it extends firmly against both cabinet side walls, positioning it 2 inches below the top edge and 3 inches out from the back. Hang the nozzle triggers of multi-surface sprays directly over the bar. Give the rod 2 or 3 extra turns to tighten the grip so the weight of full bottles does not pull it down.
| If This Happens | Try This |
|---|---|
| Tension rod slips down under weight | Wrap heavy-duty rubber bands around both ends of the rod to create friction against slick cabinet walls. |
| Pull-out drawer hits the door hinge | Place a 1-inch thick piece of wood underneath the organizer base to raise it higher than the metal hinge bump. |
| Adhesive caddy falls off cabinet door | Clean wood wax off the door with rubbing alcohol first, then let the adhesive strip cure for 24 hours before loading weight. |
Core Steps:
1. Empty cabinet & clean floor thoroughly.
2. Check pipe joints & lay waterproof liner.
3. Measure height, width, and pipe clearance.
4. Assemble expandable shelf around drain pipe.
5. Load clear stackable drawers with daily items.
6. Mount adhesive caddies on inner door faces.
7. Install a tension rod for hanging spray bottles.
You now have a clean, double-decker storage system under your sink that doubles your usable space while keeping every bottle and sponge within easy reach. The next time you reach for a multi-surface spray or extra dish sponge, you can grab it in seconds without knocking over a single bottle.
Take a quick photo of your organized cabinet to celebrate your hard work. Save this guide to your Pinterest home organization boards so you can pull up these tips whenever you need a quick refresh!
Conclusion
You now have a clean, double-decker storage system under your sink that turns an awkward plumbing cavern into a functional, reachable space. By taking advantage of vertical clearance, door backs, and adjustable tension rods, you can double your cabinet capacity without drilling single holes or risking your security deposit. These practical under sink storage hacks for small apartments ensure that every spray bottle, sponge, and rag has a dedicated spot that keeps your kitchen and bathroom running smoothly.
Store heavy bottles on the cabinet floor, float sprays on tension rods, and keep lightweight sponges on door caddies.
Take a quick photo of your clean setup to celebrate your hard work. Save this guide to your Pinterest home organization boards so you can pull up these steps whenever you reset your small apartment cabinets!