Most tiny kitchens force you to dig through overflowing cabinets every time you need a can of beans or a bag of rice. Without a pantry, dry goods end up stacked in unstable towers, spices hide in the back of dark corners, and you waste minutes hunting for what you already own. The frustration hits hardest during weeknight cooking when the counter is already covered and you still cannot find the pasta.
This guide shows you exactly how to organize a tiny kitchen with no pantry by turning the cabinets, walls, and door backs you already have into a clear, reachable storage system. You will empty everything once, sort it into four simple groups, and rebuild the space so daily items sit at eye level while backups stay out of the way. The full process takes about 90 minutes of focused work and needs no special carpentry skills. You will finish with every ingredient visible, labeled, and easy to grab. Clear a counter, grab a trash bag for expired food, and start with the cabinets.
• Lazy Susan turntable (10–12 inch)
• Over-the-door spice rack
• Small adhesive labels + marker
• Tension shelf or under-shelf baskets
• Measuring tape
• Microfiber cloths
• Trash bags
• Optional: handheld vacuum
2. Group your ingredients into four distinct functional categories
3. Reserve your top cabinet shelves for long-term food backstocks
4. Decant loose boxed goods into clear stackable airtight containers
5. Mount vertical wall shelves to store daily cooking staples
6. Install sliding wire baskets inside lower cabinets for heavy cans
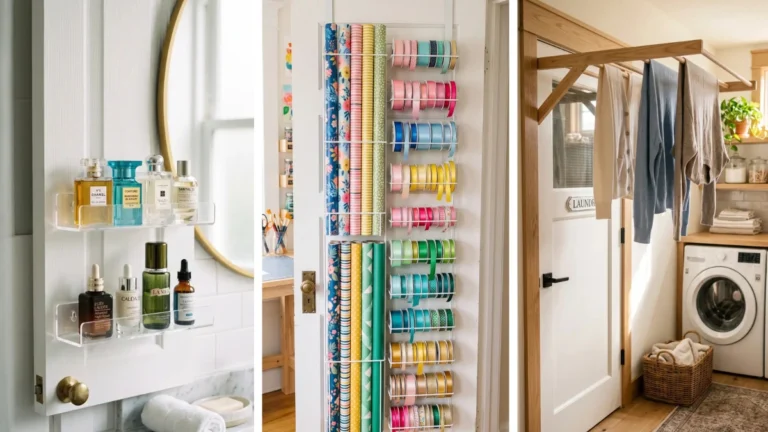
7. Hang an over-the-door rack inside your cabinet for spices and oils
1. Empty every cabinet completely to inventory your dry goods
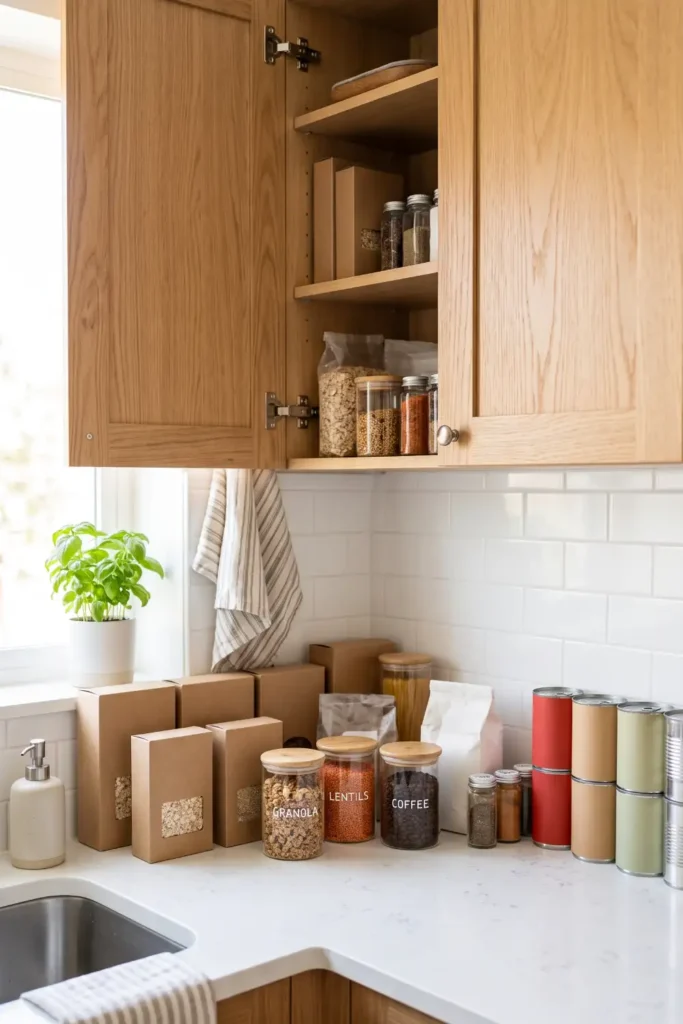
Pull every single item out of the cabinets and set it on the counter or a nearby table. Do not leave anything behind, even the half-used bags shoved in the back corners. Seeing the full pile at once shows you exactly how much food you own and which packages have expired.
Wipe each empty shelf with a damp microfiber cloth while the space is bare. Dust and crumbs collect faster in tiny kitchens because air circulation is limited. Let the shelves dry for 5 minutes before you start putting anything back.
Pro Tip
Keep a trash bag open right next to you. Expired or stale items go straight in so they never re-enter the kitchen.
2. Group your ingredients into four distinct functional categories
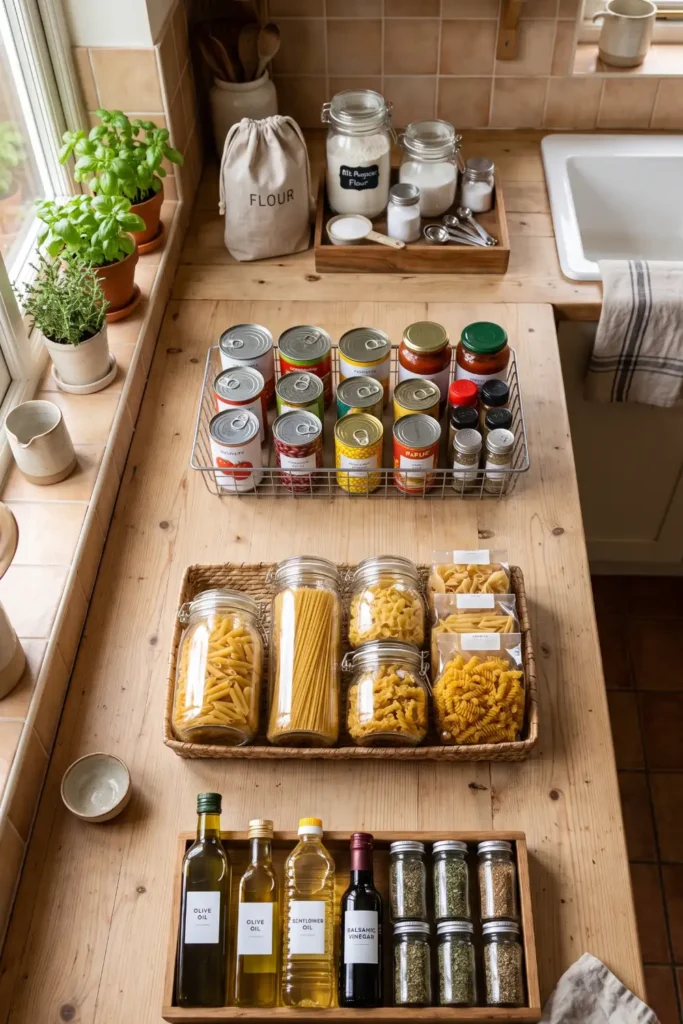
Sort the pile into four clear groups on the counter: baking staples (flour, sugar, baking powder), cooking oils and vinegars, canned and jarred goods, and everyday dry goods (pasta, rice, oats, snacks). Keeping like items together prevents the “I know I have it somewhere” search later.
Work left to right across the counter so nothing gets mixed again. If a package is almost empty, combine it with a matching open package now. This step alone usually frees up 20–30 percent of the original cabinet volume.
3. Reserve your top cabinet shelves for long-term food backstocks
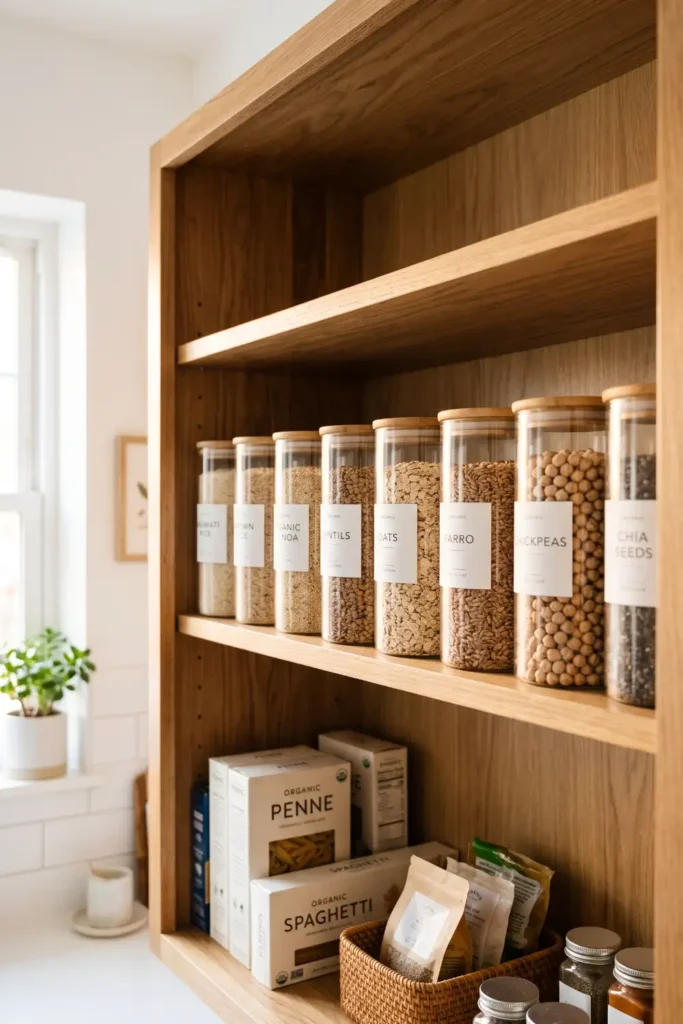
Place the items you use least often (extra bags of rice, bulk pasta, backup canned tomatoes) on the highest shelves. These spots are hardest to reach, so they should hold only true backstock that you pull down once or twice a month.
Use a small step stool every time you load or unload the top shelf. Reaching on tiptoes leads to dropped cans and strained shoulders. Leave a 2-inch gap between the top of the tallest package and the cabinet ceiling so air can still circulate and packages do not get stuck.
4. Decant loose boxed goods into clear stackable airtight containers
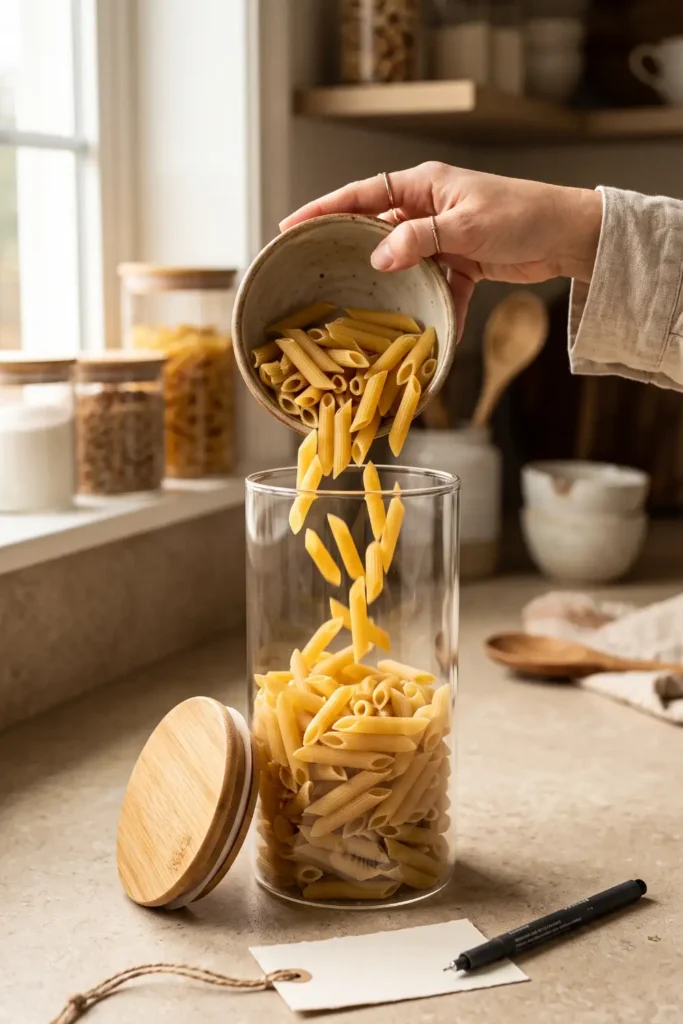
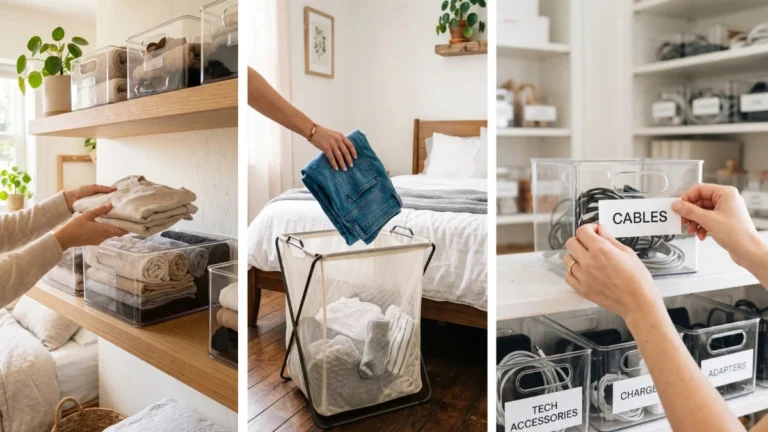
Open bags of pasta, rice, cereal, and flour spill crumbs and attract pests in tight cabinets. Pouring them into matching clear containers stops the mess and lets you see exactly how much is left at a glance.
Measure the inside height of your shelf first. Choose containers that leave at least 1 inch of space above the lid so they slide out easily. Pour, seal, and write the name plus the expiration date on a small label. Stack heavier containers on the bottom and lighter ones on top.
Pro Tip
Buy containers in only two or three sizes. Matching footprints stack tighter and look calmer than a random mix of shapes.
5. Mount vertical wall shelves to store daily cooking staples
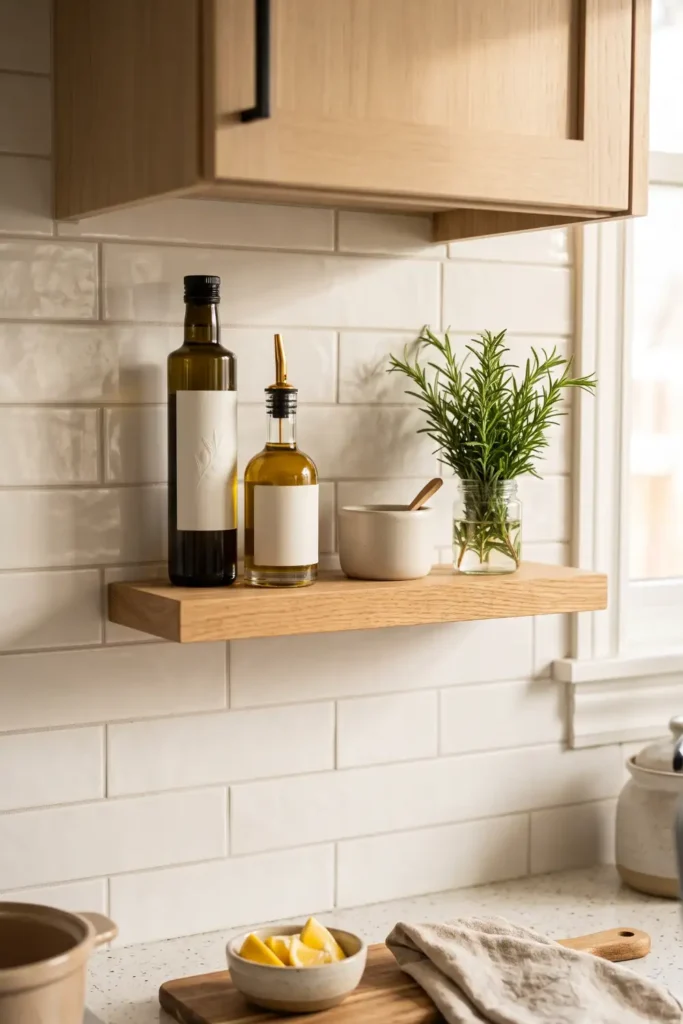
Empty wall space between the counter and upper cabinets is wasted in most tiny kitchens. A single narrow floating shelf or a short rail system turns that gap into prime storage for the oils, salt, and frequently used jars you reach for every day.
Mark the stud locations with a pencil, then screw the shelf brackets in at a height you can grab without stretching. Keep the shelf only 6–8 inches deep so it never bumps your head while you cook. Place the heaviest bottles toward the ends near the brackets for better support.
6. Install sliding wire baskets inside lower cabinets for heavy cans
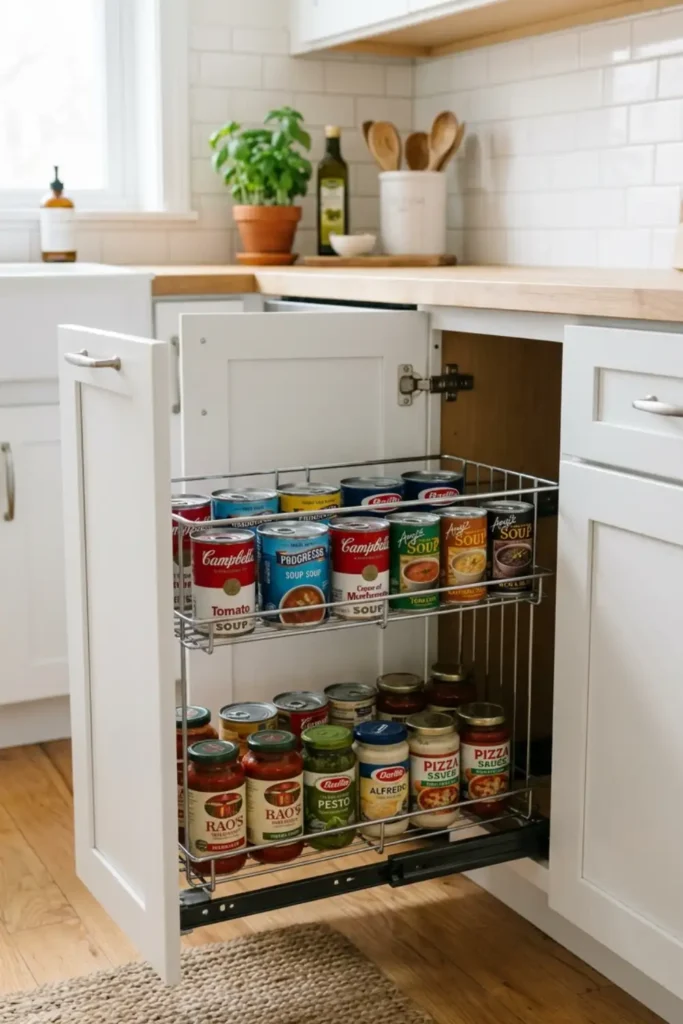
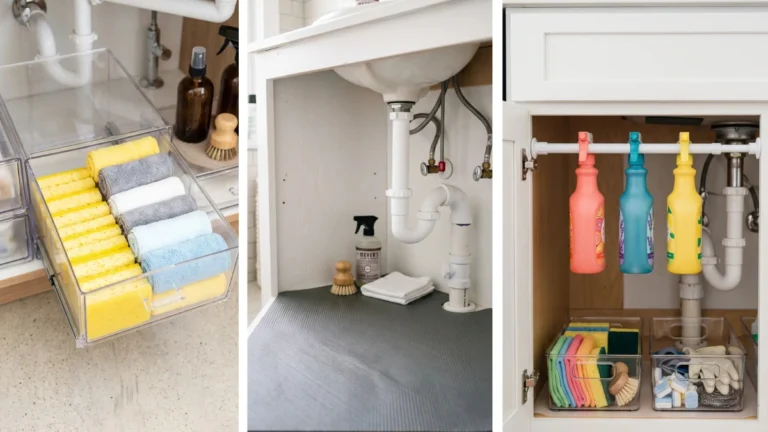
Deep lower cabinets turn into black holes where cans disappear. Sliding wire baskets pull everything forward so you can see and grab what you need without getting on your knees.
Measure the cabinet opening width and height before you buy. The basket frame must clear the door hinges by at least ½ inch on each side. Screw the side tracks into the cabinet walls, slide the basket in, and load heavier cans at the back so the drawer does not tip when opened.
Heads Up
Test the basket with the cabinet door closed before loading food. If the door hits the basket rim, move the tracks back ½ inch or choose a shallower basket.
7. Hang an over-the-door rack inside your cabinet for spices and oils
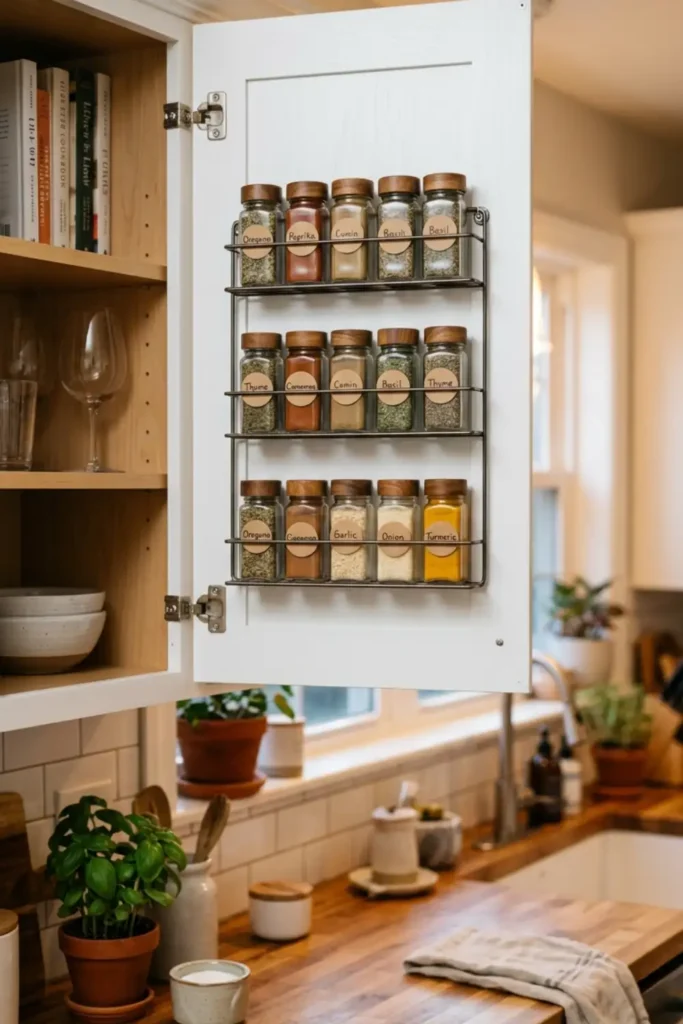
Cabinet door backs are often left completely empty. Hanging a slim wire or plastic rack inside a cabinet door creates instant vertical storage for small jars, spices, and tea boxes.
Ensure the rack hangs at least 3 inches below the top edge of the door so the cabinet closes smoothly. Load small spice jars into the top slots and light boxes into the bottom. Keep heavy glass bottles off door racks so the hinges stay aligned over time.
Containers that are too tall or wide force cabinet doors to stay cracked open.
Decanting food hides the date stamped on original boxes. Write dates on labels immediately.
Placing heavy oils on cabinet doors causes hinges to sag and scrape against frames.
Top shelves belong strictly to bulk backstock. Everyday staples belong at eye level.
Core Steps:
1. Empty cabinets completely & wipe dust.
2. Sort food into 4 clear categories.
3. Put backstock on high shelves.
4. Decant dry goods into clear jars.
5. Add vertical wall shelves for oil/spices.
6. Mount sliding wire baskets in base cabinets.
7. Hang a spice rack inside cabinet doors.
You now have a clear plan for how to organize a tiny kitchen with no pantry using the exact cabinets and wall space you already own. Every jar has a visible spot, backstock stays high out of the way, and your counters remain clear for cooking.
Take a quick photo of your organized space to celebrate your hard work. Save this guide to your Pinterest kitchen organization boards so you can quickly pull up these tips whenever you do a seasonal grocery reset.
Conclusion
You now have a fully working system for how to organize a tiny kitchen with no pantry. Every shelf has a job, every jar is visible, and you can reach what you need in seconds instead of digging.
Take one before-and-after photo of your cabinets — you’ll be surprised how much calmer the whole kitchen feels. Save this guide to your Pinterest boards so you can pull it up the next time groceries threaten to take over again.
Clear counters + labeled containers = cooking that actually feels easy.