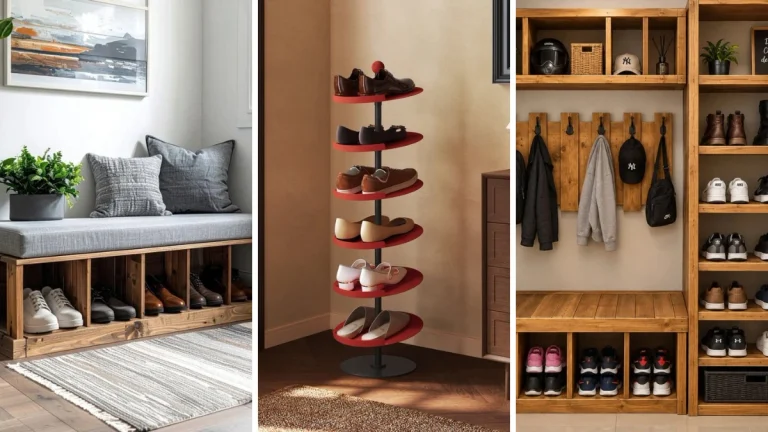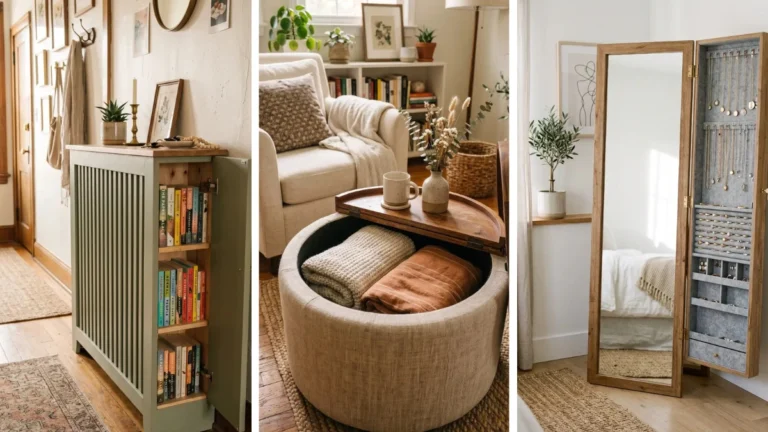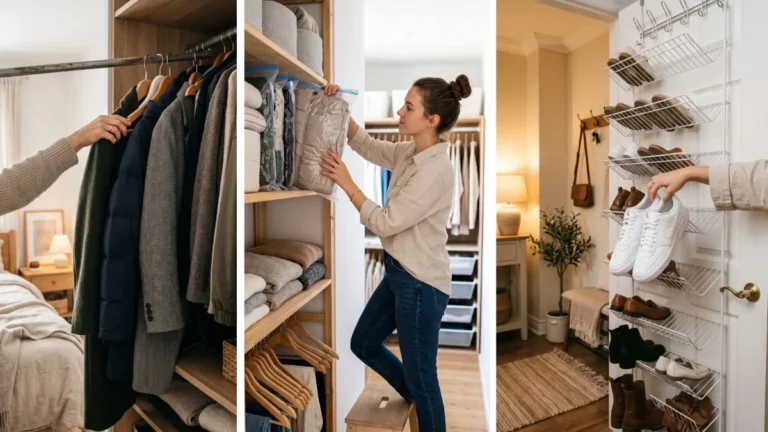
Living in a cramped apartment usually feels like playing a losing game of Tetris. You buy a new kitchen appliance or a pair of boots, and suddenly your limited counter space is completely buried. I spent two years tripping over clutter in a 450-square-foot studio before I realized I was surrounded by unmapped storage.
Learning how to use dead space in small apartments isn’t about buying expensive custom cabinets or drilling hole-riddled holes into your rental walls. It comes down to spotting forgotten gaps—the three inches next to your fridge, the empty air above your doorway, and the hollow clearance behind your bathroom door—and filling them with non-permanent hardware.
This guide will walk you through auditing your floor plan with a tape measure, identifying invisible storage zones, and installing renter-friendly organizers step by step. The entire audit and setup process takes under 3 hours, and you won’t need a single power tool. Clear a small floor area to work, grab a tape measure, and let’s claim back your hidden square footage.
1. Measure every gap between your furniture and walls
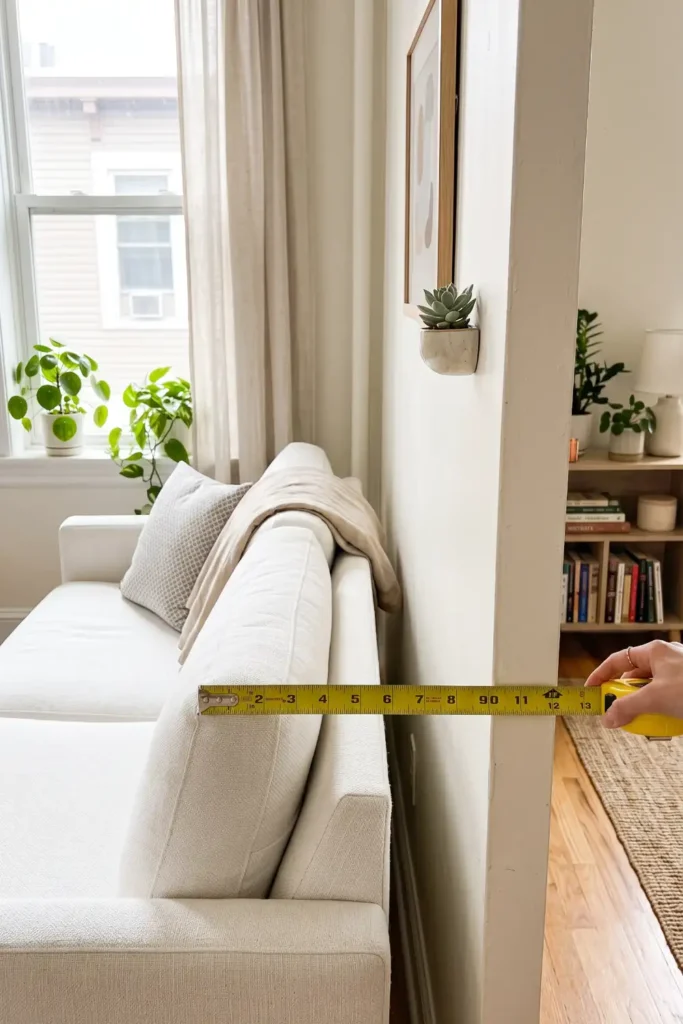
Starting at your main entrance, extend your tape measure into the vertical crevices alongside your sofa, refrigerator, washer, and bedroom dresser. Record any gap wider than 4 inches on your notepad. These narrow slots are usually dismissed as unusable floor area, but they are ideal candidates for slide-out storage. Write down the exact width, depth, and height of each slot so you do not buy containers that protrude into your primary walking paths later.
2. Map the vertical wall space above your interior doorways
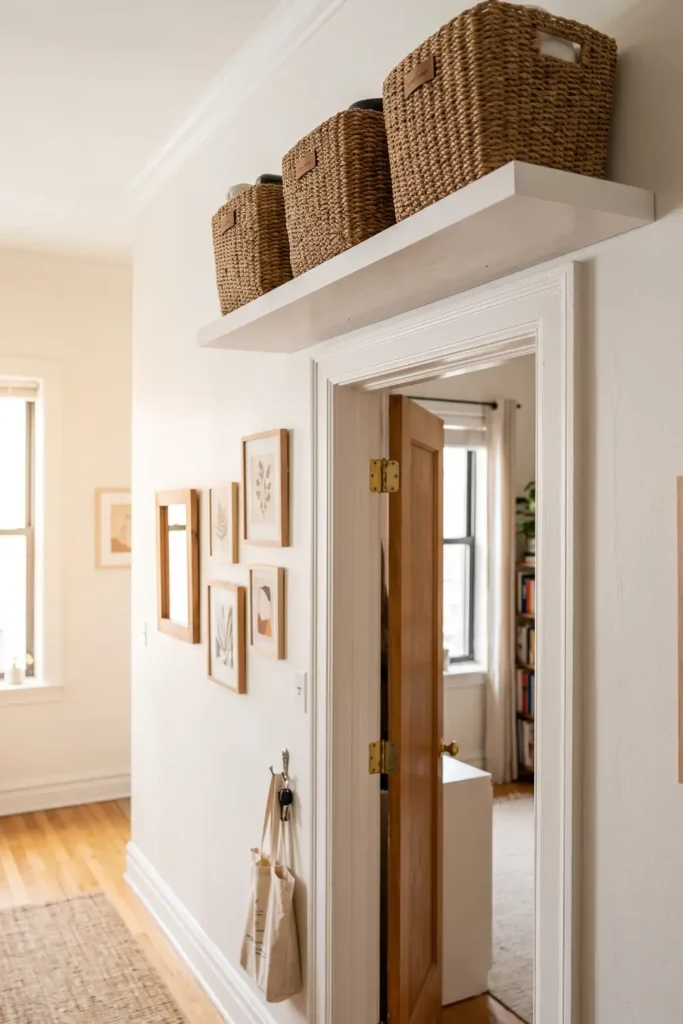
The wall section between the top molding of your door frame and the ceiling is almost always neglected. Extend your tape measure from the top edge of the door trim straight up to the ceiling line. When you find at least 12 inches of open wall height, mark the area with a small strip of painter’s tape. High zones like this do not interfere with room traffic, making them the safest spot to mount floating shelves for lightweight, out-of-season items.
3. Audit the hidden clearance zones behind opening doors
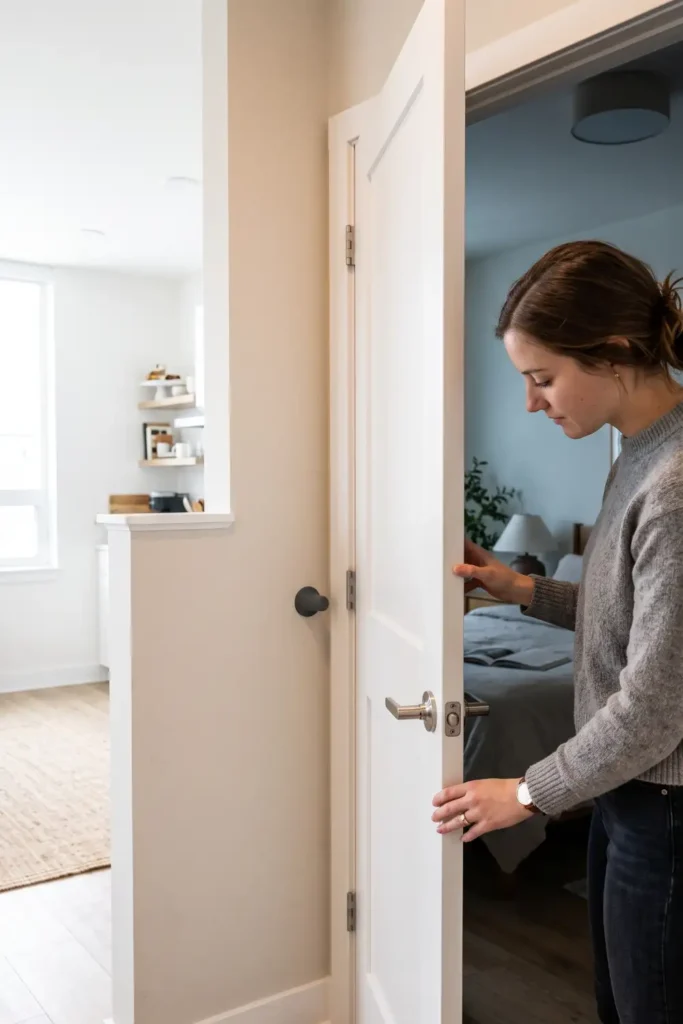
With your interior doors opened fully against their wall stops, measure the floor distance from the back panel of the door to the wall behind it. You need a minimum clearance depth of 7 inches to install over-the-door organizing racks without preventing the door from opening completely. Should your door handle strike the drywall first, stick a thick rubber door stop bumper to the wall at the contact point before mounting hardware.
4. Slide slim rolling carts into narrow appliance gaps
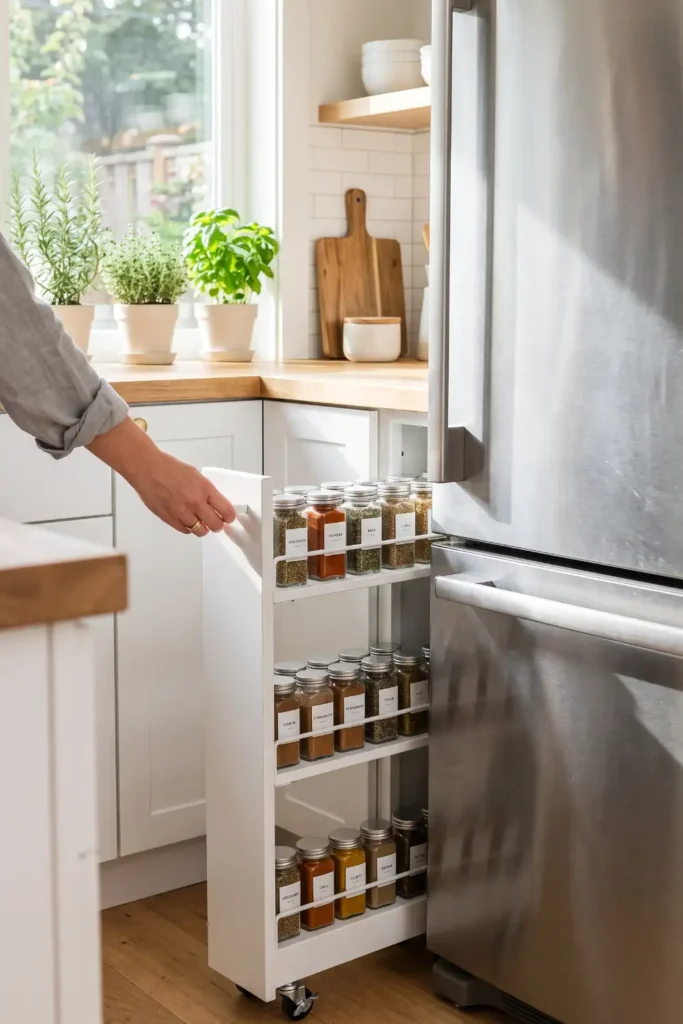
Five inches of gap between your refrigerator and kitchen cabinet is all you need to roll in a multi-tier utility rack. Load heavier items like canned goods and cooking oils on the bottom shelf to keep the cart balanced when rolling. Keep mid-level shelves for spices, vinegar bottles, and baking supplies. Slide the cart directly into the crevice until the front face sits flush with your counter trim so it remains hidden from view.
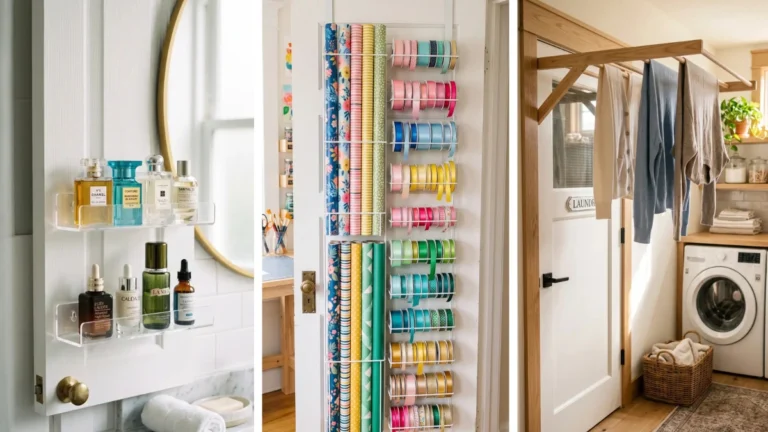
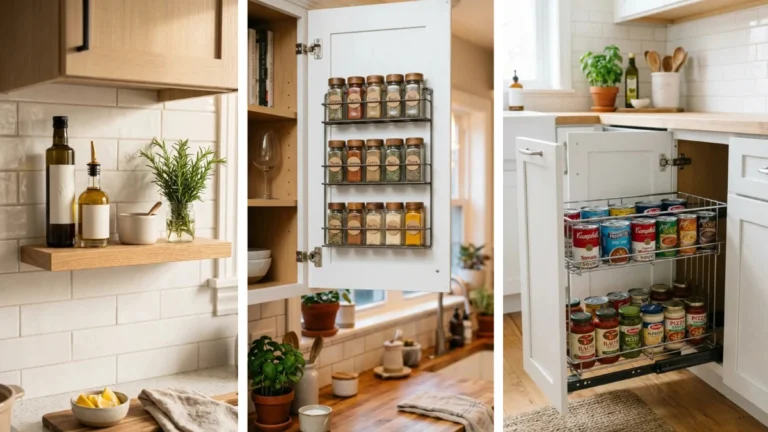
5. Hang tier organizers on the back of cabinet and closet doors
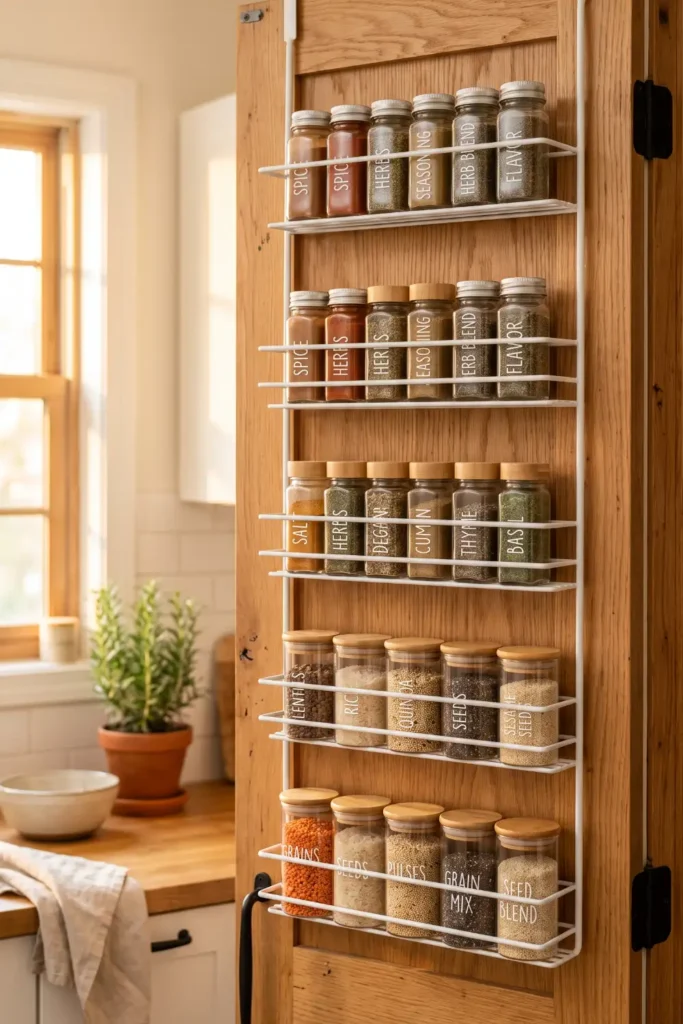
Before hanging any over-the-door rack, test your door’s top clearance by placing a standard coin over the top edge and closing it. If the door latches smoothly without sticking, install your organizer using these five micro-steps:
- Clean the top door trim with rubbing alcohol.
- Hook the steel brackets over the upper frame edge.
- Stick felt pads to the organizer back to stop rattling.
- Snap the wire wire baskets onto the vertical support rails.
- Load lightweight items like spices or toiletries into the baskets.
6. Mount tension rod shelves inside shallow wall alcoves
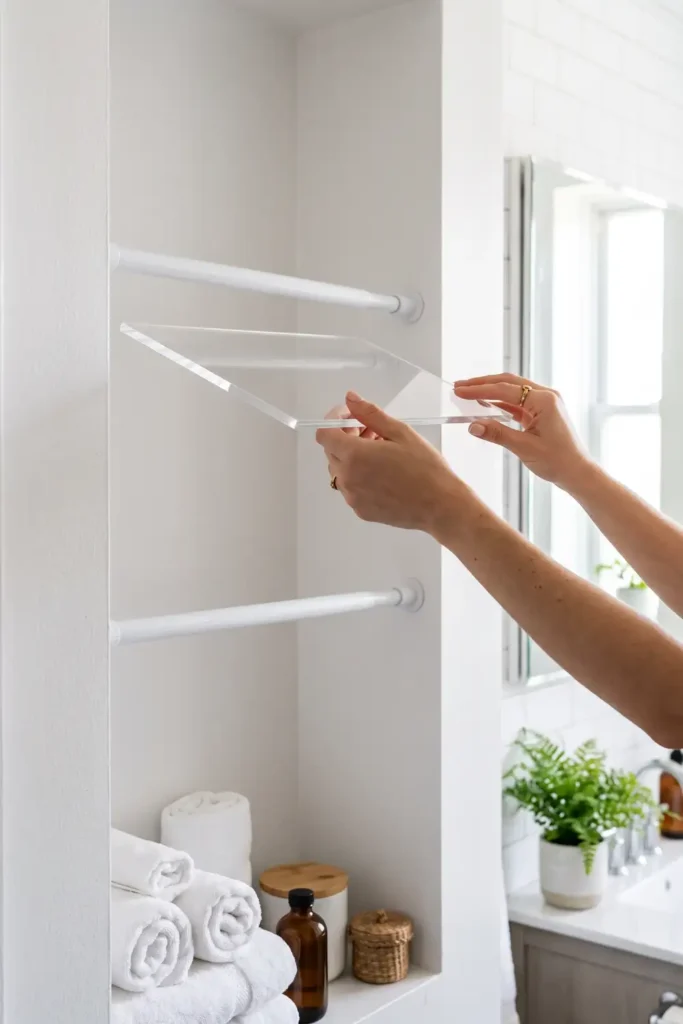
Shallow wall recesses in bathrooms and hallways often sit empty because standard furniture is too deep to fit. Position two heavy-duty rubber-ended tension rods horizontally across the alcove, spacing them 4 inches apart at the exact same height. Lay a lightweight acrylic sheet or thin wooden craft board across both rods to create an instant flat shelf surface. Tighten each rod until the rubber end caps compress firmly against the drywall. This non-permanent shelf supports up to 15 pounds of folded towels, paper supplies, or toiletry baskets without leaving a single nail hole behind.
7. Fill low furniture clearances with rolling under-bed containers
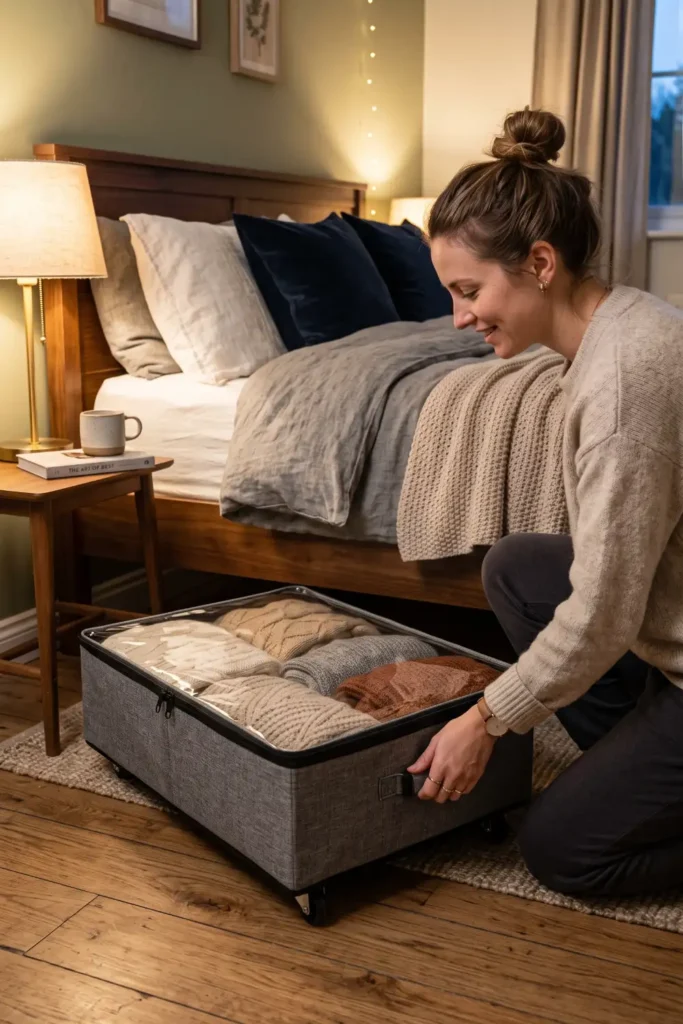
Measure the distance between your floor and the lower frame rail of your bed or sofa. Standard bed frames offer 6 to 8 inches of vertical clearance. Purchase low-profile plastic or woven bins equipped with 360-degree wheels so they slide out easily over carpets. Fill these containers with off-season clothing, extra bed linens, or bulky shoes. Snap the dust-proof lids shut before rolling them under the bed to protect your belongings from dust bunnies and pet hair.
2. Map vertical wall area above doorframes with tape.
3. Check behind open doors for 7-inch clearance.
4. Slide slim carts into appliance crevices.
5. Hang tier racks on cabinet and door backs.
6. Mount non-permanent tension shelves in alcoves.
7. Fill under-bed gaps with rolling bins.
You now know exactly how to use dead space in small apartments to reclaim square footage you didn’t know you had. By measuring your hidden gaps and installing non-permanent organizers, your apartment will feel wider and far less cluttered. Start with just one narrow gap this weekend, like the space beside your fridge or behind your bathroom door. If this guide helped you make room in your home, pin it to your small space ideas board on Pinterest to save it for later!