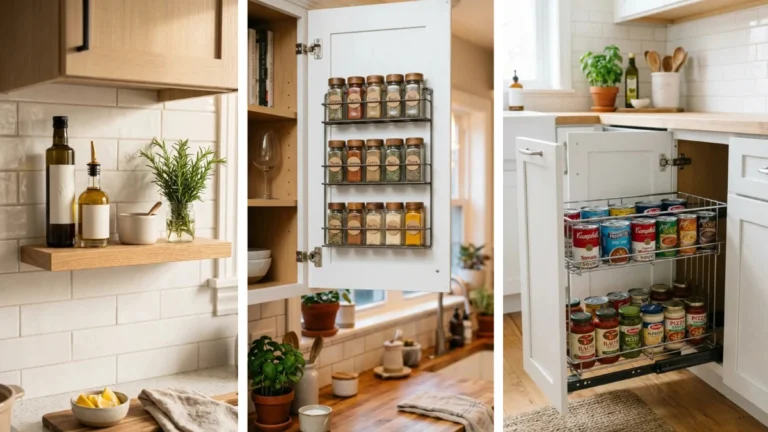
You walk into your living room and immediately see the pile — mail on the counter, shoes by the door, blankets draped over every chair. In a small room, clutter makes the walls feel like they are closing in. I lived in a 600-square-foot apartment for three years, and I learned the hard way that shoving things into random bins only delays the mess by a week.
This guide walks you through how to hide clutter in a small space using a method that actually sticks. You will sort what you own, match each category to the right kind of closed storage, and style everything so guests assume you hired a designer. The hands-on work takes one afternoon. No power tools required. The hardest part is the initial sorting, but the three-pile system below removes all the guesswork.
Grab some trash bags and clear off your biggest flat surface. Let’s get started.
1. Sort every surface into three labeled piles
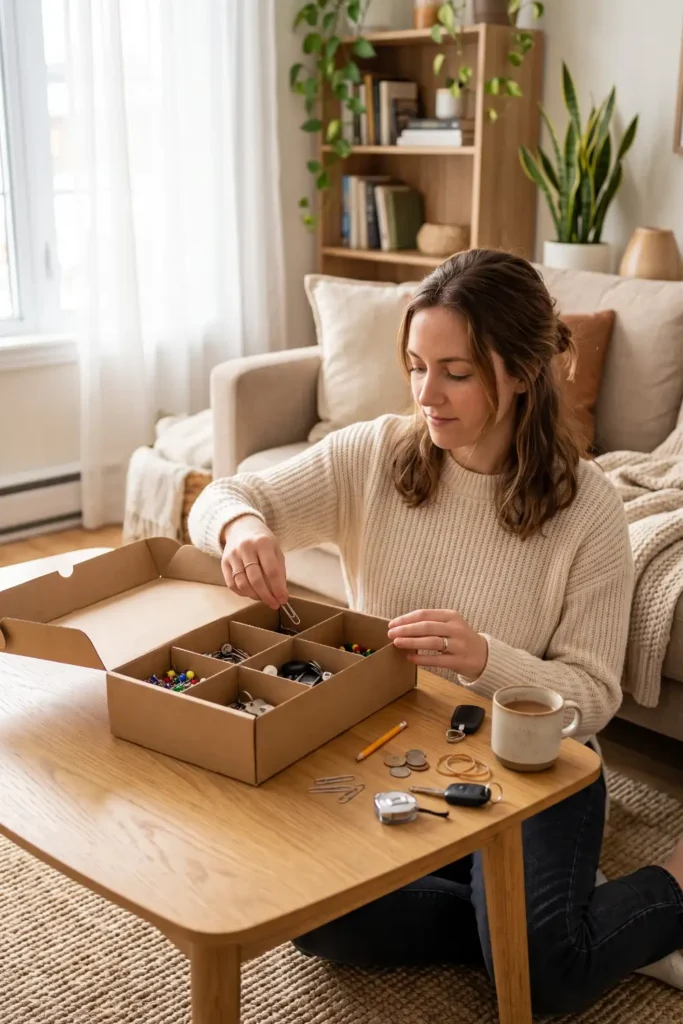
Grab three bags or boxes and label them Keep Stored, Keep Out, and Let Go. Walk to one surface — your coffee table, your entryway bench, your kitchen counter — and pick up every single item on it. Each item goes into exactly one bag. Do not create a “maybe” pile. If you have not used it in 30 days and it holds no sentimental value, it goes in Let Go. Work one surface at a time until the room is clear.
2. Group your “keep stored” items by size and shape
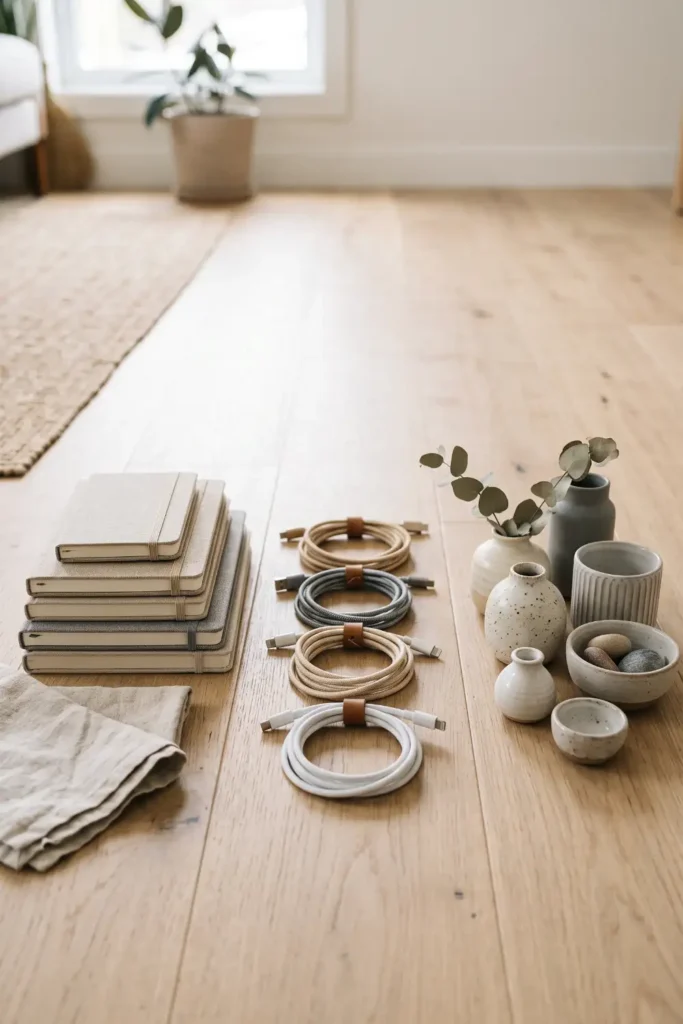
Dump the Keep Stored bag on the floor and separate everything into three groups: tall items like vases and wrapping paper tubes, flat items like magazines and cutting boards, and small loose items like chargers, keys, and pens. This grouping tells you exactly what kind of container each category needs in the next steps, so you stop buying storage that does not actually fit your stuff.
3. Choose closed storage that hides clutter in a small space
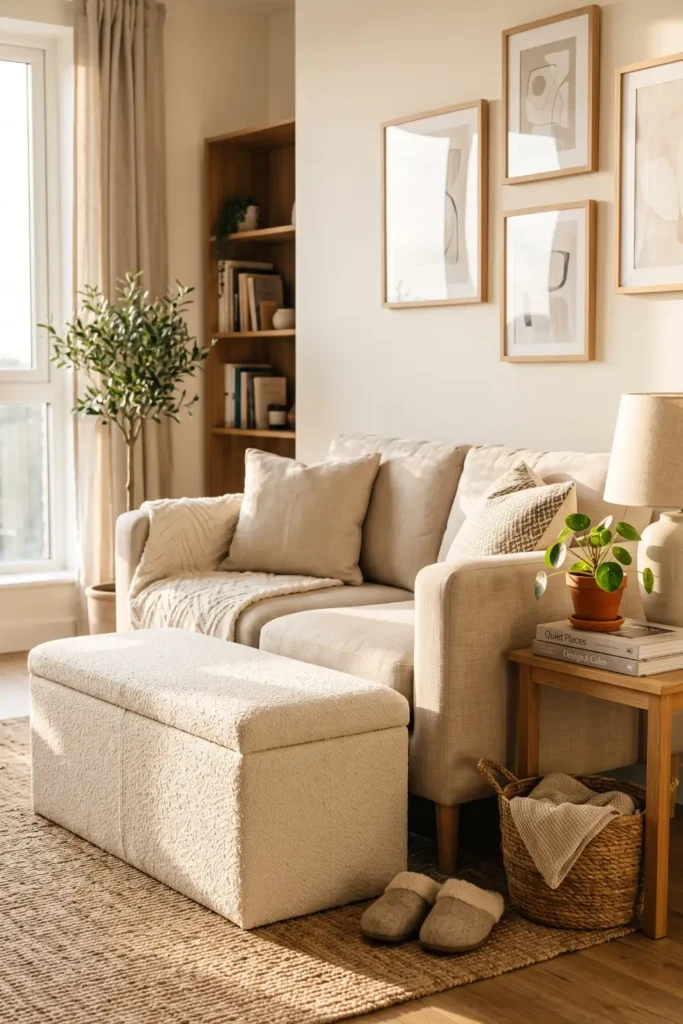
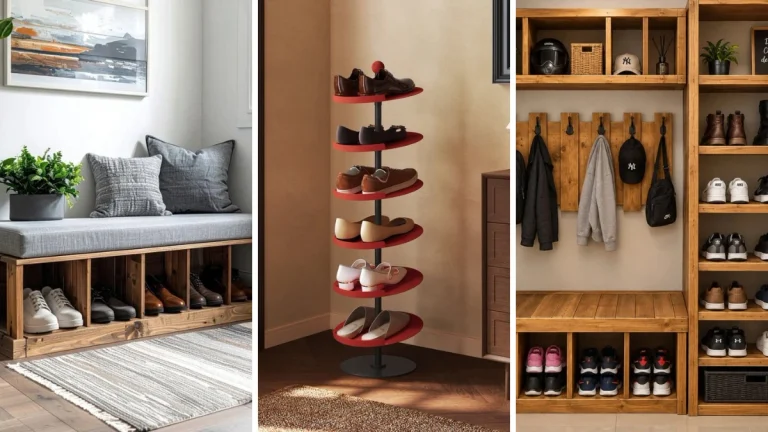
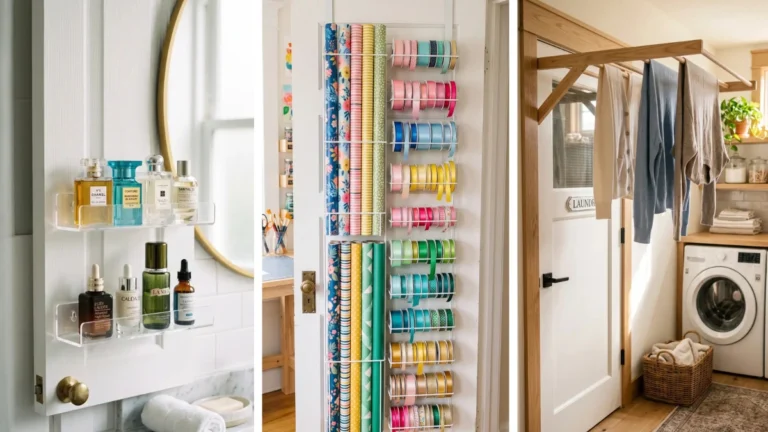
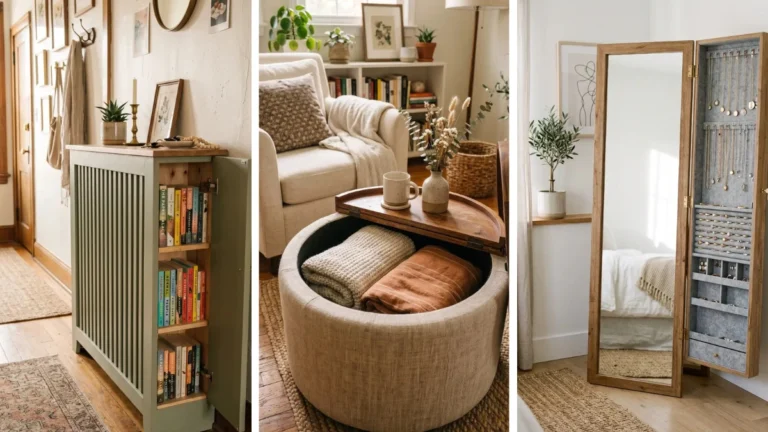
Match each size group from the last step to a piece of furniture with a lid or a door. Tall items fit inside a narrow cabinet or a woven trunk at the foot of your bed. Flat items slide into a storage ottoman. Small loose items disappear inside a lidded ceramic bowl on a shelf. The rule: every storage piece should look like something you would buy even if it were empty.
4. Mount floating shelves with basket systems above eye level
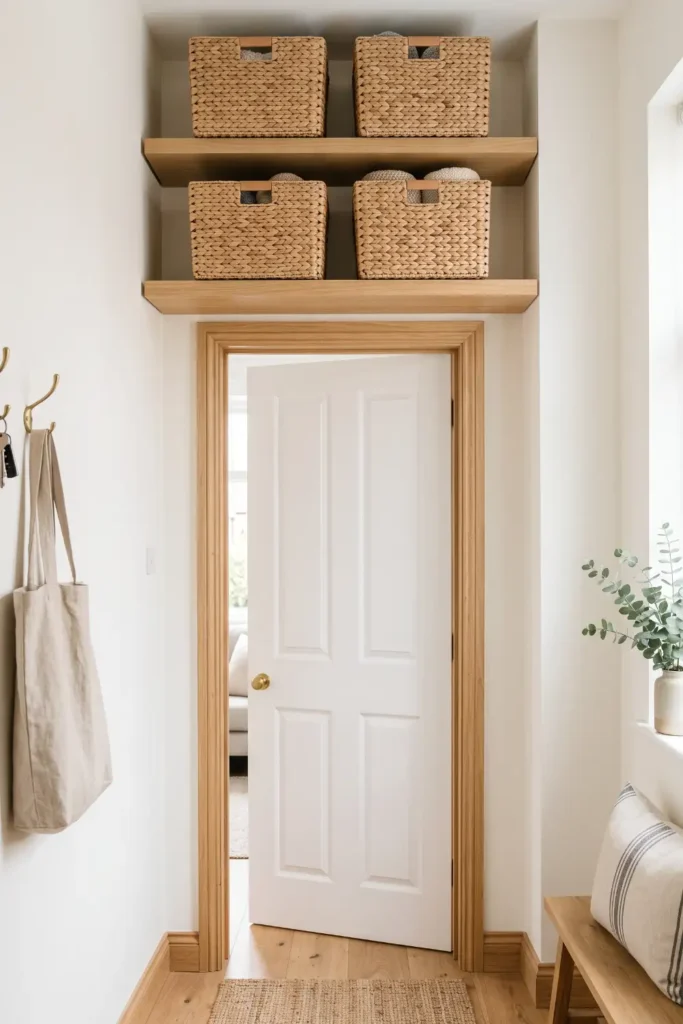
The dead space above your door frames and windows is the most underused storage zone in any small room. Measure the width of each wall section, then buy floating shelves that leave at least 3 inches of clearance on each side. Mount them 6 to 8 inches above the door frame using wall anchors for drywall or screws into studs for plaster. Slide woven baskets onto each shelf — one basket per shelf keeps things from looking chaotic. Label the inside of each basket with masking tape so everyone in the household knows where things go back.
5. Conceal cords and tech clutter inside adhesive channels
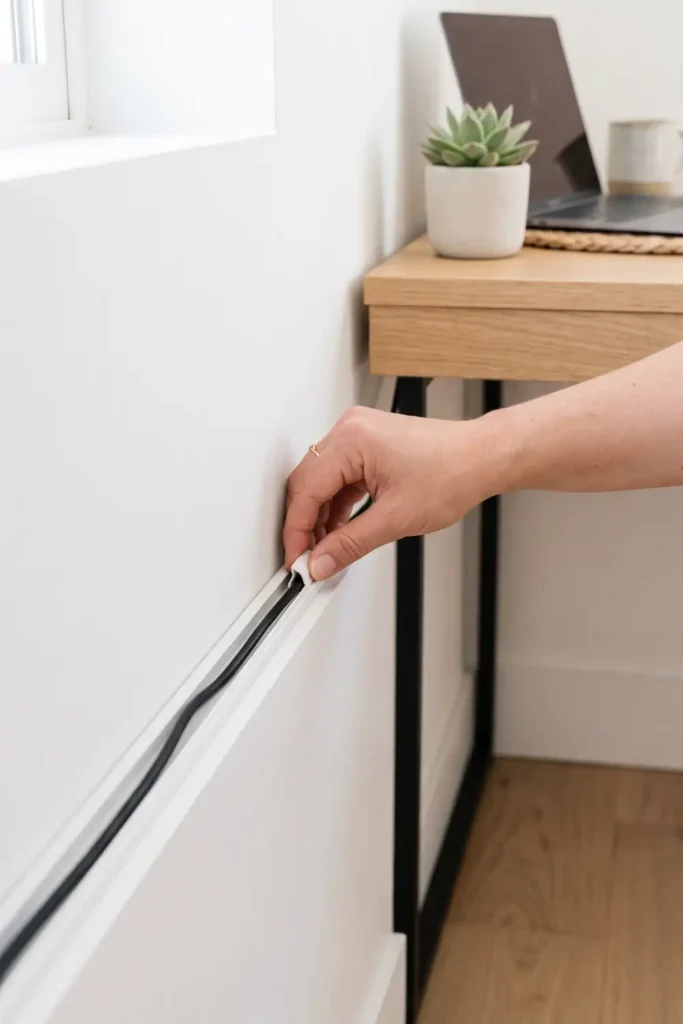
If you can see a single charging cable snaking across a surface, the room will never look finished. Peel the backing off an adhesive cord channel, press it along the back edge of your furniture or along the baseboard, and tuck the cables inside. Snap the cover shut. The entire process takes about 5 minutes per cord cluster.
6. Tame countertops and tables with lidded decorative containers
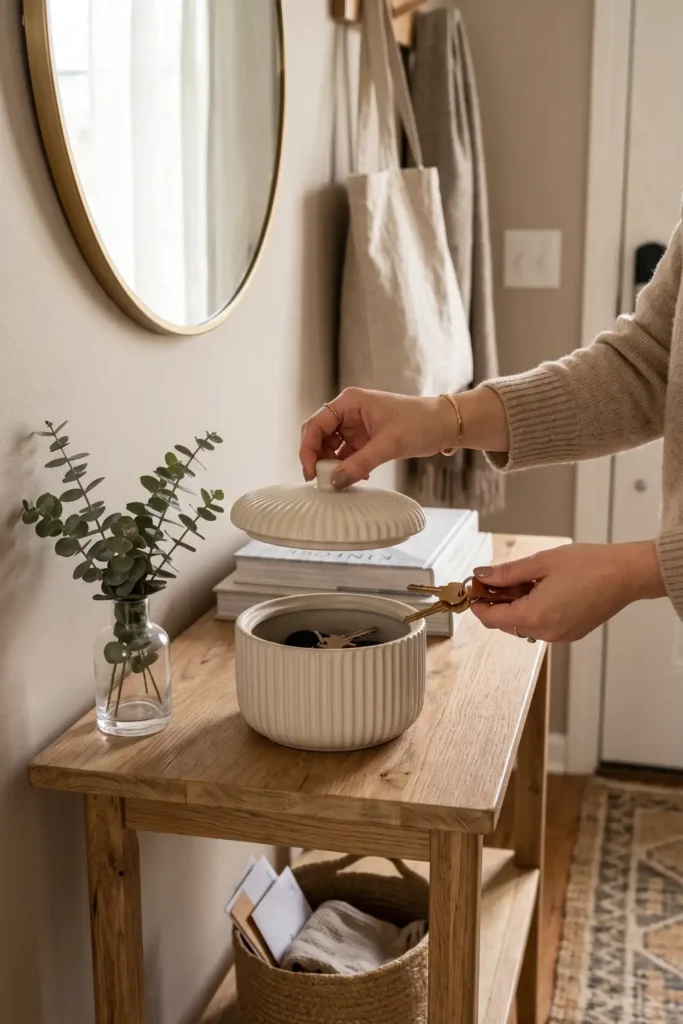
Countertop clutter comes back within 48 hours if you do not give it a designated home. Pick two to four lidded containers that match your room’s color palette — think ceramic jars, wooden boxes, or leather trays with lids. Assign each one a single category: keys and wallets, mail and papers, remotes and chargers. When the lid is closed, the clutter is invisible. When guests walk in, they see styled accessories instead of a junk pile.
7. Style your visible storage so it reads as intentional design
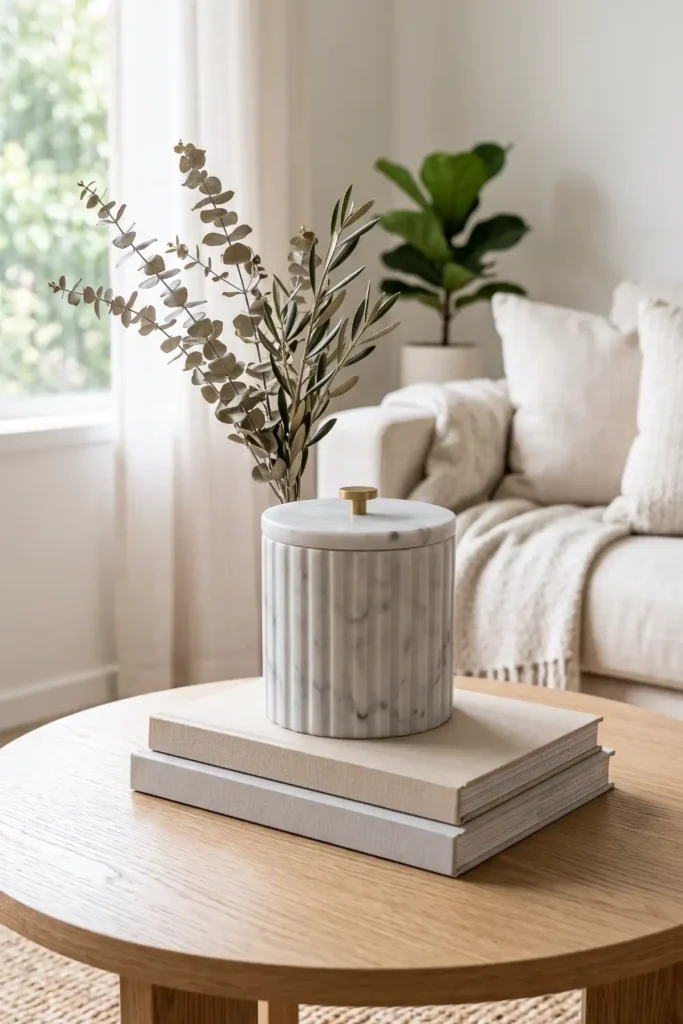
Leftover open surfaces like coffee tables and open shelves still need styling, but they must be carefully balanced. Apply the rule of threes: place one tall object (like a vase), one medium object (like a lidded container), and one flat object (like a book) together. Grouping items in odd numbers prevents the surface from looking like a messy drop zone. Leave at least 4 inches of empty space around the group so the design can breathe and feel restful to the eye.
2. Group stored items by physical size and shape.
3. Match your item groups to closed decorative furniture.
4. Install floating shelves 6 inches above door frames.
5. Hide stray wires inside matching adhesive channels.
6. Place decorative lidded bowls on tables for daily items.
7. Use the rule of threes to group your remaining decor.
Now you know exactly how to hide clutter in a small space so your home looks clean, styled, and intentional. The piles of mail and tangled chargers do not have to be part of your daily view. Take an hour this weekend to sort your main surface, hide the cords, and watch how much bigger your space feels.
Did you try this in your living room or entryway? Pin this guide to your home organization board and let me know how it worked out in the comments below!
Final Wrap-Up
You now have a complete, WordPress-ready, mobile-first guide tailored for Pinterest users. Every single step contains a clear, verb-led action, bolded metrics, and explicit visual HTML blocks that convert into Custom HTML blocks in WordPress. The image prompts and filenames are structured to ensure high-quality, realistic visual generation without typical AI rendering flaws.
Save these assets to your blogging dashboard, schedule your Pinterest pins, and get ready to help your readers turn their cluttered spaces into cozy, designed sanctuaries!