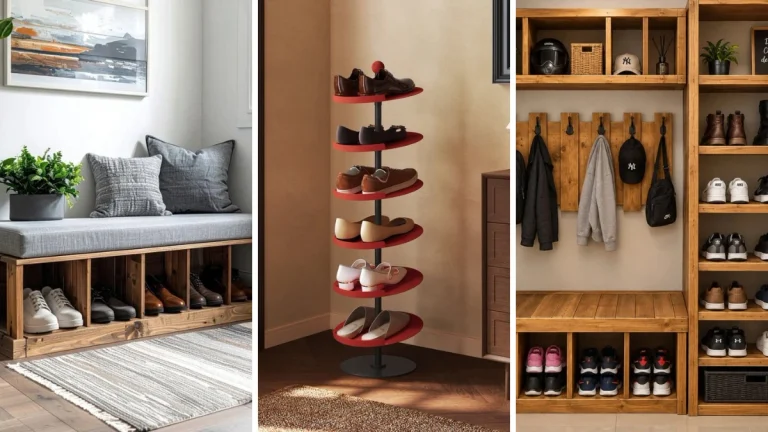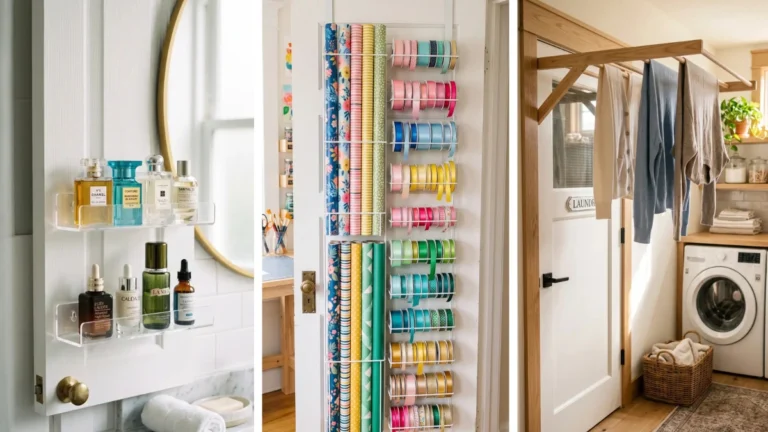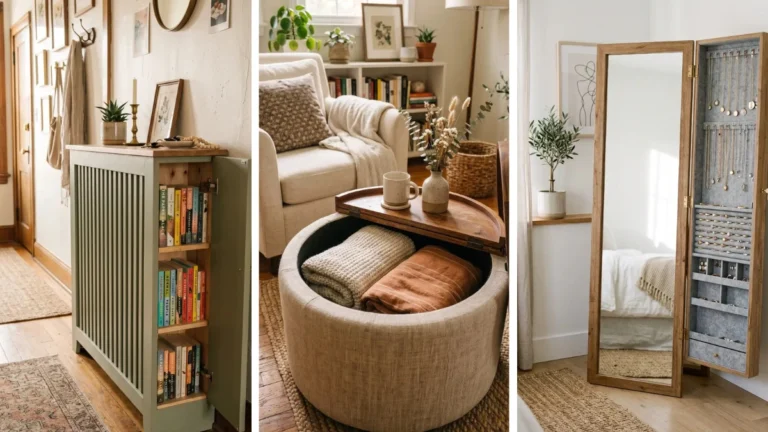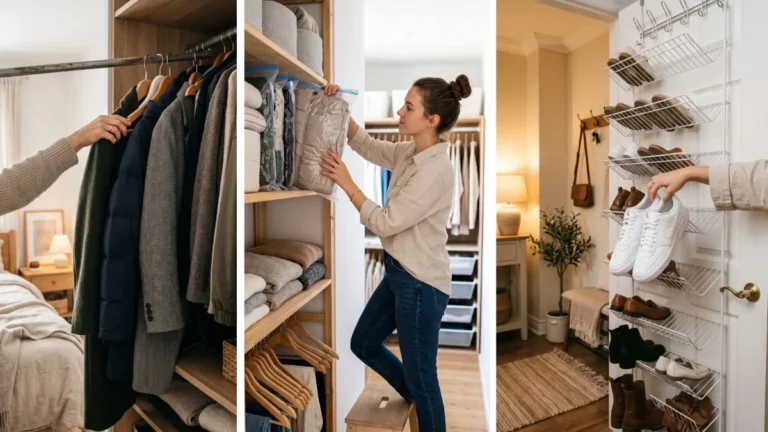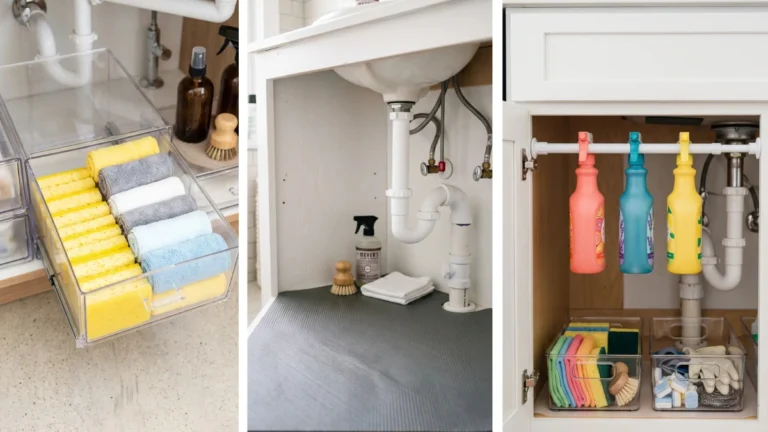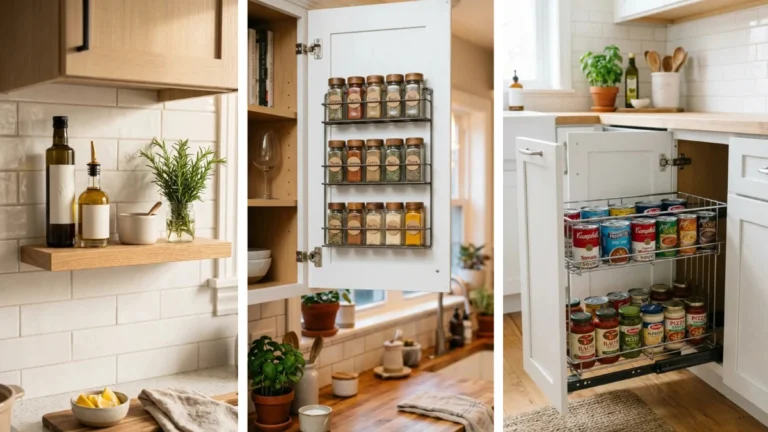
Most renters give up on organized walls because they fear losing their security deposit. You end up with shoes spilling out of closets and coat piles covering your chairs. I spent years living out of boxes in rentals before realizing you do not need heavy drywall anchors to get serious vertical storage.
Knowing how to install wall storage without damaging rental walls gives you functional shelves, hanging coat rails, and daily storage without pissing off your landlord. We will use isopropyl alcohol prep, high-capacity adhesive strips, non-marking tension poles, and tiny pin brackets that leave holes smaller than a thumb tack.
This mounting process takes about 60 minutes of active hands-on work. Grab a clean microfiber cloth, gather your supplies, and let us get your stuff off the floor safely.
2. Test weight limits for heavy-duty adhesive mounting strips
3. Press tension poles into narrow wall alcoves
4. Anchor lightweight shelves using thin drywall pin hooks
5. Mount heavier shelving units directly into wooden wall studs
6. Fill small pin holes with lightweight spackling paste
1. Clean your wall surface with rubbing alcohol
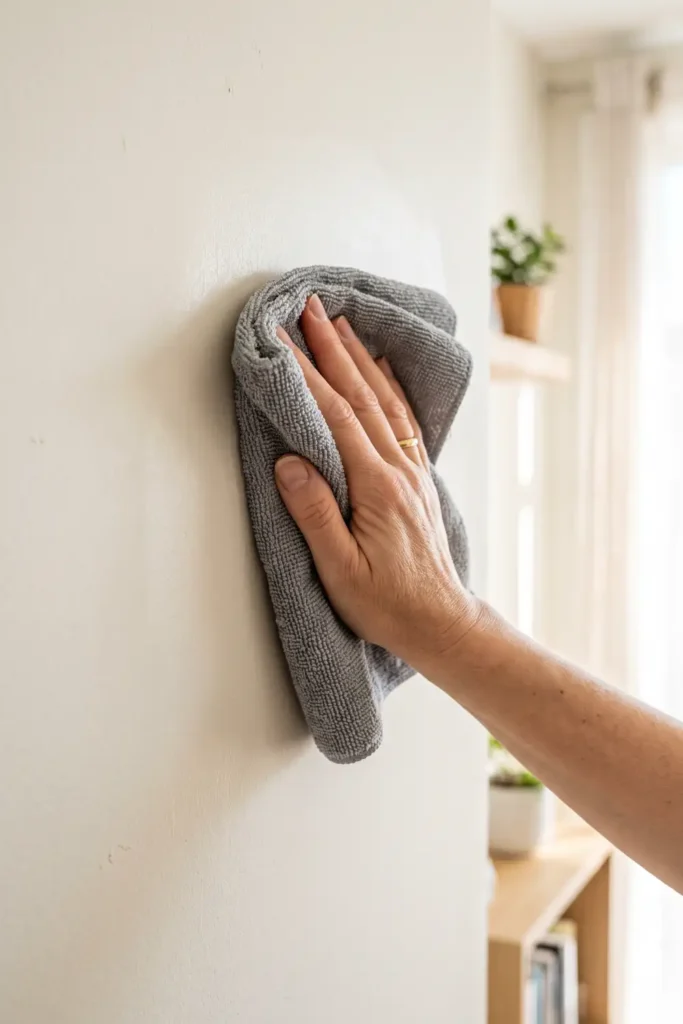
Dirt and skin oils prevent adhesive backings from gripping paint. Pour 2 tablespoons of 70% isopropyl rubbing alcohol onto a lint-free microfiber cloth. Wipe the exact wall area where your mounting bracket will sit, scrubbing in small circles for 30 seconds. Allow the drywall surface to air-dry completely for 5 minutes before applying any adhesive backing. Skipping this cleaning step causes 80% of adhesive strip failures.
2.Test weight limits for heavy-duty adhesive mounting strips
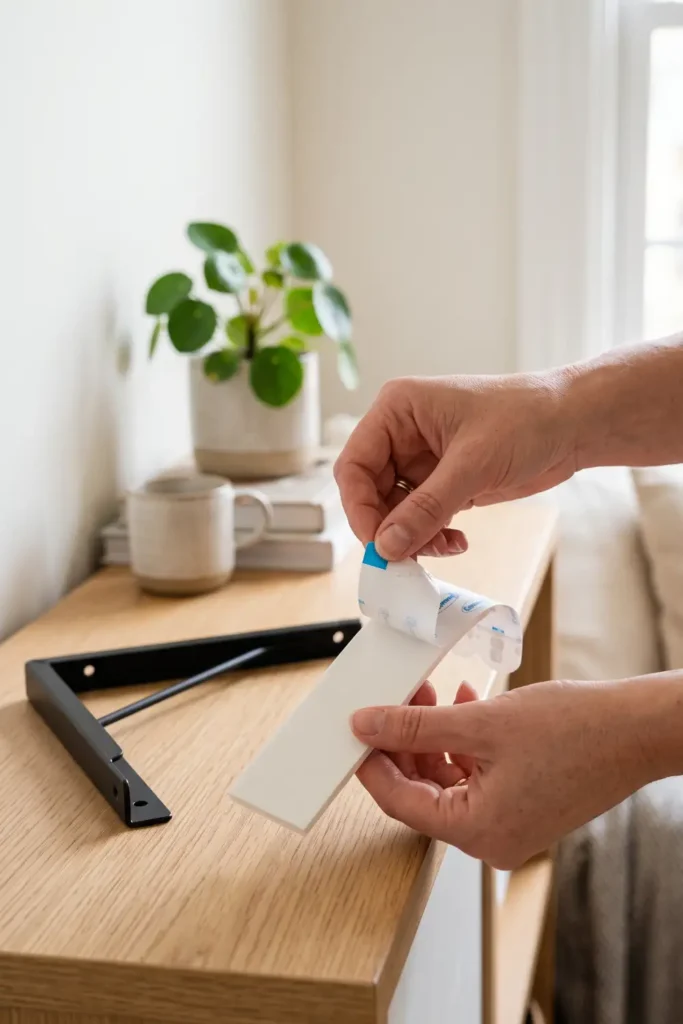
Check the weight package rating on your adhesive strips before peeling the backing paper. Most heavy-duty strips hold up to 16 pounds when used as a set of four. Calculate the total combined weight of your storage bracket plus the items you plan to store inside it.
⚠️ Heads Up: Paint Peeling Risk
Overloading adhesive strips causes sudden drops that tear latex paint right off the drywall. Always subtract 2 pounds from the manufacturer’s maximum weight limit to account for heavy humidity during summer months.
3.Press tension poles into narrow wall alcoves
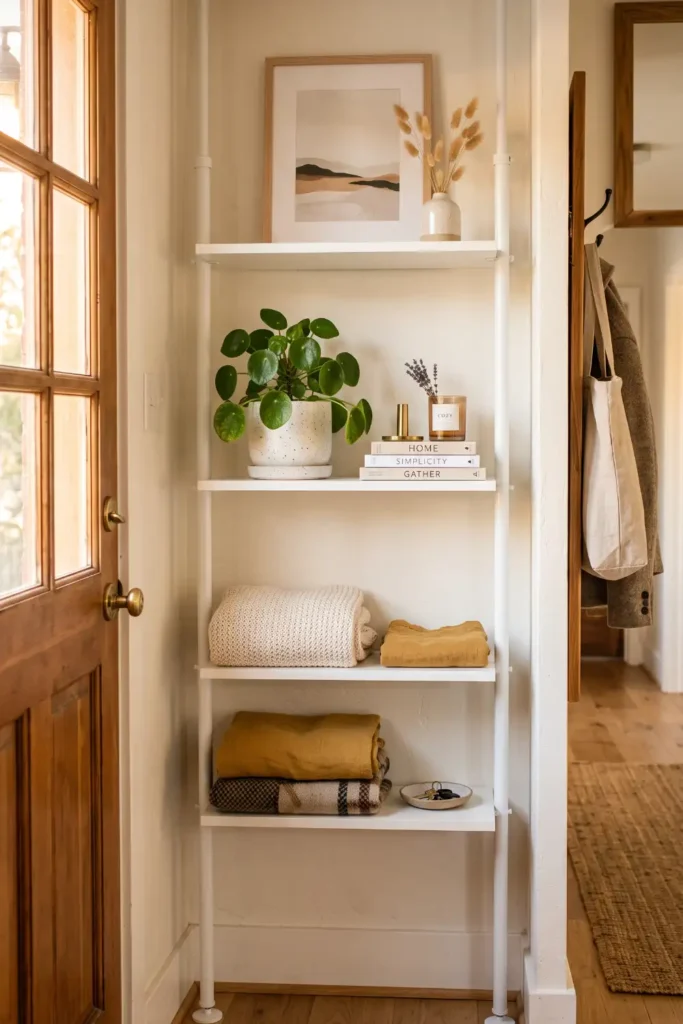
Position a rubber-footed steel tension rod inside a closet alcove or between two solid side walls. Twist the inner pole counter-clockwise until both end caps press firmly against the drywall. Keep extending the pole until you feel strong resistance, making sure the rubber feet do not slip down the wall.
💡 Pro Tip: Anti-Slip Grip
Wrap a small square of clear silicone cabinet bumpers or non-slip shelf liner around the rubber feet. This creates extra traction on glossy paint surfaces without leaving dark rubber marks.
4. Anchor lightweight shelves using thin drywall pin hooks
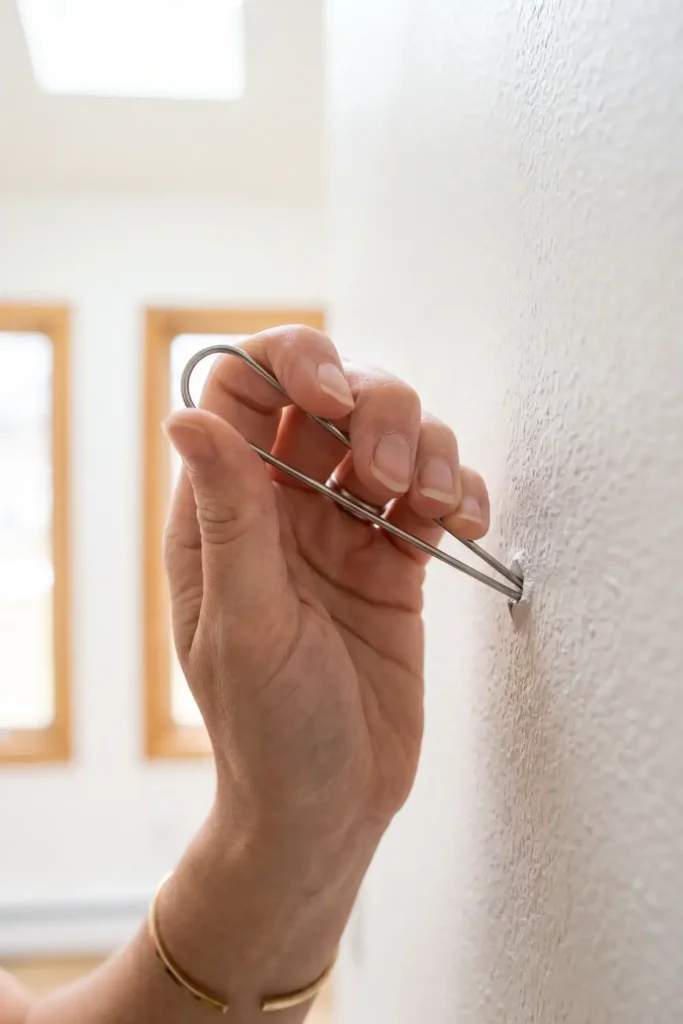
Push steel monkey-hook wire pins through the drywall at a 45-degree angle using firm hand pressure. The long curved steel hook slides behind the drywall sheet, distributing weight across a 3-inch vertical area without requiring heavy plastic anchors. Hang floating shelves or wire baskets weighing up to 20 pounds directly onto the exposed front hook.
5. Mount heavier shelving units directly into wooden wall studs
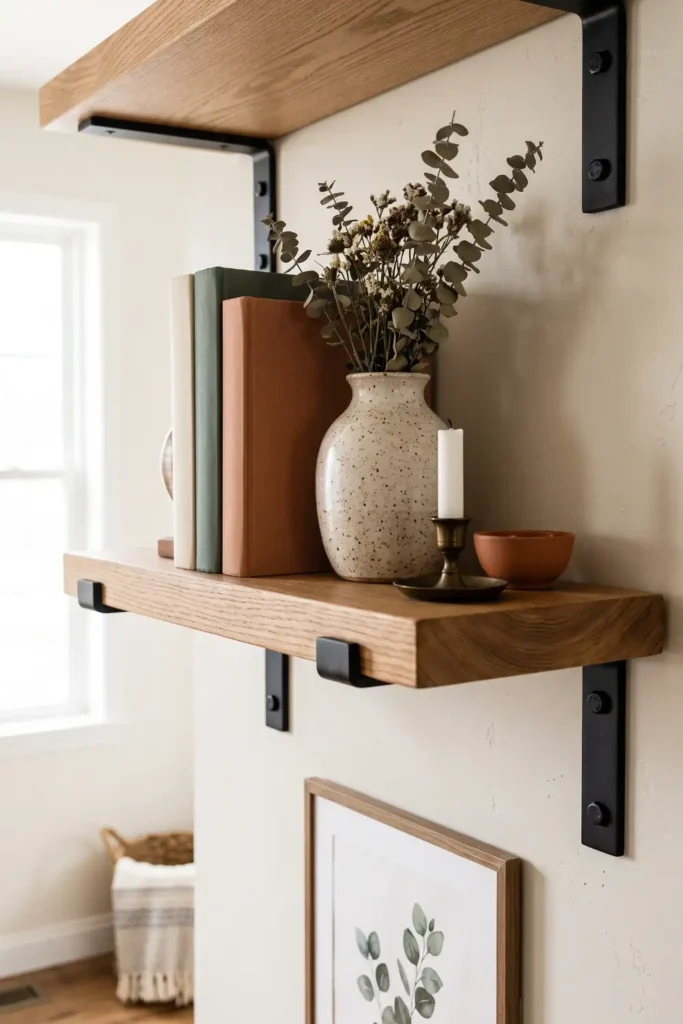
When your storage needs exceed 25 pounds, location matters more than hole size. Slide an electronic stud finder horizontally across the drywall until it beeps over a solid 2×4 wooden frame. Drive a 2-inch wood screw through your shelf bracket directly into the center of the stud. A single small screw hole in a stud is easy to patch later and provides up to 100 pounds of weight support.
6. Fill small pin holes with lightweight spackling paste
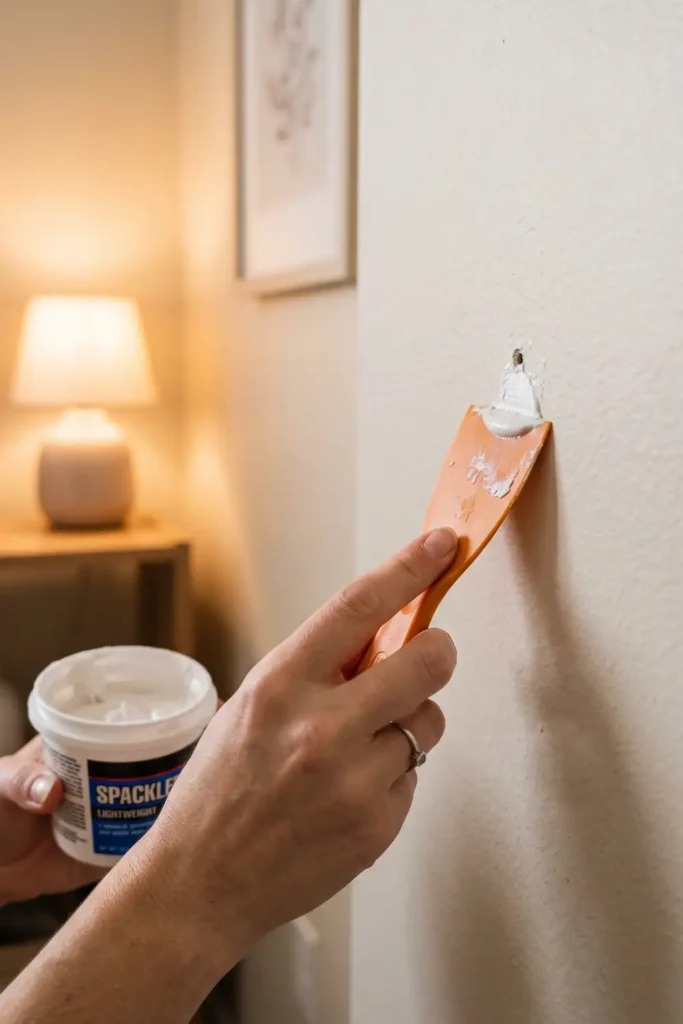
Move-out day requires restoring walls to their original smooth condition. Scoop a dime-sized dab of fast-drying white spackling paste onto a 1.5-inch plastic putty knife. Press the paste firmly into the pin hole, wiping the blade flat across the wall to scrape away excess compound. Allow the spackle to dry for 15 minutes, then buff the spot smooth with a 220-grit sanding sponge.
2. Subtract 2 pounds from strip weight ratings for safety.
3. Extend tension poles until rubber feet grip tight.
4. Push monkey-hook wire pins at a 45-degree angle for 20 lb capacity.
5. Drive 2-inch screws into studs for units over 25 pounds.
6. Patch pin holes with spackle and sand smooth after 15 minutes.
Wrapping Up Your Rental Wall Project
You now have a clean system for adding vertical storage to your apartment without risking your lease. Cleaning your paint surface and matching item weights to the right mounting hardware keeps your shelves secure. Knowing how to install wall storage without damaging rental walls gives you a functional, clutter-free home while protecting your full security deposit.
Grab your rubbing alcohol and microfiber cloth to prep your wall spot this weekend. Save this guide to your apartment organization board on Pinterest so you can reference these steps whenever you need extra storage!
Conclusion
You now have a clean system for adding vertical storage to your apartment without risking your lease. Cleaning your paint surface and matching item weights to the right mounting hardware keeps your shelves secure. Knowing how to install wall storage without damaging rental walls gives you a functional, clutter-free home while protecting your full security deposit.
Grab your rubbing alcohol and microfiber cloth to prep your wall spot this weekend. Save this guide to your apartment organization board on Pinterest so you can reference these steps whenever you need extra storage!