Spring shows every dusty corner in a small apartment, and the usual advice to spend a whole weekend scrubbing does not fit a place where the kitchen, bedroom, and living room share one hallway. You need a plan that works in short bursts, uses what you already own, and leaves each room better than you found it, not half done. This spring deep cleaning checklist small apartment guide breaks the job into fifteen small wins, each one sized for a single room or a single drawer, so you can finish one idea, see the change, and stop without guilt. You will work zone by zone, clear surfaces before you buy storage, and keep a donation bag moving until summer. No harsh fumes, no new bins, no marathon sessions. Grab a cloth, pick the idea that bothers you most, and start there. By the last idea, your rooms will feel lighter, brighter, and easier to keep that way.
1. Clean One Zone at a Time, Not One Task at a Time
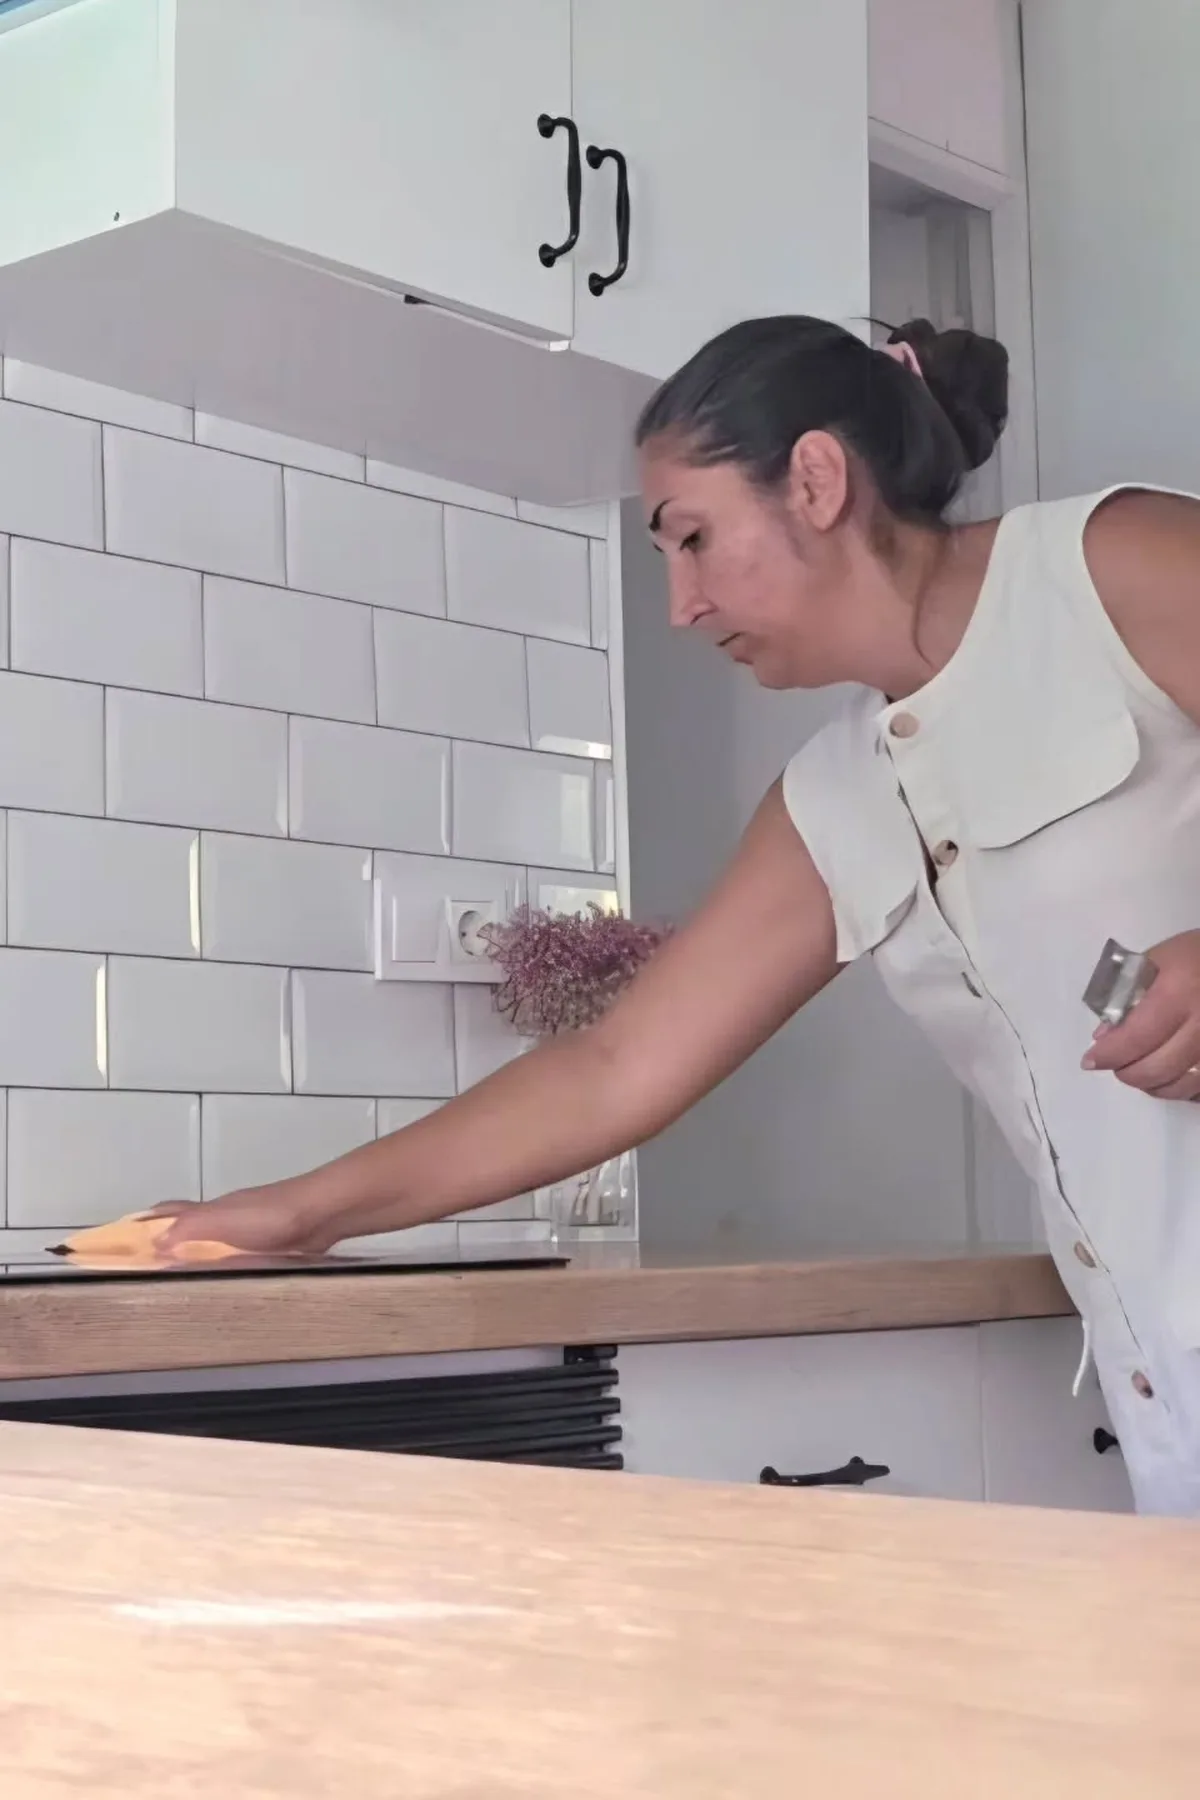
Pick one small zone and stay there until it is done.
- Start with the spot you use most, like the kitchen counter or the entryway, and clear it top to bottom.
- Carry one bag for trash and one box for things that belong in another room, so you stop mid-task trips.
- Dust, wipe, and put back only what lives in that zone before you step into the next one.
- Set a timer for 30 minutes and let a finished zone be your proof that the rest can wait.
- Tip: close the door or pull the curtain on the next zone while you work, so your eyes stay on the job in front of you.
💡 Zone Rule That Keeps You Going
Best for: short evening sessions and small flats where one messy corner can feel like the whole home
Effort: one zone per session, no carrying half done jobs into the next room
Cost: none beyond the cloths and bags you already own
Finished means: every item left in the zone belongs there, and the floor and surfaces are clear
2. Reset Your Entryway in 15 Minutes
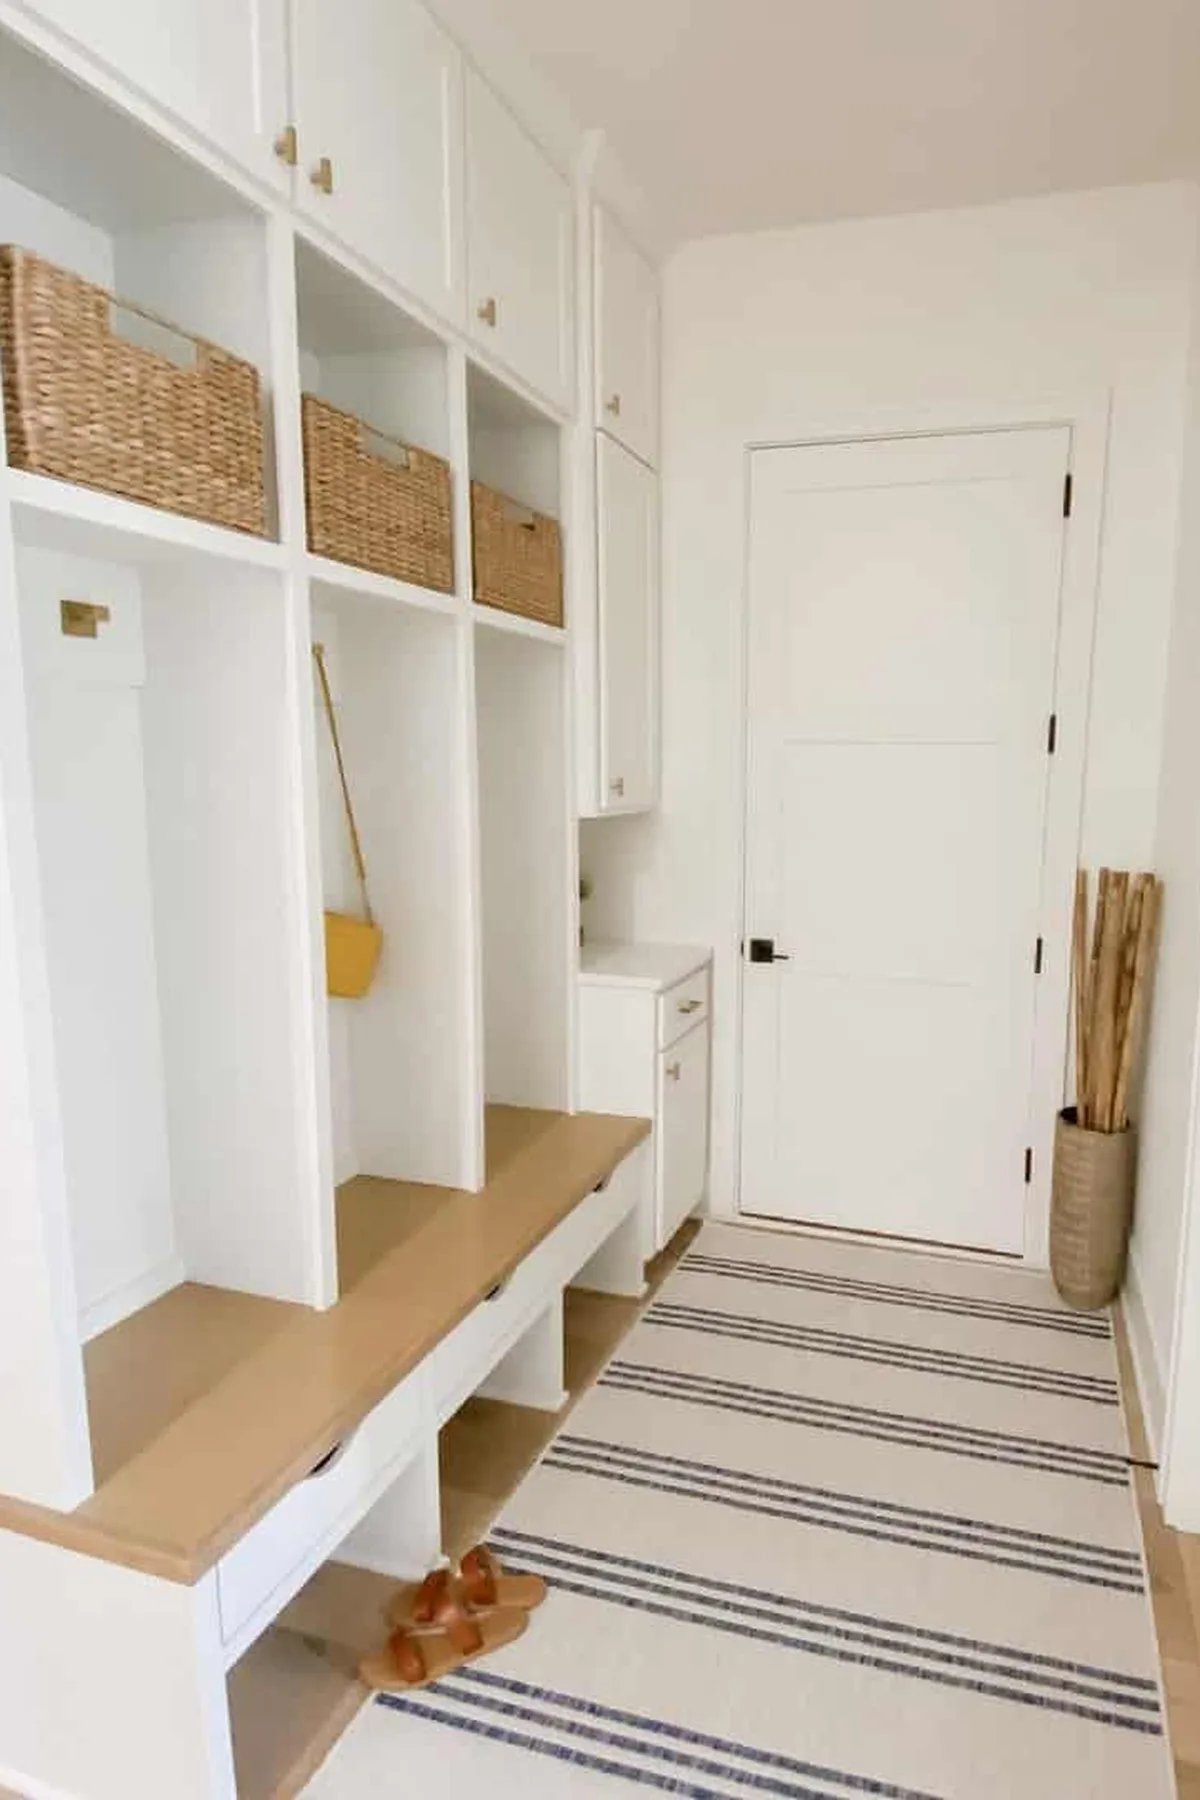
Shoes pile up by the door, keys vanish into a coat pocket, and mail lands in a heap you step around every morning. That small strip by the door works hard, so it fills up fast.
- Set a timer for 15 minutes and grab a bag for trash and stray items.
- Return shoes to their spot, hang coats and bags, and put keys and mail where they belong.
- Wipe the surface by the door, shake out the mat, and leave only what you use each day.
You walk in to a clear path, a calm first look, and a door you can actually open wide.
Your 15 minute entryway reset
Bag it first. Carry one bag so stray items leave with you, not to another room.
Give everything a hook. Shoes in the bench, coats on pegs, keys in one dish.
Finish the floor. Shake the mat outside and leave only daily gear by the door.
Cost: no new buys
Effort: one short burst
3. Deep Clean the Fridge Shelf by Shelf
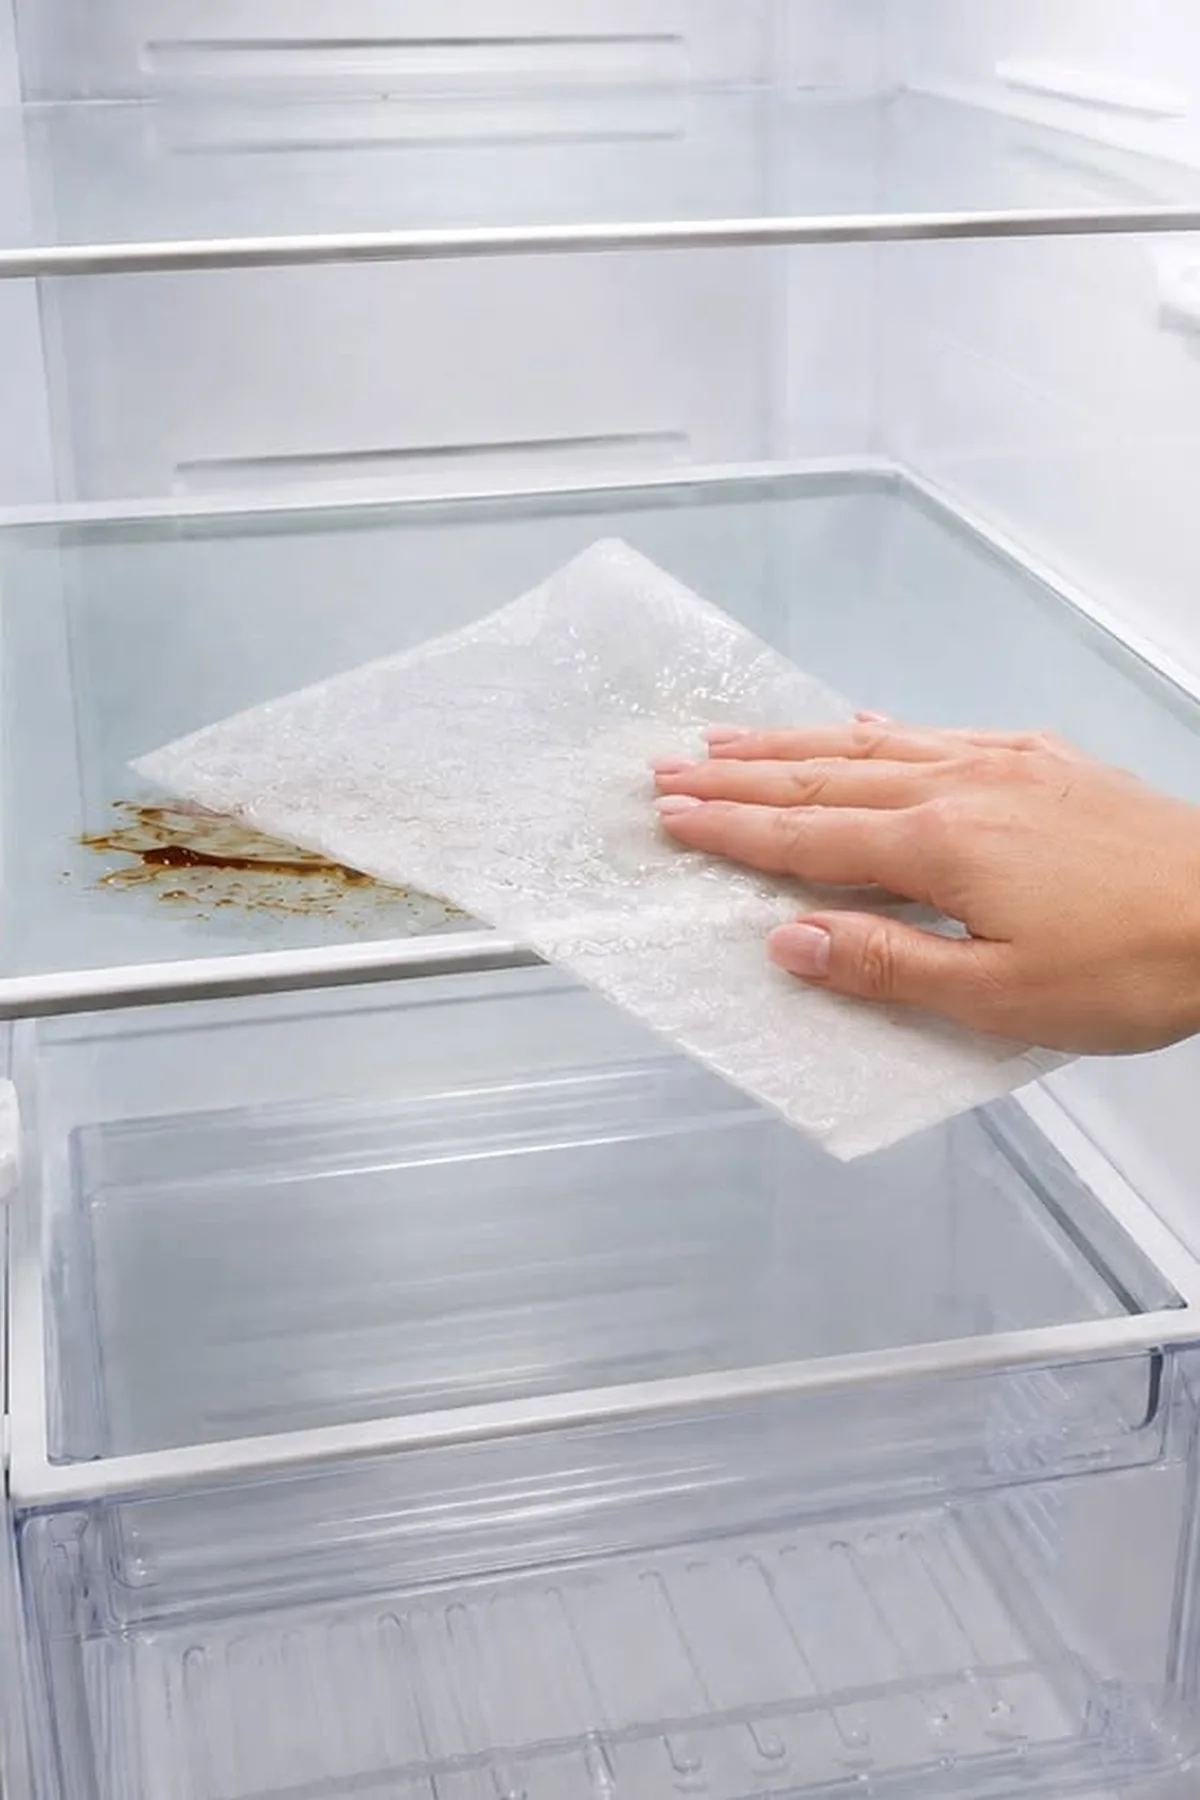
Each shelf takes about five minutes from empty to wiped and back in place. Pull everything off one shelf, check dates as you lift each jar, and toss anything past its date into a bag by your feet. Wipe the shelf with a damp cloth, dry it, and slide it back before you start the next one.
💡 Tip: Keep a small bowl nearby for loose lids you find, so they do not roll to the back of the fridge again.
Work top to bottom so drips land on shelves you have not cleaned yet. Do not slide food back onto a shelf that still feels damp, or jars will stick and pick up crumbs.
🧽 Shelf by shelf checklist
Work one shelf at a time, then stop. No need to empty the whole fridge at once.
✅ Empty one shelf only
Effort: light | Best for: small fridges
✅ Check dates and toss as you go
Cost: none | Best for: forgotten jars
✅ Wipe, dry, then restock
Effort: quick | Best for: sticky spills
✅ Finish with the door seals
Effort: quick | Best for: crumbs in the folds
4. Skip the Harsh Fumes and Clean With a Gentle Spray Instead

Strong chemical spray can fill a small apartment in minutes, but a gentle spray cleans the same counter without that heavy smell hanging in the air.
- Harsh cleaner: sharp fumes, a closed window, and a headache before the job is done.
- Gentle spray: water, a little vinegar or castile soap, and a cloth you can use with the door shut.
Mix a small bottle for counters and taps, keep it under the sink, and wipe as you go so dirt never gets a chance to build up.
Breathe easy and keep scrubbing.
Harsh vs gentle in a small space
5. Hang Your Cleaning Tools Inside a Closet Door

Inside a closet door, a row of removable hooks turns dead space into a home for your broom, dustpan, and spray bottles. Your tools hang upright, off the floor, and out of sight when the door closes, so a small closet stops feeling like a tangle of handles. Hang the heaviest tool closest to the hinges, where the door carries weight best, and keep the spray you reach for daily at hand height.
- ✓Wipe the door clean and let it dry before you stick a hook on.
- ✓Press each hook firm for a full minute before you hang anything.
- ✓Tip: leave a finger width between handles so tools lift off without a snag.
Door hook setup at a glance
- ▸Best for: narrow closets with no spare floor space
- ▸Cost: low, a few hooks and no drilling
- ▸Effort: one short job, then tools stay put
- ▸Keep off the door: heavy buckets and anything that swings when the door moves
6. Let One Item Out for Every Item That Comes In

Why does your closet fill back up so fast after a spring clean?
New clothes slip in, old ones stay put, and the rod gets crowded again. A simple swap stops that slide. When a new top, pair of jeans, or sweater comes home, pick one piece you no longer wear and move it straight to the bag by your closet door.
- Hang the new piece only after the old one leaves the rod
- Keep the bag where you dress, not tucked in a back room
- Drop the bag off once it is full, then start a fresh one
That small habit keeps the count steady and the closet easy to use. Your spring clean lasts because every arrival has an exit.
7. Strip Your Bathroom Bare, Then Keep Only Daily Essentials

Last week the counter was crowded with half empty bottles, stray bobby pins, and a tube with no cap. Now the same counter holds soap, toothbrushes, and one hand towel.
Do this:
- Take everything off, wipe the counter and mirror, and sort items into keep, move, and toss piles.
- Return only what you reach for each morning, and give each item one clear spot.
Do not do this:
- Do not keep backups on the counter, and do not refill the space because it looks empty.
- Do not stash extras behind the mirror if you will forget them there.
Watch out: a bare counter invites new clutter fast, so check it each week and move anything that crept back.
Crowded counter, open drawer, and no clear spot for daily items.
Clear counter with a small tray holding only soap, toothbrushes, and a hand towel.
8. Adopt the Ten-Minute Nightly Reset

Evenings in a small place show every stray shoe and mug at once. A short reset stops that clutter from greeting you in the morning. Set a timer for ten minutes and move room to room with a small basket. Return each stray item to its home, fluff the cushions, and wipe the kitchen counter. Leave the deep work for another day.
| Minutes | Focus |
|---|---|
| 3 minutes | Living room pick up, cushions straight |
| 4 minutes | Dishes in the sink, counters wiped |
| 3 minutes | Shoes by the door, bag ready for tomorrow |
Ten minutes tonight buys a calm morning.
9. Wash Your Windows Inside and Out for Brighter Rooms
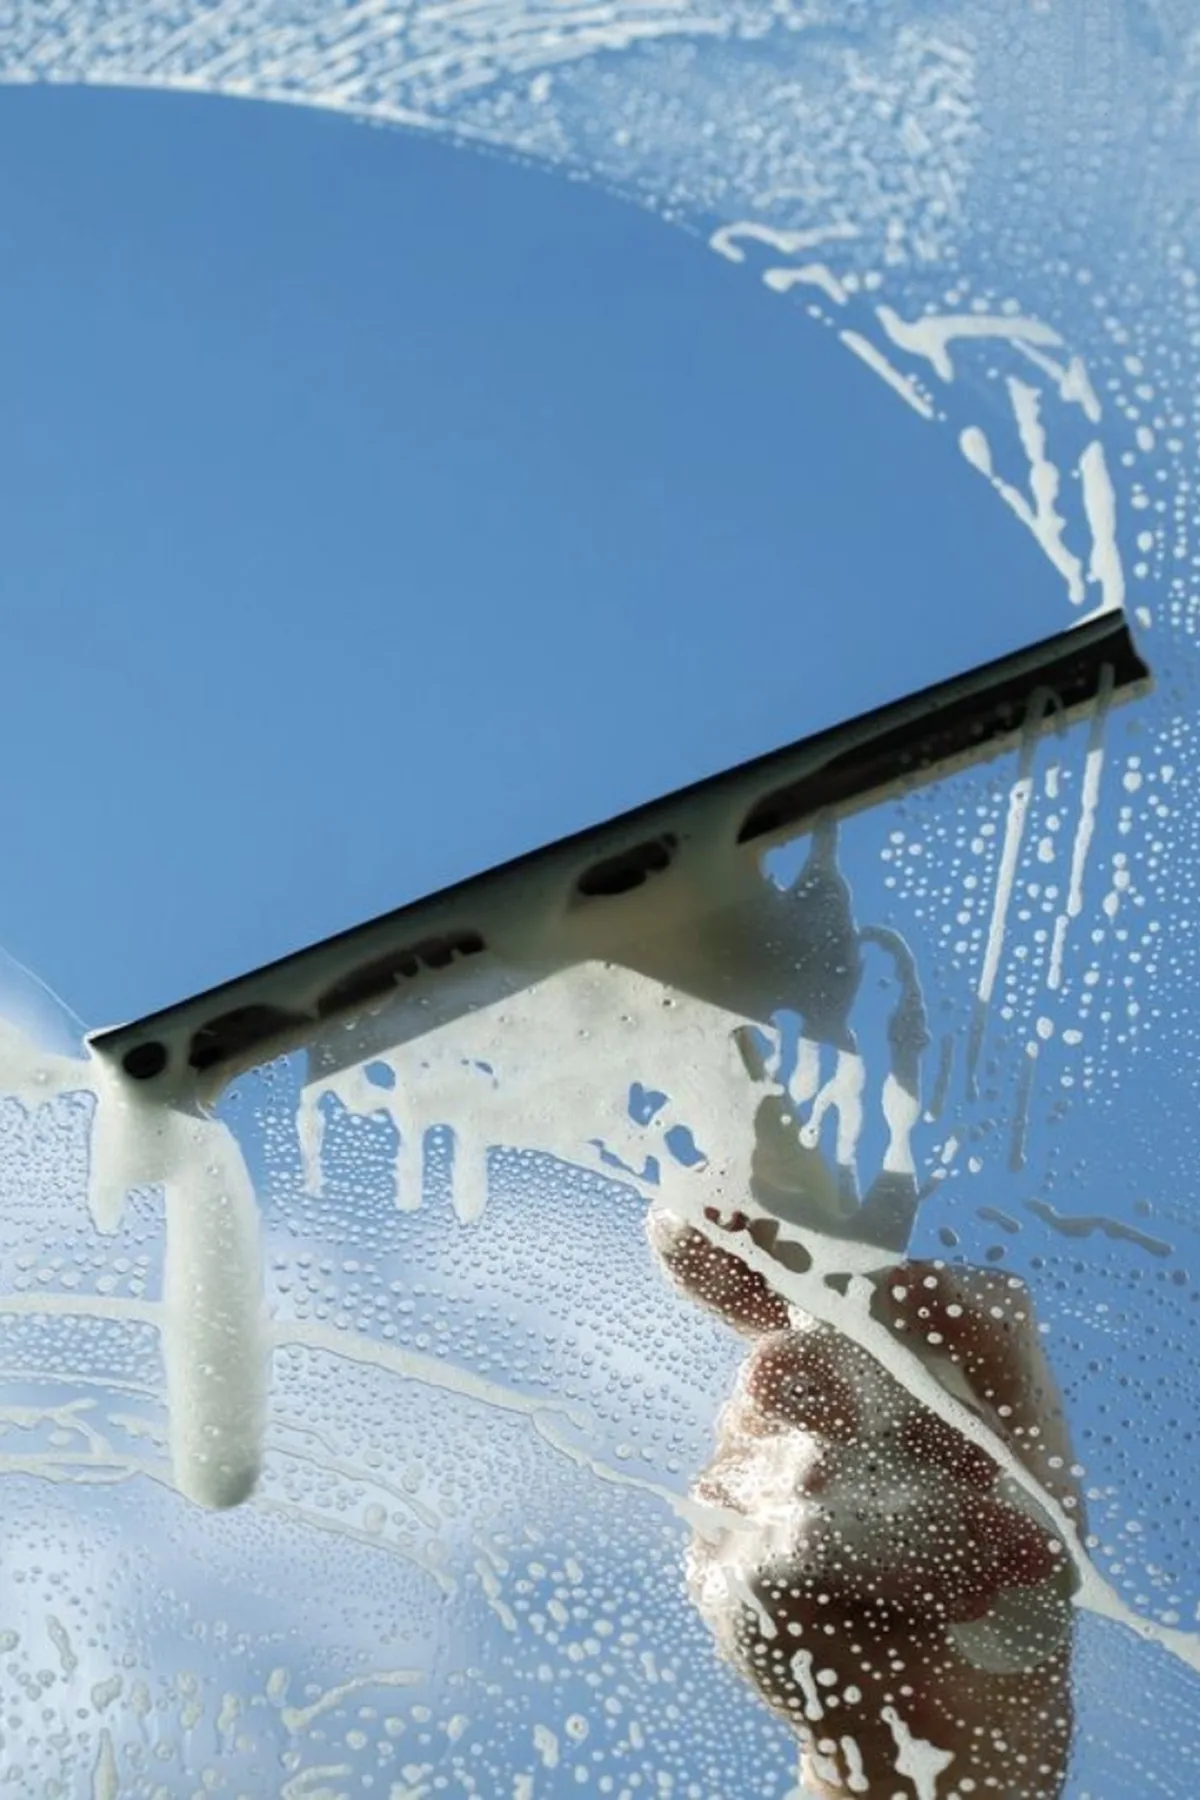
Grab your squeegee before the sun hits the glass, so soap stays wet.
- Wash the inside first, where fingerprints and cooking film dull the light, then work outside so you can spot the side that still looks cloudy.
- Mix warm water with a small drop of dish soap, wet the glass, then pull the squeegee down in straight lines and wipe the blade after each pass.
- Dry the corners and edges with an old towel, since drips left there show up as lines the next morning.
- Step back across the room and check the glass in daylight before you put the bucket away.
Tip: Wash on a cloudy day or in shade, and wipe the frames and sills too, so dirt does not wash back onto clean glass.
Window washing: do and skip
Best for: small rooms that feel dim. Cost: low. Effort: one window at a time.
✅ Do this
Wash inside first, then outside, so you can tell which side still looks cloudy.
Wipe the squeegee blade after each straight pass.
Dry corners and edges with an old towel.
🚫 Skip this
Washing in hot sun, when soap dries before you can squeegee it off.
Leaving drips in the frame, where they dry into lines.
Skipping the sills, since dirt there washes back onto clean glass.
10. Tame One Junk Drawer in 15 Minutes

Every time you reach for tape, you dig past dead batteries, stray keys, and a tangle of cords. That drawer is small, but the mess inside it slows you down every day.
- Pull everything out, wipe the drawer clean, and set a timer for 15 minutes.
- Toss anything broken or dried out, and move anything that belongs in another room to a small pile by the door.
- Group what is left into piles, such as tools, tape and cords, and batteries.
- Set small bins or trays in first, then give each pile its own spot.
When the timer ends, you will find what you need on the first reach, and that one tidy drawer makes the whole kitchen feel calmer.
Sort first, then fit the bins to what you kept, not the other way round.
11. Clean the Bedroom From the Top Down, Then Clear Under the Bed

Start at the top of the room, with the light fixture, the top of the wardrobe and the curtain rail, so dust falls onto surfaces you plan to wipe. Work down to the shelves, the nightstand and the headboard, then strip the bed and shake the pillows out by an open window.
Last, pull everything out from under the bed, wipe the floor there, and put back only what you use often, in one flat bin you can slide out again.
💡 Quick Tip
Keep one damp cloth and one dry cloth in your hands, so each surface gets wiped and polished in a single pass.
Do not push the bed back before the floor under it is dry, or dust will stick to the damp boards.
Work down the room in this order
12. Do Not Buy Storage Before You Declutter

Warning: a bin that looks right in the shop can sit useless in your hall once you get home.
Trip one, buy first: you grab a tall bin, bring it home, and find it blocks the shelf above it. The lid will not close, the bin goes back in a bag, and you spend an evening on a return run.
Trip two, measure first: you empty the shelf, note the width, height, and depth on your phone, and shop with those three numbers in hand. You pick a bin that slides in with room to lift it out.
Measure the inside of the shelf, not just the front edge, and leave a finger width at the top for your hand.
Fit first, buy second, and the bin earns its shelf.
13. Hang Spray Bottles on a Rod Under the Sink

Does the cabinet under your sink spill bottles every time you reach for one cleaner?
A tension rod can calm that spot. Twist it snug between the cabinet walls, high enough to clear the pipes, then hook each spray bottle onto it by its trigger. The bottles hang in a row, easy to see and grab, while the floor below stays open for a bin or a stack of cloths.
- Hang the bottles you reach for most near the front
- Keep heavier bottles low in a bin instead of on the rod
- Leave a little space between triggers so nothing tangles
Tip: test the rod with a firm tug before you load it, and check that the door still closes easily.
UNDER THE SINK, IN ORDER
Rod first, bottles second, floor last
Best for
Crowded cabinets with no spare shelf
Cost
Low, one rod only
Effort
A few minutes, no tools
Set the rod high, clear of the pipes and the door swing.
Hook each trigger over the rod, most used bottle nearest the front.
Leave the floor for a bin, so nothing has to sit under a hanging bottle.
Close the door and check that no bottle swings into the pipes.
14. Clear Every Surface, Then Put Back Only Half
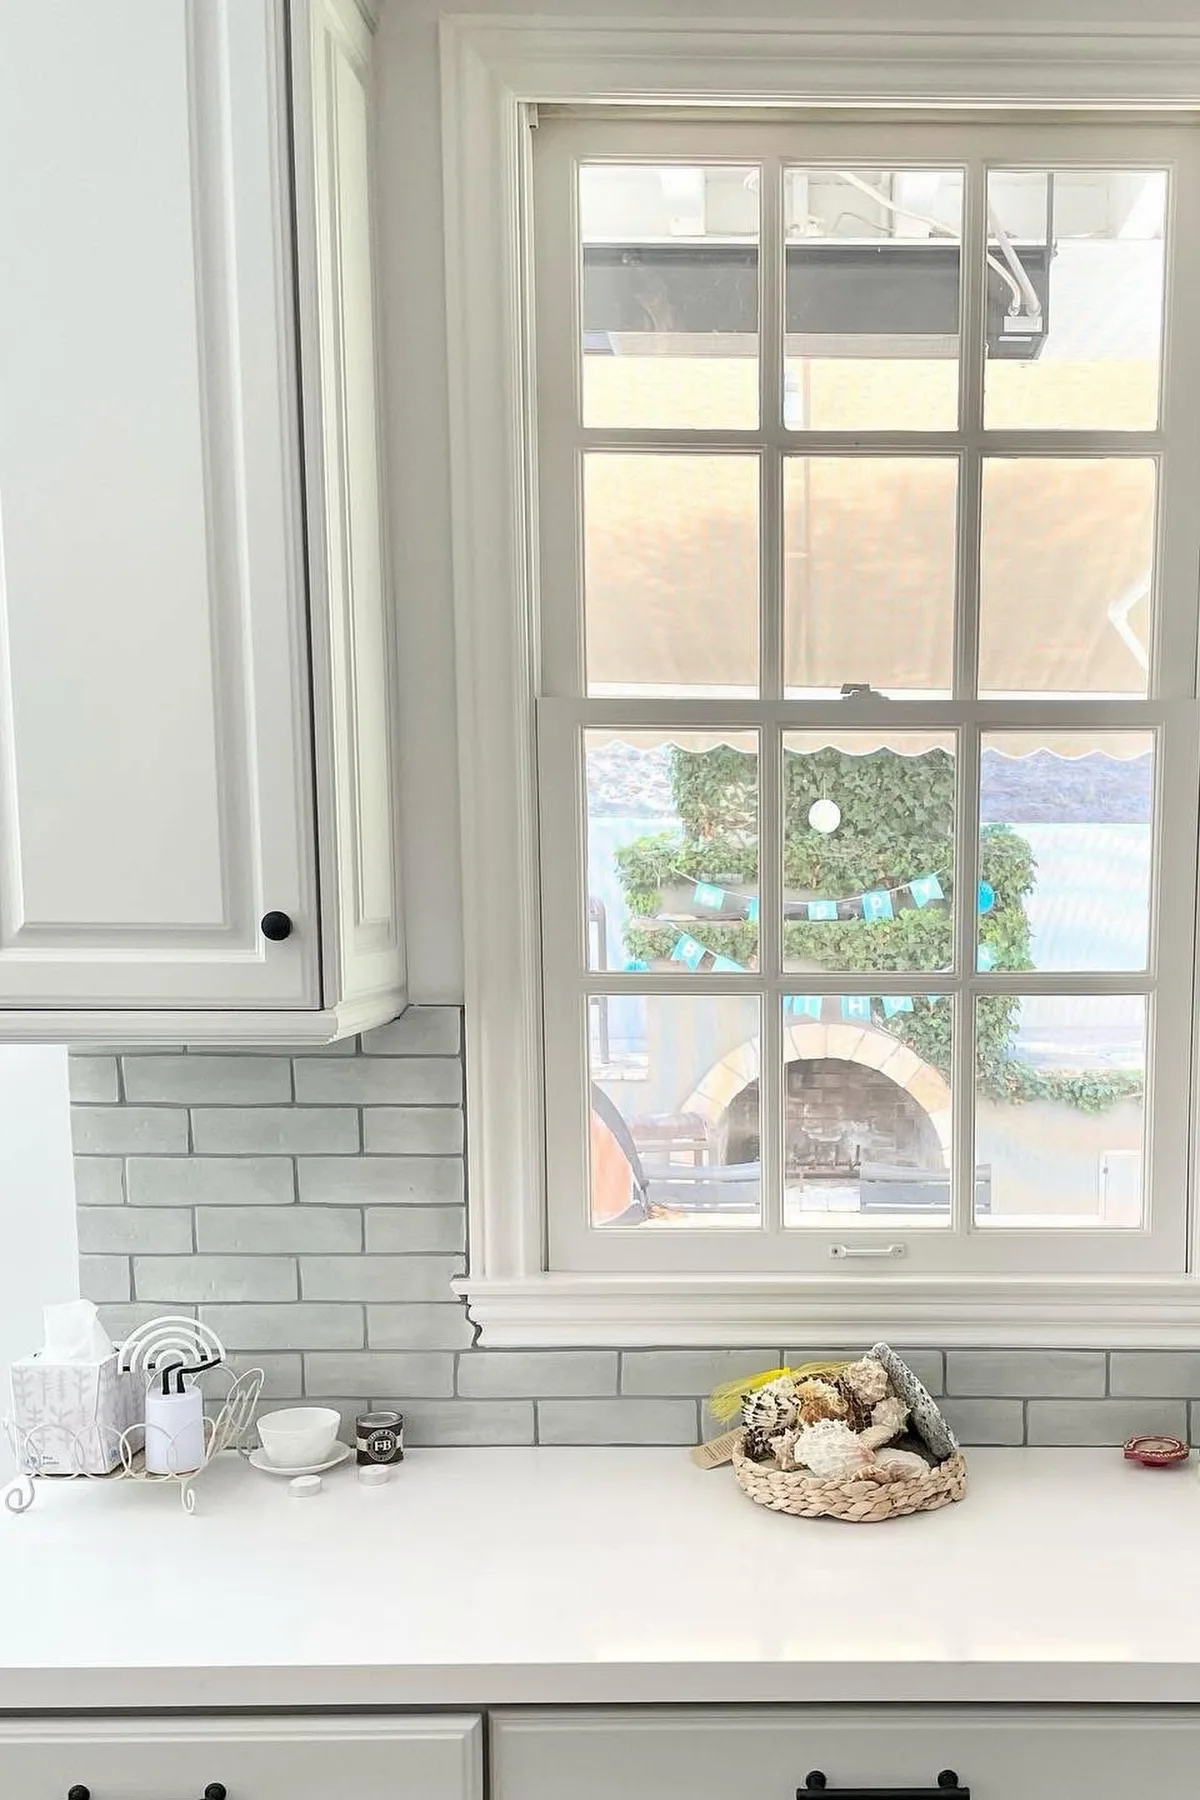
Your kitchen counter held a mail pile, three mugs, a cutting board, and a drying rack, with nowhere left to set down a plate. By lunch, only the coffee maker and one mug stayed out, and everything else had found a home or a bag.
Do this:
- Lift everything off one surface, wipe it clean, and sort it into keep, move, and let go piles.
- Return only daily items, and give each one a set spot.
Do not do this:
- Slide a pile from the counter to the table and call that done.
- Put an item back just because it has always lived there.
Now you can chop, stack plates, and set down groceries without shuffling first, and the room feels calmer the moment you walk in.
Half back, half gone: a surface by surface plan
| Surface | Keep | Remove |
|---|---|---|
| Kitchen counter | Coffee maker and one mug | Mail pile and spare gadgets |
| Bathroom shelf | Toothbrush cup and soap | Old samples and empty bottles |
| Entry table | Keys bowl and one small plant | Loose papers and spare chargers |
Best for: one surface at a time. Effort: a short session per room. Rule of thumb: if it has no set spot, it does not come back yet.
15. Keep a One-Bag-a-Week Purge Going Until Summer

Sunday night, after the laundry is folded, walk one room with a tote bag in hand and pull out only what you no longer wear or use. Keep the bag by the front door, not tucked back in a closet, so it leaves the apartment instead of settling back into a drawer. When the bag is full, drop it off on your next errand run and start a fresh one the same day.
- Week 1: coats and shoes you skipped all spring.
- Week 2: kitchen tools you reach past every day.
- Week 3: books and games no one picked up in months.
- Week 4: one drawer, emptied and put back with room to spare.
Small bags, steady weeks, an apartment that stays clear.
Your weekly purge tracker
Tick one box each week, then move the bag on when it fills.
Week 1
☐ Bag started
Best for: a slow start
Effort: light
Week 2
☐ Bag growing
Best for: building the habit
Effort: light
Week 3
☐ Bag full
Best for: a clear shelf
Effort: steady
Week 4
☐ Bag out the door
Best for: room to breathe
Effort: light
Frequently Asked Questions
How long does a full spring deep clean take in a small apartment?
Most small apartments take one week of short sessions, not one long day. Work through one idea at a time, in 15 to 30 minute blocks, and the whole list fits around work and rest. If you only have weekends, pick three ideas per weekend and finish in about a month.
Where should I start when the whole place feels overwhelming?
Start with the zone you see first when you walk in, usually the entryway or the kitchen counter. One clear surface changes how the whole place feels and gives you momentum for the next zone. Do not start with the hardest room.
What cleaning supplies do I actually need?
A gentle all purpose spray, a glass spray, two microfiber cloths, a duster with a long handle, a small brush, and a donation bag cover nearly every idea here. Skip single use gadgets until you know the job needs one.
How do I deep clean without harsh smells in a tiny place?
Open a window a crack, use vinegar and water or castile soap sprays, and clean one room at a time so smells never build up. If a product makes your eyes water, put it away and switch to the gentle mix.
How often should I repeat the big jobs?
Windows and under the bed need attention about twice a year, once in spring and once before winter. Fridge shelves and junk drawers do better on a monthly pass, since small messes grow fast in tight rooms.
How do I keep it clean after the spring purge?
Keep the ten minute nightly reset and the one bag a week habit. When something new comes in, let one old thing out the same day. Small daily habits beat another big purge next year.
A small apartment rewards small, steady habits more than one heroic weekend. Keep the nightly reset, keep the donation bag by the closet, and repeat one idea each week until the whole place feels like yours again. If a room slides back, pick the single idea that fixes it and do just that one. This spring deep cleaning checklist small apartment routine works because it fits real life: short jobs, visible results, and nothing bought before it is needed. Your rooms are already smaller than the mess made them feel. Clear them, keep them clear, and enjoy the space you reclaimed.