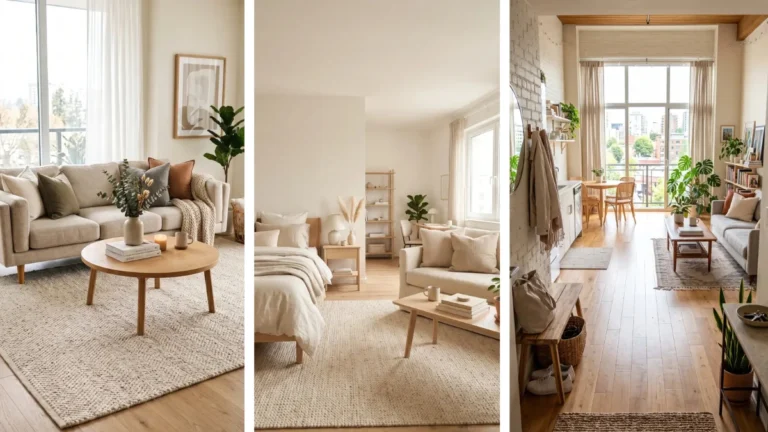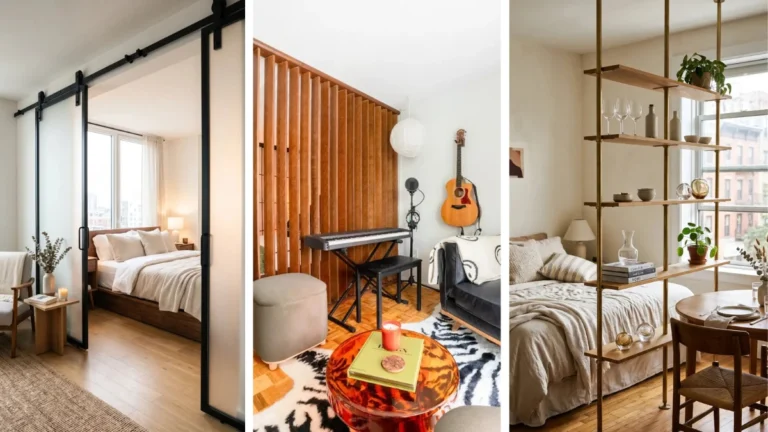
Most studio apartment kitchens feel like a stove shoved against a living room wall. Cooking near your sofa or seeing dirty dishes from your bed makes the whole apartment feel messy. Learning how to decorate a studio apartment kitchen isn’t about knocking down walls or spending thousands on custom cabinets. It comes down to establishing distinct visual boundaries using temporary decor, functional furniture placement, and warm lighting.
Taking 2 hours over a weekend to define your cooking zone gives your studio distinct rooms without losing open floor space. The secret is layering removable textures that mask plain apartment finishes while creating clear visual stops between cooking and sleeping areas. Gather your materials, clear your counter surfaces, and let’s get your kitchen styled properly.
• Utility knife & straight edge
• Screwdriver
• Isopropyl rubbing alcohol
• Clean microfiber rag
• Peel-and-stick tile sheets (10-12 sheets)
• Butcher block rolling cart (15×30 inches)
• Plug-in pendant light fixture
• Metal cabinet handles (4-8 pieces)
• Wooden counter riser & ceramic caddy
2. Stick peel-and-stick tile across the backsplash area
3. Anchor a narrow butcher block cart as a room divider
4. Hang a plug-in pendant light directly over the counter
5. Replace stock cabinet knobs with matching metal handles
6. Group daily coffee items on a raised wooden riser
7. Hide dish soap and sponges inside a ceramic sink caddy
1. Define the kitchen border using a washable runner rug
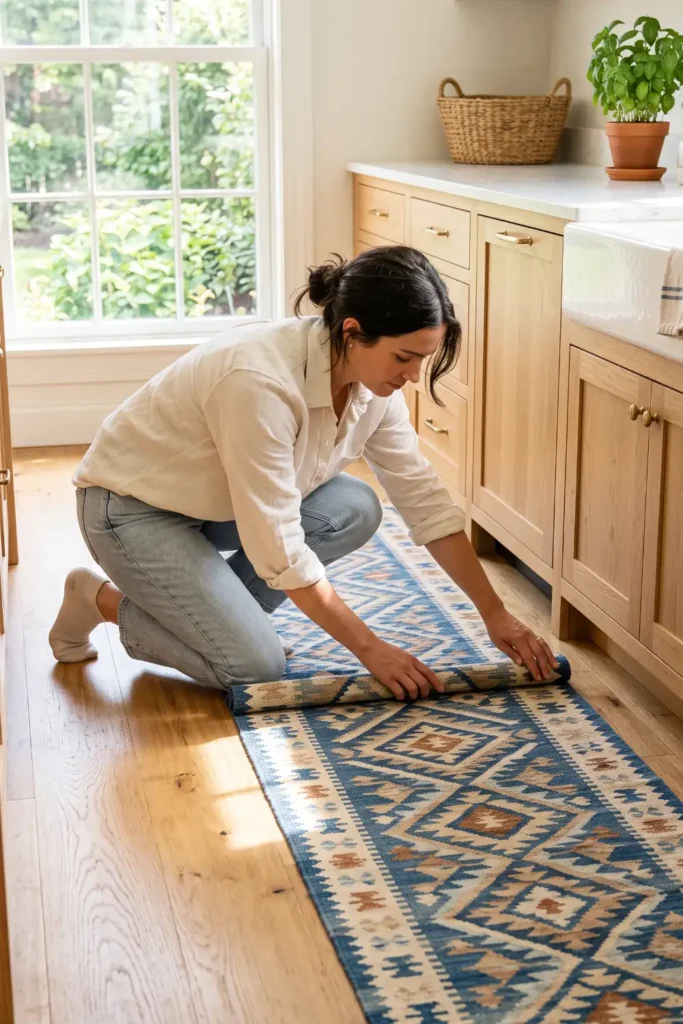
Unroll a 2×6 foot flat-weave runner rug parallel to your kitchen counter, placing it exactly 3 inches away from the base cabinets. This creates a hard visual boundary between your kitchen tile and living carpet. Pick a low-pile, machine-washable material so food spills wash out in a regular laundry cycle. (If you don’t have a kitchen runner, a durable woven entry mat cut to size works well).
2. Stick peel-and-stick tile across the backsplash area
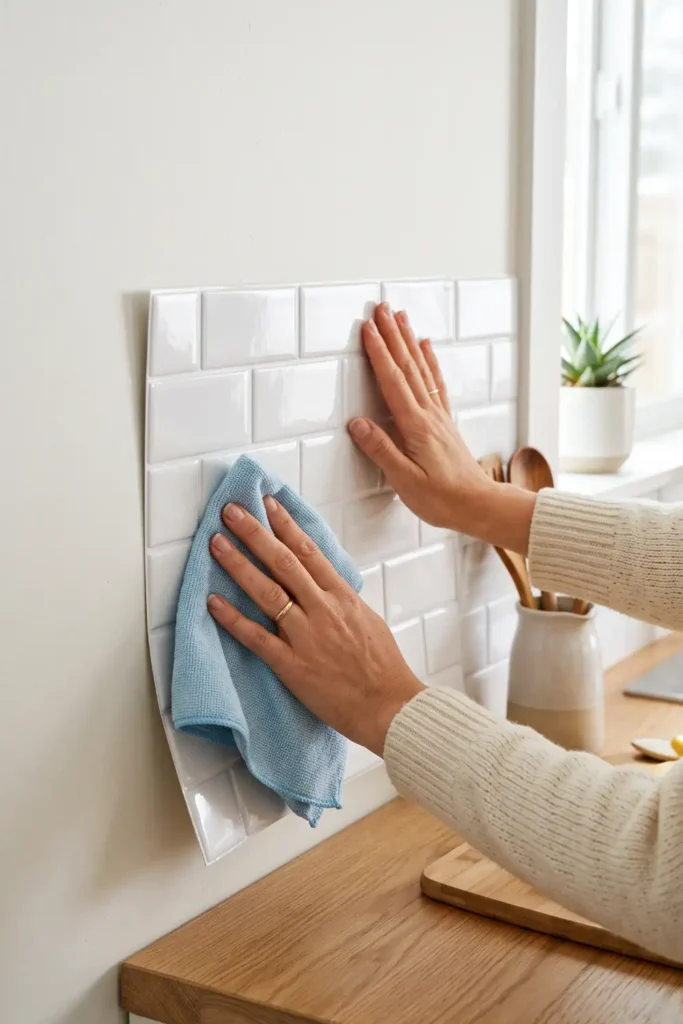
Measure the height between your countertop and upper cabinets before cutting your first tile sheet. Wipe the drywall down with isopropyl alcohol and let it dry for 10 minutes so grease doesn’t ruin the adhesive backing. Peel the top corner of the backing paper, align the sheet with the counter edge, and press firmly for 15 seconds using a clean rag.
⚠️ Heads Up
Avoid sticking tiles over fresh wall paint. Wait at least 14 days after painting before applying adhesive sheets, or the tile weight will pull paint off the drywall.
3. Anchor a narrow butcher block cart as a room divider
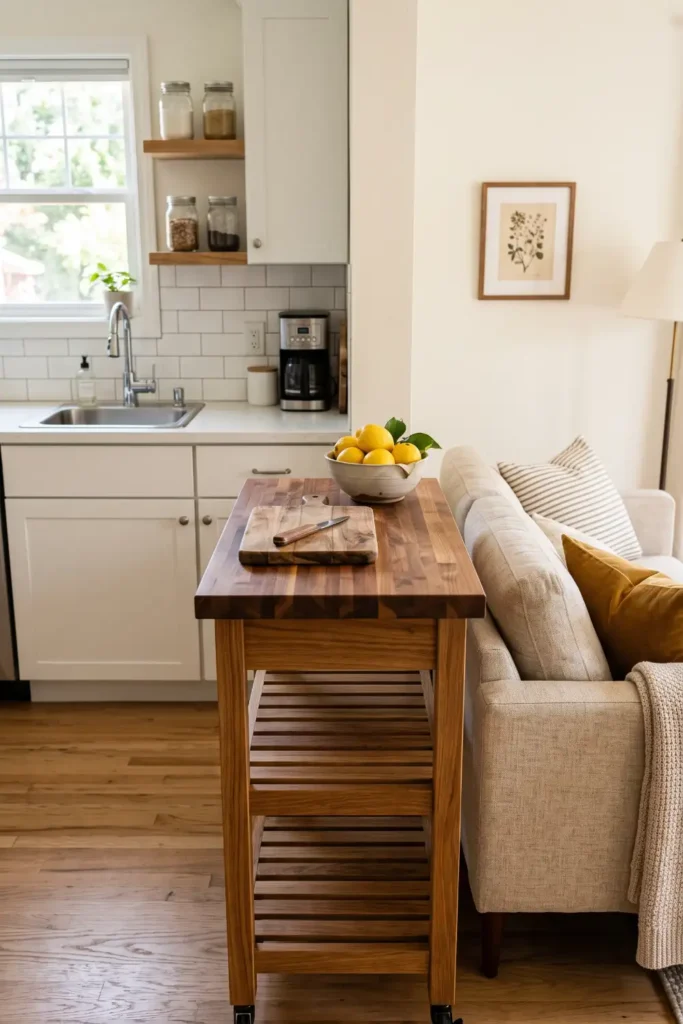
Position a 15×30 inch kitchen island cart perpendicular to your main counter to form a defined cooking nook. Locking the caster wheels keeps your new preparation island stationary while slicing vegetables.
- Lock the front caster wheel tabs down tightly
- Place a heavy wooden cutting board on the top surface
- Store mixing bowls on the open middle shelf
- Hang dish towels from the side handle bar
💡 Pro Tip
Choose a cart with open lower wire shelves instead of solid wooden sides. Open shelving lets light pass through, keeping your studio feeling spacious.
4. Hang a plug-in pendant light directly over the counter
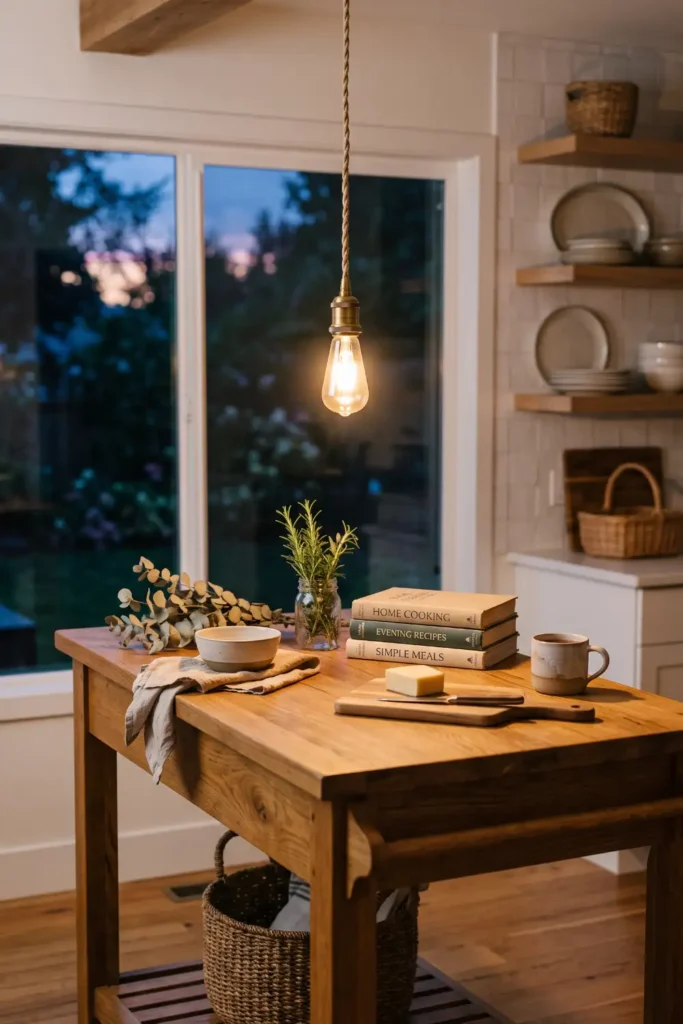
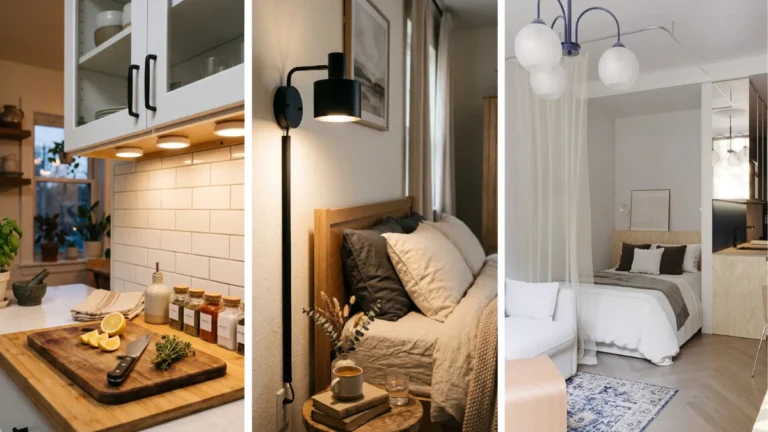
Swapping harsh overhead fluorescent lights for warm focal lighting instantly separates your kitchen zone. Screw two swag hooks into your ceiling 18 inches out from the wall, making sure the hook anchors directly into a drywall ceiling anchor. Loop the woven cord over the hooks so the bulb hangs 30 inches above your kitchen cart or main prep counter. Screw in a warm 2700K LED bulb to cast a cozy glow over your cooking space during evening meals.
5. Replace stock cabinet knobs with matching metal handles
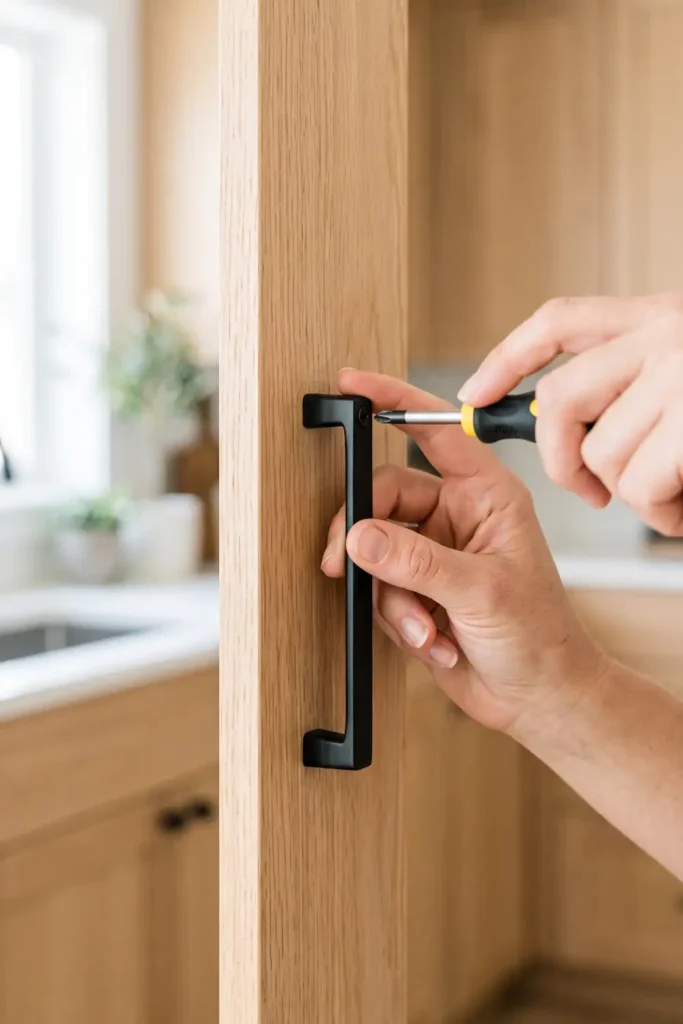
Standard builder-grade cabinets look generic and unfinished in open studio layouts. Upgrading to sturdy metal hardware makes plain apartment cabinetry feel custom-built in 15 minutes.
- Unscrew old plastic hardware carefully using a manual screwdriver
- Store original cabinet screws in labeled plastic bags for move-out day
- Align new matte black handles over the pre-drilled cabinet holes
- Tighten rear screws until the hardware sits completely flush
💡 Hardware Size Tip
Measure the center-to-center distance between pre-drilled screw holes before ordering new handles. Standard cabinet hole spacing is usually 3 inches or 3.75 inches apart.
6. Group daily coffee items on a raised wooden riser
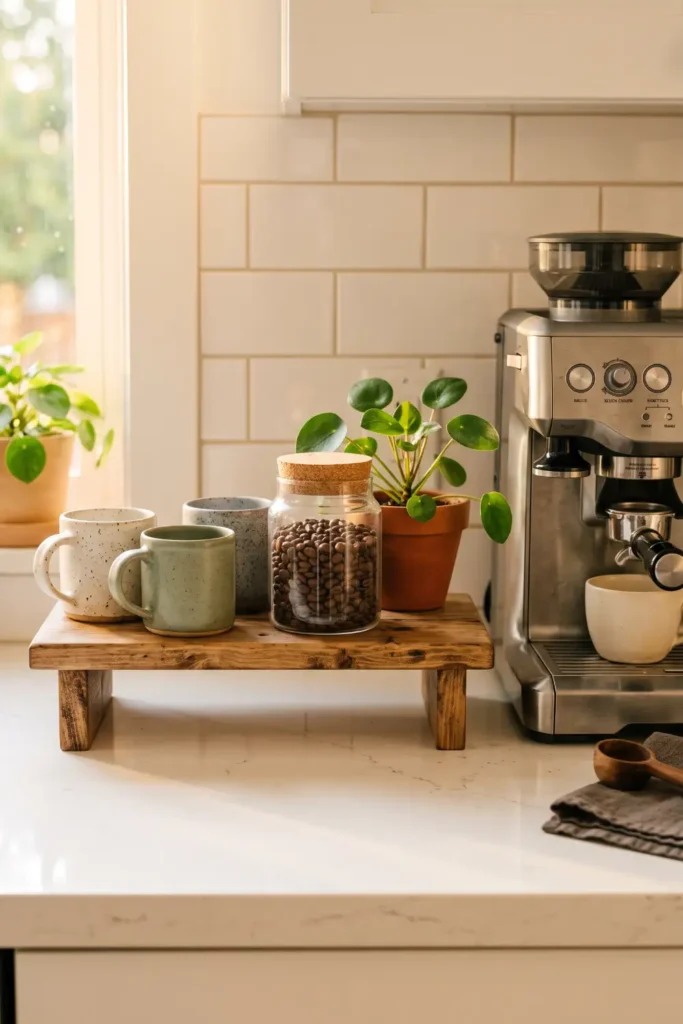
Countertop clutter spreads quickly across small kitchen surfaces when loose jars sit directly on laminate counters. Set a 6×12 inch wooden counter riser right next to your coffee machine or kettle to form a tidy beverage hub.
Placing your coffee grinder, mug stack, and sugar bowl together on a raised wooden platform creates a clear visual bundle. Leave 10 inches of bare counter space on both sides of the riser so you have open room for chopping boards while preparing dinner.
7. Hide dish soap and sponges inside a ceramic sink caddy
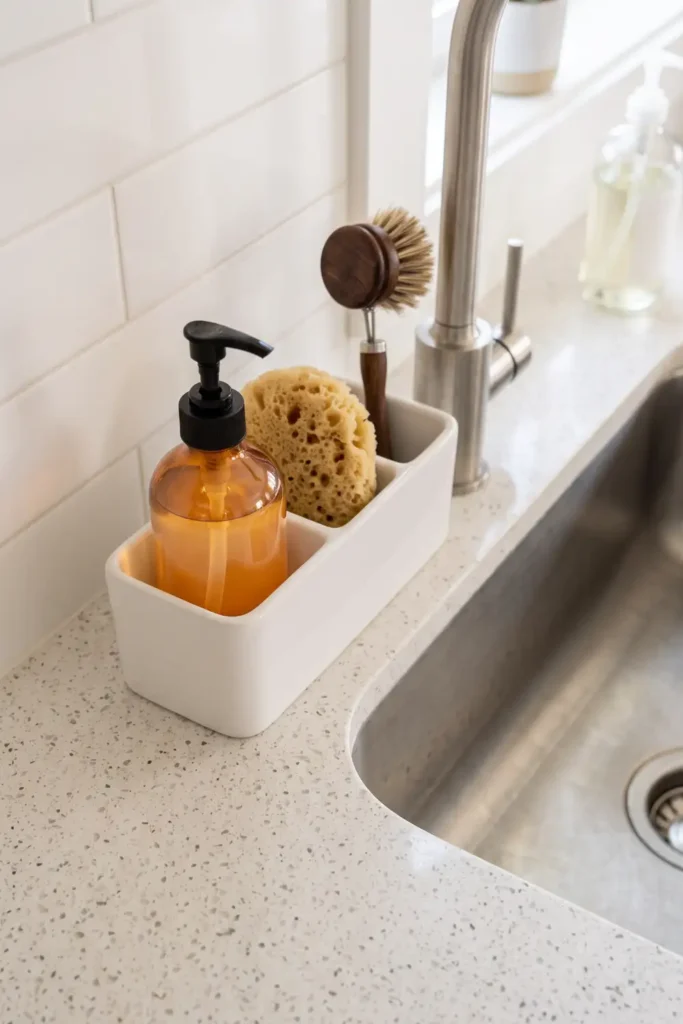
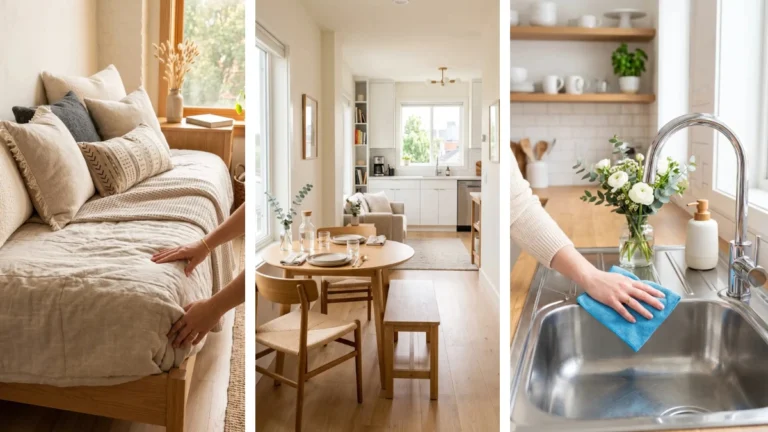
Wet sponges resting on sink rims look messy when viewed from your bed or living couch. Position a 4-inch wide ceramic sink caddy directly on the flat counter ledge behind your faucet. Place liquid dish soap bottles, scrubbing wands, and damp sponges neatly inside the drainage compartment. Choosing a caddy with bottom drainage holes keeps sponges dry and extends their lifespan by 3 weeks.
2. Press peel-and-stick tile onto clean backsplash wall.
3. Position a 15×30 in butcher cart as a room divider.
4. Hang a plug-in pendant light 30 inches over counters.
5. Swap stock knobs for matching metal handles.
6. Bundle daily coffee gear on a wooden counter riser.
7. Store soap and sponges inside a ceramic sink caddy.
Conclusion
You now know how to decorate a studio apartment kitchen so it feels like a completely separate, intentional room. Defining your floor area with a durable runner, adding backsplash texture, and anchoring a butcher block cart gives your cooking zone structure without closing off your studio.
Enjoy your newly organized, beautifully styled kitchen space during your next home meal! Save this guide to your Pinterest home decor board so you can easily reference these steps when planning your weekend apartment makeover.