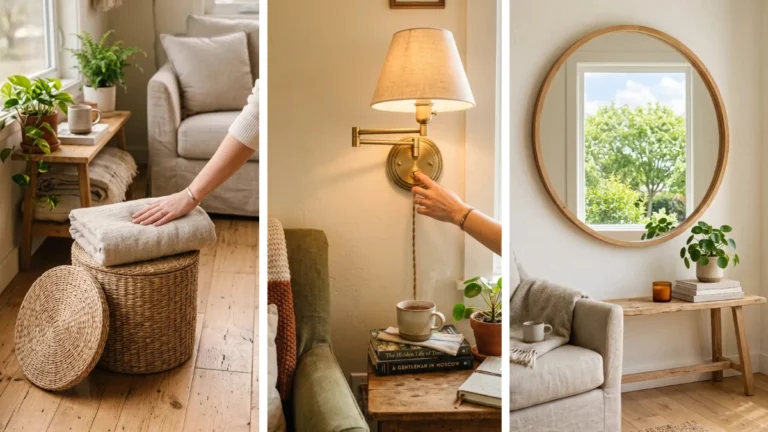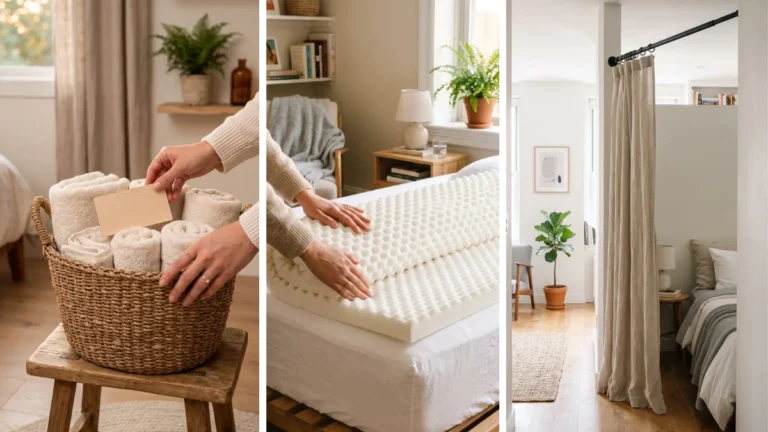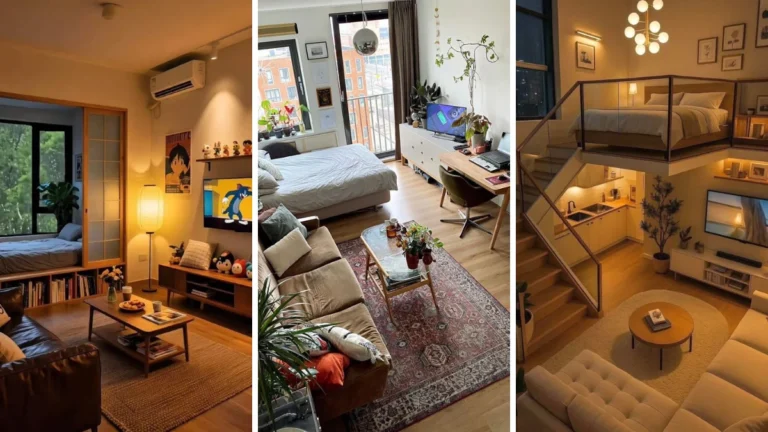
How to Downsize to a Small Apartment Step by Step Without Sacrificing Comfort
Moving from a multi-bedroom house into a compact space feels terrifying. Staring at years of accumulated furniture, kitchen gear, and memories makes most people freeze up or panic-pack everything into cardboard boxes. I spent three weeks drowning in bubble wrap during my own move before realizing that blind decluttering was driving me crazy.
Learning how to downsize to a small apartment without feeling squeezed requires a practical sorting system rather than aggressive throwing away. Instead of purging until it hurts, you measure your physical footprint first, protect your core comforts, and shed only the silent space-wasters.
The entire prep process takes about 12 hours spread across a single weekend. You do not need expensive organizer bins or special tools to get this right. Grab a tape measure, three rolls of colored painter’s tape, and a notebook. Let’s make your new place feel intentional, cozy, and complete.
1. Measure your new apartment rooms before packing a single box
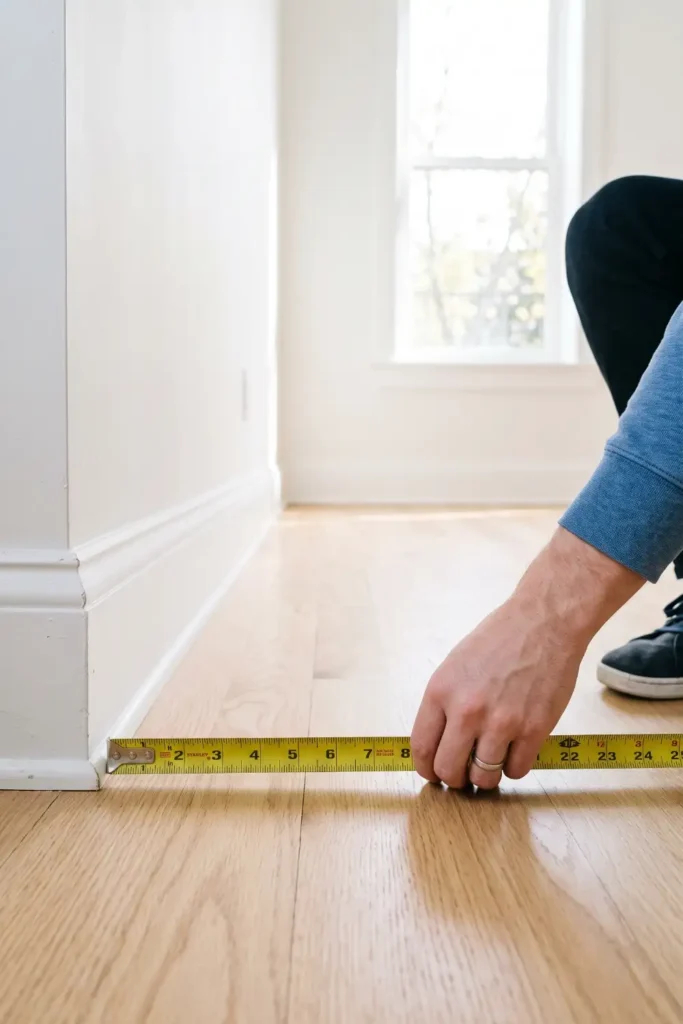
Pull a 25-foot tape measure across every room in your upcoming apartment and write down the wall lengths, window heights, and doorway clearances. Knowing the physical boundary prevents you from lugging bulky furniture that physically cannot clear narrow entry hallways. (If you cannot access the building in person yet, ask your landlord for a dimensioned floor plan PDF). Sketch the layout on paper, noting radiator locations and door swing paths.
2. Categorize your belongings into daily essentials and emotional anchors
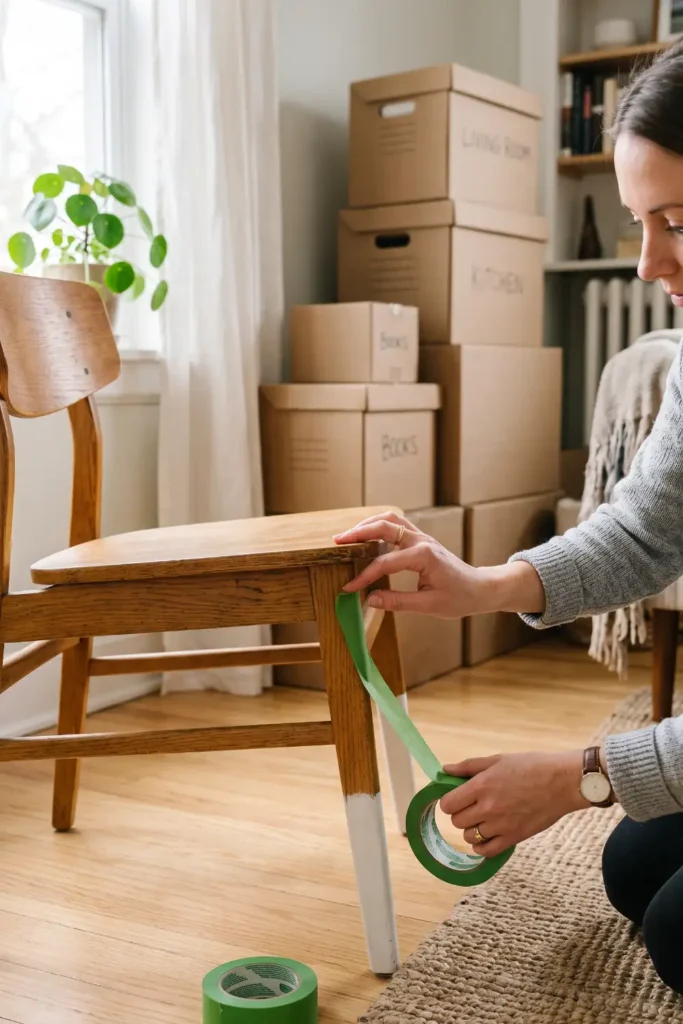
Apply green painter’s tape to items used at least 3 times a week and yellow tape to objects holding sentimental value. Unmarked pieces automatically get red tape for donation or sale. This color coding removes decision fatigue because you are not debating every single item from scratch. Green-tagged items load first, ensuring your daily living routines remain intact.
3. Audit duplicate kitchenware and oversized furniture pieces
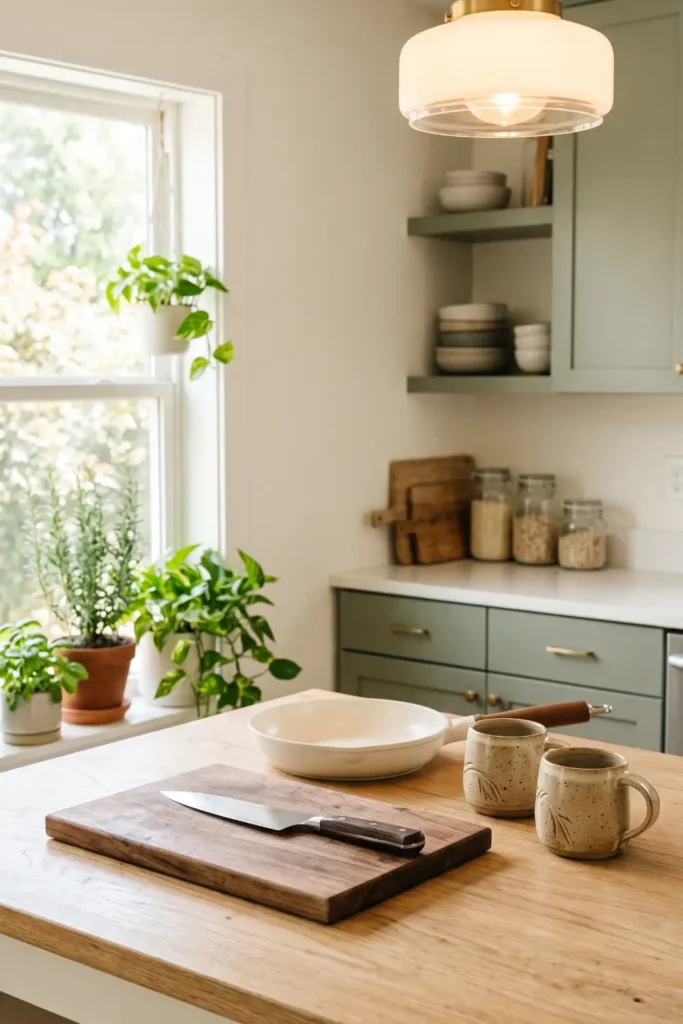
Count your cookware, mug collections, and bulky seating to trim secondary duplicates down to realistic numbers. A compact kitchen usually offers 50% less cabinet volume than a suburban home. Keeping 1 good chef’s knife, 2 versatile skillets, and 4 dining place settings covers daily meals while keeping drawers functional. Oversized 8-foot sofas or heavy wood tables absorb floor area and make small rooms feel crowded.
4. Select three non-negotiable comfort items to keep first
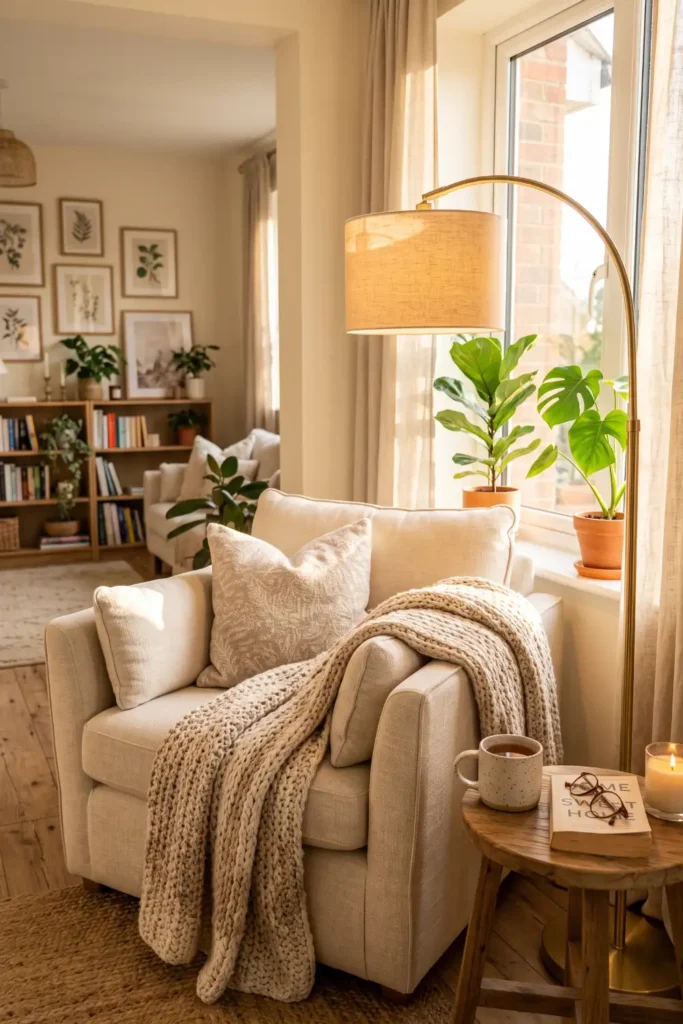
Pick three items that define your daily relaxation — like an oversized reading armchair, a high-end espresso machine, or a full-length mirror — and place them at the top of your layout list. Downsizing fails when a new space feels like a sterile hotel room. Prioritizing three personal luxuries guarantees your new living room feels welcoming, even if you sell off secondary tables and bulky bookshelves.
5. Map your storage zones using vertical wall space
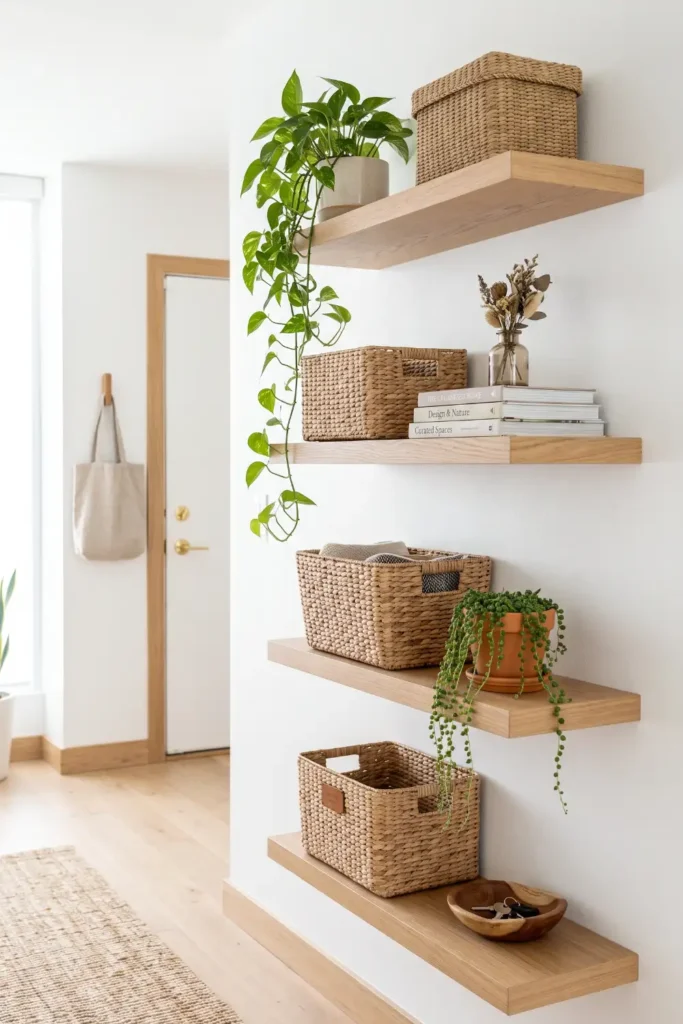
Identify empty wall spans between 6 feet and the ceiling line in your hallway, bedroom, and kitchen. Small apartments lack floor area, but vertical wall space remains wide open.
- Measure the vertical clearance above interior doorframes.
- Plan floating shelves or tall, narrow bookcases that draw the eye upward.
- Reserve lower wall zones for items you grab daily.
- Reserve upper zones above 7 feet for off-season linens and travel gear.
6. Digitalize bulky paper documents and media collections
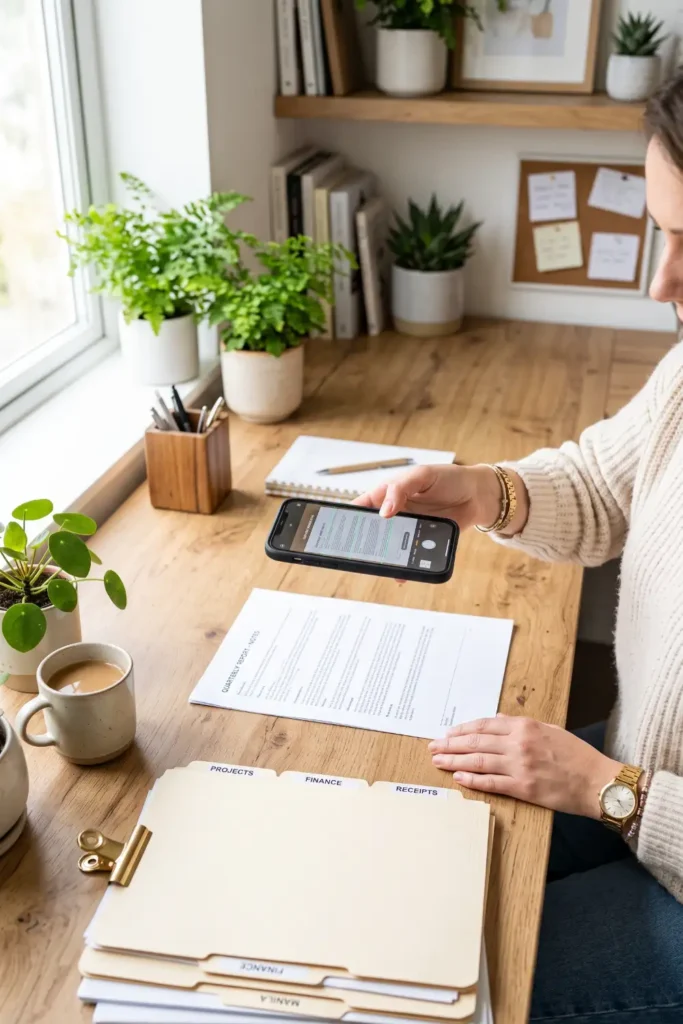
Scan paper tax records, old user manuals, and photos using a free phone app, saving files to cloud storage before shredding the physical sheets. Paper files and plastic disc cases swallow shelf space. Converting 100 paper files to digital frees up roughly 1.5 cubic feet of cabinet drawer volume. Keep physical copies only for original birth certificates, deeds, and passports inside a single fireproof sleeve.
7. Arrange your favorite kept pieces to anchor the new floor plan
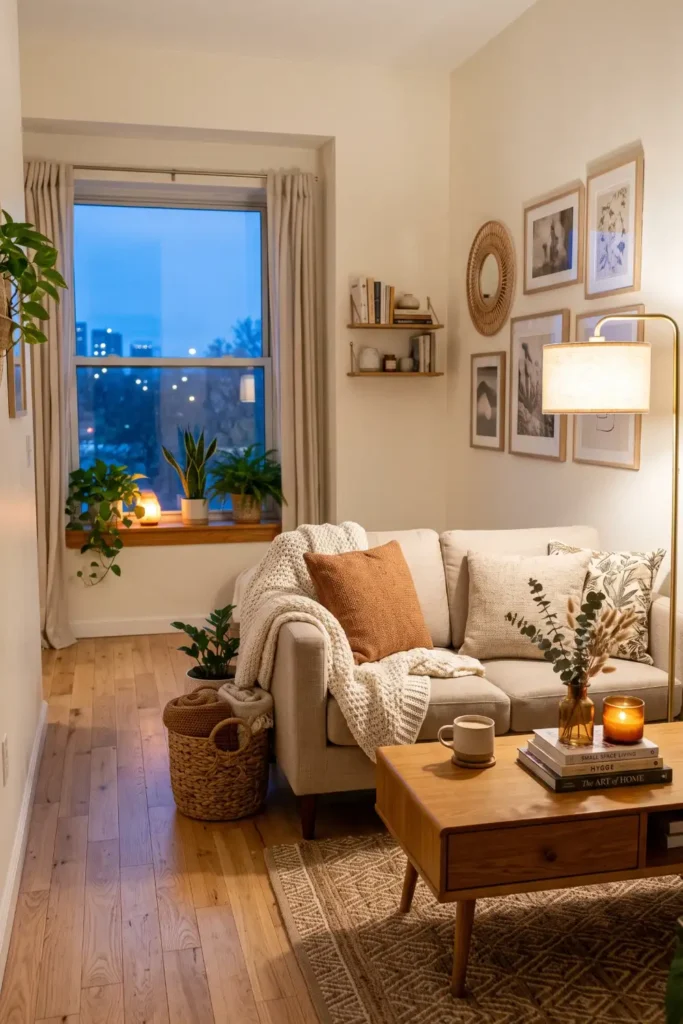
Position your largest anchor furniture piece—like your mattress or primary couch—against the longest solid wall first. Leave at least 30 inches of clear walkway space along your primary walking paths. Float secondary accent tables away from walls slightly so light can filter through. Grouping your daily green-tagged essentials around your three chosen comfort pieces establishes cozy, functional zones without crowding the room footprint.
2. Tag items green (daily), yellow (sentimental), or red (donate).
3. Audit duplicate kitchenware and bulky tables.
4. Choose 3 non-negotiable comfort pieces to keep.
5. Map vertical wall storage above 6 feet.
6. Scan paper documents to cloud storage.
7. Place anchor furniture along main solid walls.
You now have a clear roadmap for how to downsize to a small apartment while keeping every personal comfort you love. Your new home will feel intentional, airy, and easy to manage instead of crammed with forgotten boxes. Pick one room to measure and tape this weekend to get your momentum going. Pin this guide to your moving board on Pinterest so you can check off each step as you pack!